
Perfect for classrooms, kitchen tables, and anyone who wants to give Dad something he’ll actually keep.
Picture this: Dad opens a card – and it’s not just any card.
It’s a toolbox. Packed with the most adorable cartoon tools you’ve ever seen. With little smiley faces. Colored in by his kid.
Cue the giant grin. 🔧
If you’re searching for a Father’s Day craft that’s genuinely cute, zero-stress to set up, AND something kids will be proud to hand over – you just found it.
These printable Father’s Day Toolbox Cards are one of those rare projects that looks like you put in real effort… without actually requiring you to put in real effort.
The best part? No special supplies, no craft store run, no mess beyond a few crayons on the table. Everything you need is probably already at home right now.
Let’s get into it!
What Makes These Cards So Special
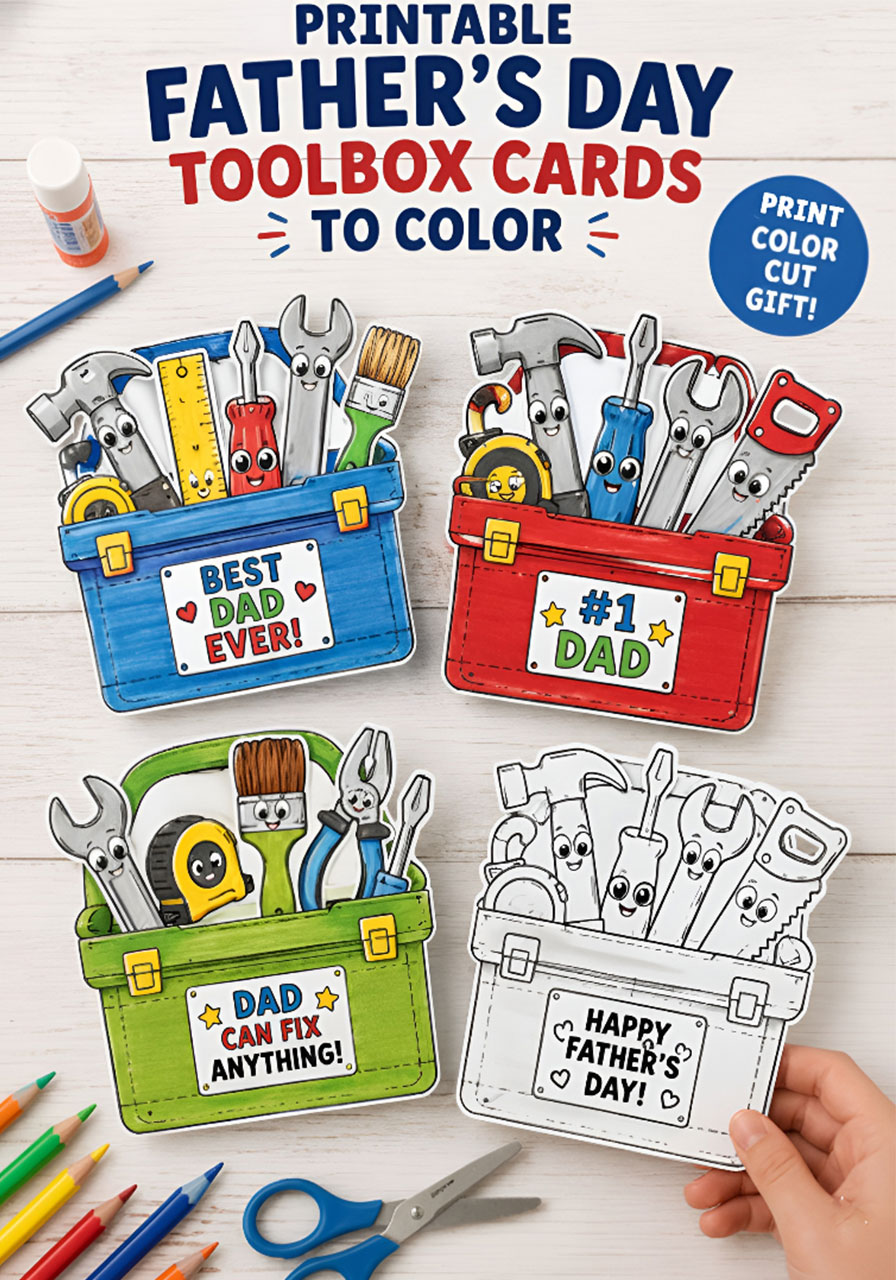
These aren’t your average flat Father’s Day cards.
Each card is designed to look like a real toolbox – complete with a handle, clasps, and a toolbox label on the front that reads something like “Best Dad Ever!” or “Dad Can Fix Anything!”
Poking out of the top of each toolbox is a whole crew of adorable cartoon tools: a hammer, a wrench, a screwdriver, a paintbrush, a ruler, pliers, and more – all with big expressive eyes and little smiles that kids absolutely love to color.
It’s also incredibly flexible – works just as well for a classroom of 40 kids as it does for one excited child at the kitchen table the night before Father’s Day.

What You’ll Need
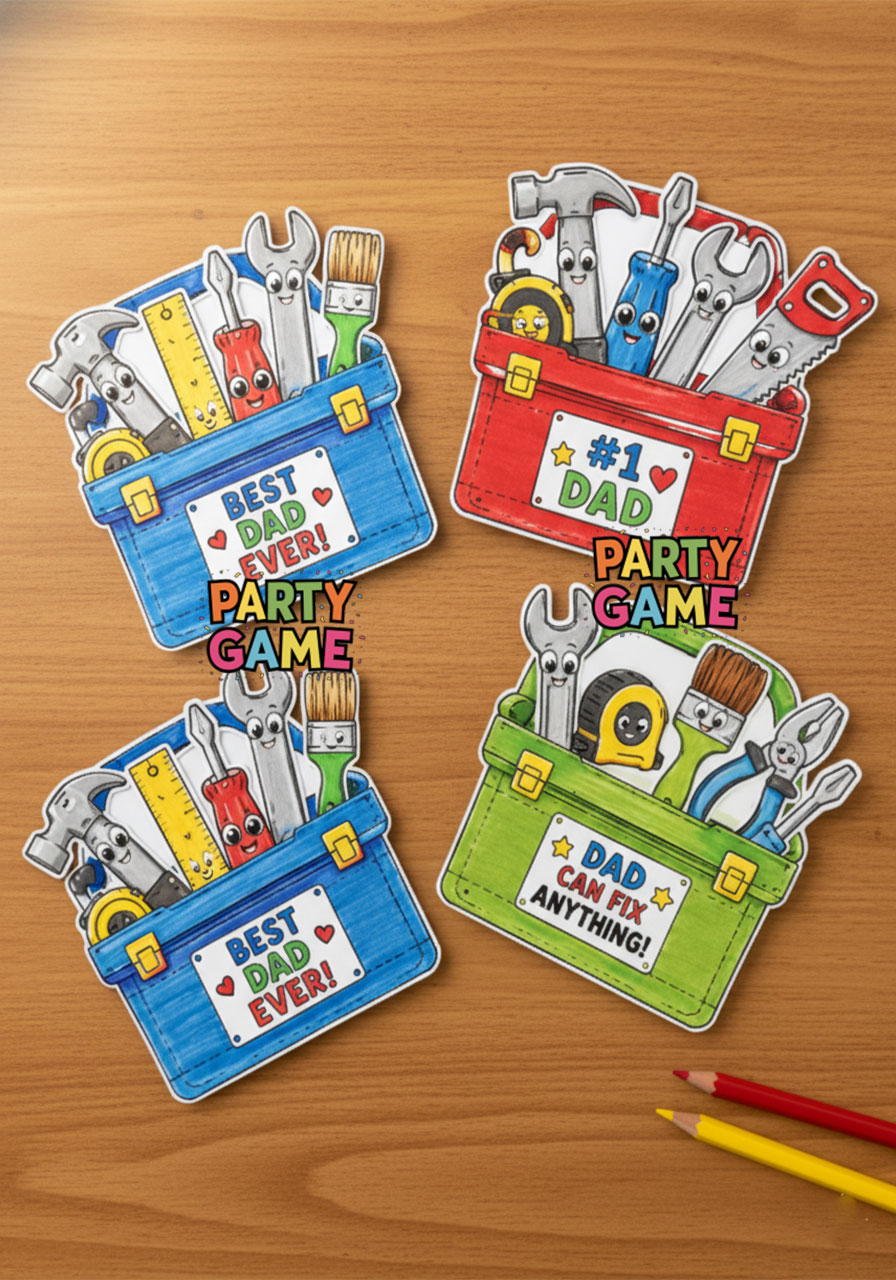
The printable toolbox card template (available at the bottom of this post!)
White paper or cardstock – regular copy paper works perfectly, but cardstock makes it feel a little more substantial
Colored pencils, markers, or crayons – whatever your child loves most
Scissors
A printer
🔧 Pro Tip for Teachers: Standard copy paper is completely fine for this project – no need to buy cardstock when you’re printing for a whole class. Save that budget for something else! If a parent wants to make theirs feel extra special at home, cardstock is a lovely upgrade.
How to Make the Father’s Day Toolbox Card
There are just 3 simple steps: print, color, cut. Read through them once before you start and you’ll see just how easy this is.
Step 1: Print
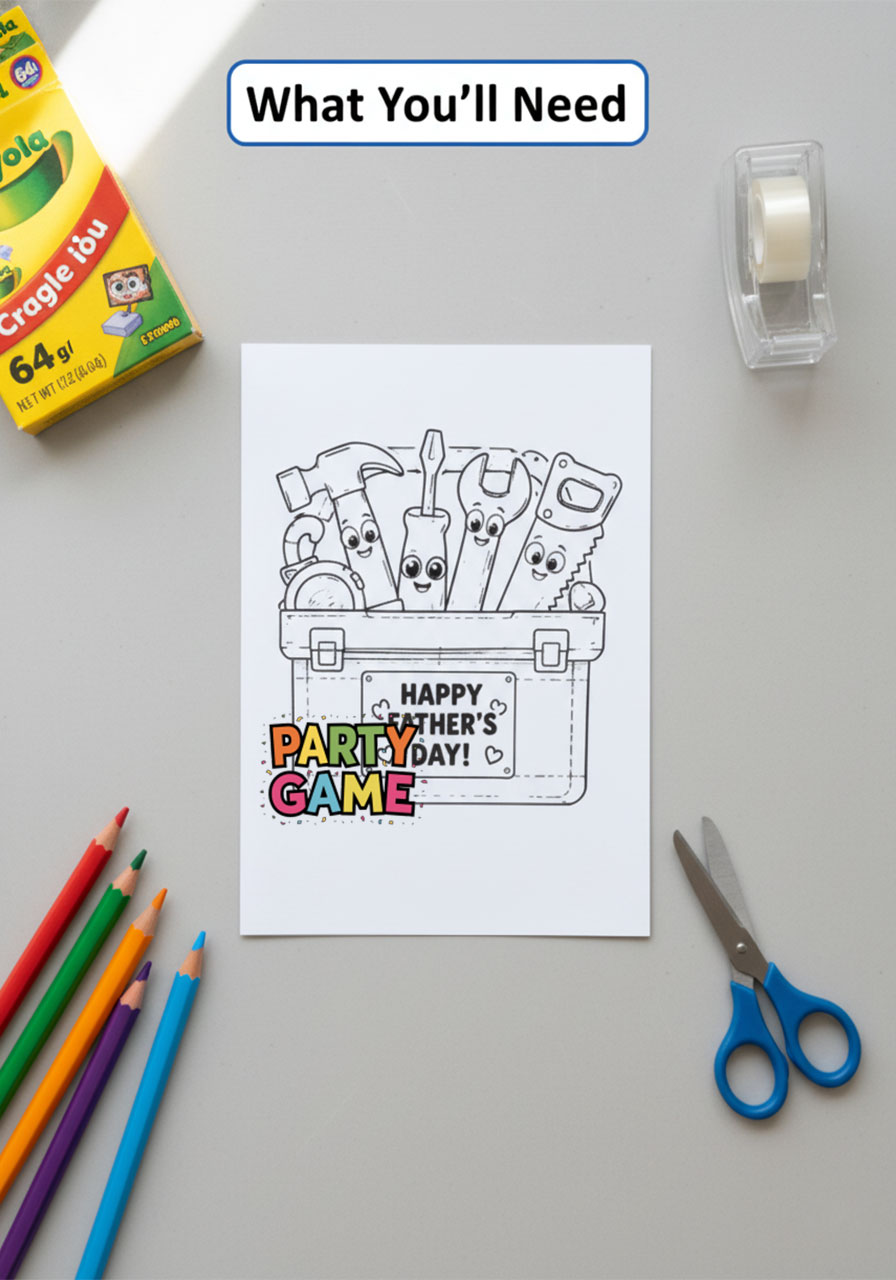
Download the file and print the toolbox card template onto your paper or cardstock. One sheet per card – that’s it.
The design prints out with the full toolbox shape, all the tools peeking out the top, and the label message on the front.
If you’re making multiple cards – say, one from each sibling, or one for Dad and one for Grandpa – just print as many copies as you need. That’s the beauty of a printable!

Step 2: Color
This is where the magic happens – hand it over and let your child go wild!
Encourage them to color in all the tools, the toolbox body, and the little details on the label. The cartoon tools have fun expressions that are really satisfying to fill in.
They can go realistic with silver hammers and yellow rulers, or fully imaginative with a rainbow wrench and a sparkly purple screwdriver. Both are completely wonderful.
The more personality they put into it, the more Dad is going to love it.
✏️ Pro Tip: Colored pencils give the most control around the small details of the tools. But crayons work beautifully too – especially for younger kids who are still building their fine motor skills.

Step 3: Cut It Out
Once the coloring is done, carefully cut out the toolbox shape – cutting just outside the printed lines so the outline stays clean and crisp.
The shape isn’t a simple rectangle, so take it slowly around the tools at the top. That’s where the cutting gets a little more detailed.
And that’s it – the card is ready to give!
🔨 Heads up for teachers and parents of little ones: The cutting around the individual tools at the top can get fiddly for younger kids. Pre-cut the cards for PreK and Kindergarteners, or do a quick demo cut so older kids know what they’re aiming for.
🎨 Fun Variation – Make It a Classroom Station:
Set up a “Dad’s Workshop” coloring station with jars of colored pencils and let kids work at their own pace. Play some upbeat music, put out a snack, and make an event of it. Kids who finish early can make a second card for a grandpa, uncle, or stepdad!

Tips for Specific Age Groups
For PreK & Kindergarten (Ages 4–6)
Pre-cut the cards so little ones only need to focus on the coloring – that’s the most fun part for them anyway
Use chunky crayons or washable markers for an easier grip
Keep the coloring session short and sweet – 10 to 15 minutes is plenty for this age
For Elementary Kids (Ages 7–11)
They can handle all three steps on their own with just a quick walkthrough
Encourage them to take their time on the coloring – the more detail they add, the more impressive the final card looks
Colored pencils are a great choice here – they give beautiful results on the tool details
For Older Kids & Tweens (Ages 12+)
Challenge them to shade the tools to look 3D, or add patterns to the toolbox body
Fine-tip markers on cardstock give a really polished, almost illustrated look
They might also enjoy writing a heartfelt note on the back before gifting it

Why This Works So Well as a Class Craft
As a teacher, you want a Father’s Day project that checks three boxes: meaningful, manageable, and doesn’t eat your entire afternoon.
This one hits all three.
Setup takes maybe five minutes – just print and distribute. The coloring keeps kids happily occupied for 20 to 30 minutes. And since there’s no folding, gluing, or complicated assembly, wrapping it up is quick and clean.
Clean-up is just scissors and a few stray crayon caps. That’s a serious win.
And these cards are genuinely gift-worthy. They’re not the kind of craft that gets left on the back seat of the car by Tuesday.
Dads actually keep these. They put them on their desks. They stick them on the fridge. They take them to work.
That alone makes this project worth doing.
Make It a Memorable Moment
Whether you’re doing this in a classroom of 25 or at the kitchen table the night before Father’s Day, the real magic isn’t in the cutting or the coloring.
It’s in the moment your child hands it over.

The way they watch Dad’s face when he sees it. The way they say “I made it myself!” with about a thousand watts of pride.
That’s what Dad is actually going to remember. Not whether the wrench was colored perfectly. Not whether the lines are exactly straight.
The love behind it.
And this little printable makes that moment possible in about 30 minutes, with nothing but paper, crayons, and scissors.
With this simple craft in your back pocket, you’re all set to give Dad a Father’s Day he’ll actually talk about. And hey – watching your kid color that tiny little wrench with total concentration? That’s half the gift right there. 🔧
More Father’s Day Ideas to Keep the Fun Rolling:
Dad, You Rock! How to Make a Handprint Guitar Father’s Day Card (Printable Included)
How to Make a Magic Flip Card for Father’s Day (That Looks Way Harder Than It Is)
How to Make a DIY Tuxedo Father’s Day Card (Step-by-Step)
Super Dad Father’s Day Gift: The Sweetest Superhero Craft Kids Can Make in Minutes
“You Mean the World to Me”: How to Make the Cutest 3D Father’s Day Card for Dad or Grandpa
Going the Extra Mile: A Sweet DIY Handprint Semi-Truck Craft for Father’s Day
Unmask the Hero: DIY “Secret Superhero” Dress Shirt Card for Father’s Day
