
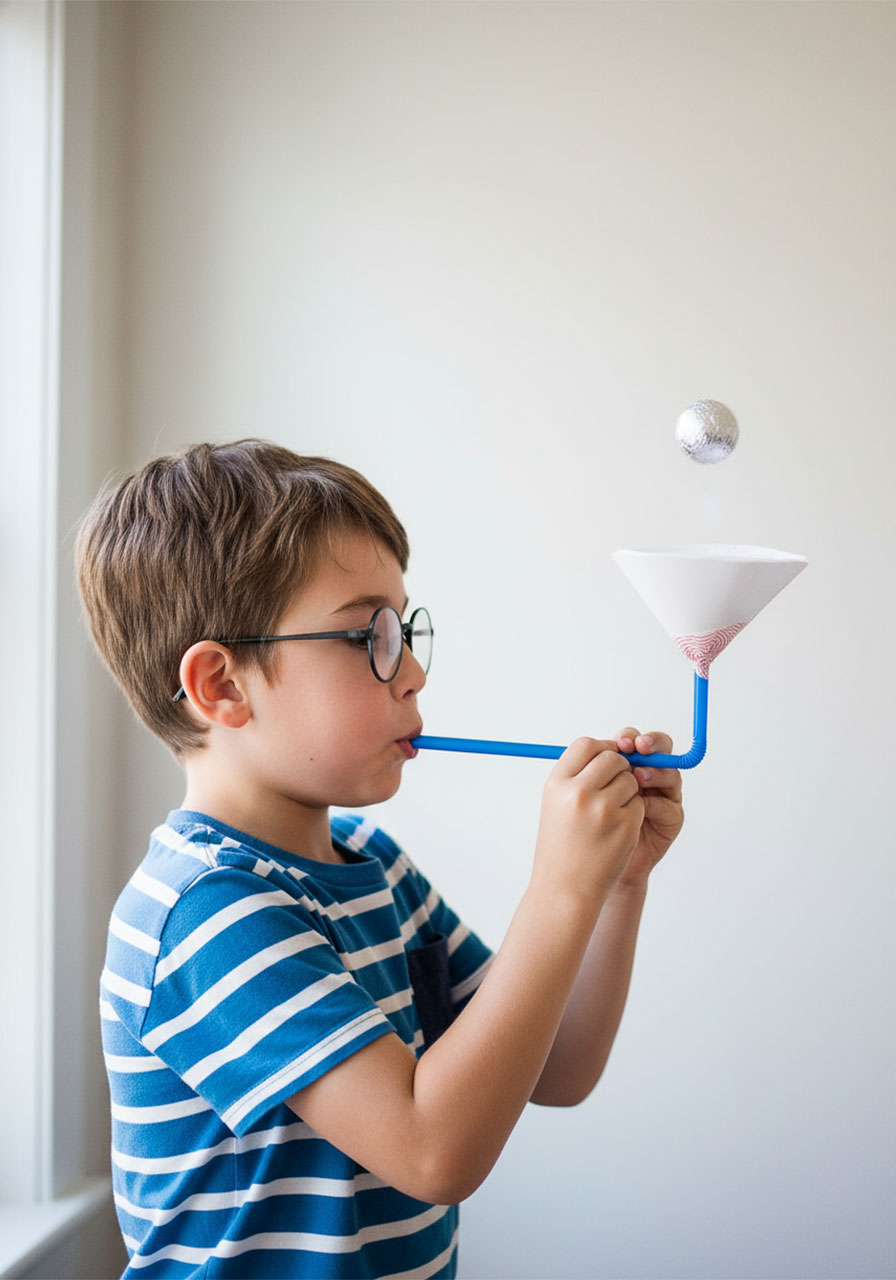
You know that moment when a kid’s jaw drops and they say, “Wait… HOW is it doing that?!” That’s exactly what happens with this floating ball activity – and it never gets old. Whether you’re a parent looking for a rainy-day win or a teacher hunting for a hands-on science activity, this one delivers big on fun and zero on fuss.
The best part? You only need a handful of supplies you almost certainly already have at home or in your classroom. Let’s build it!
What Is the Floating Ball Activity?
It’s a simple DIY launcher made from a paper cone and a bendy straw. When you blow a steady stream of air through the straw, the ball “magically” hovers and floats above the cone. It’s equal parts science experiment and party trick – and kids absolutely love it. (Spoiler: grown-ups do too.)
The science behind it is real: the fast-moving air creates a low-pressure zone that keeps the ball suspended. Think of it as your own tiny Bernoulli’s Principle demo – but don’t worry, you don’t need to explain that part unless you want to impress someone.

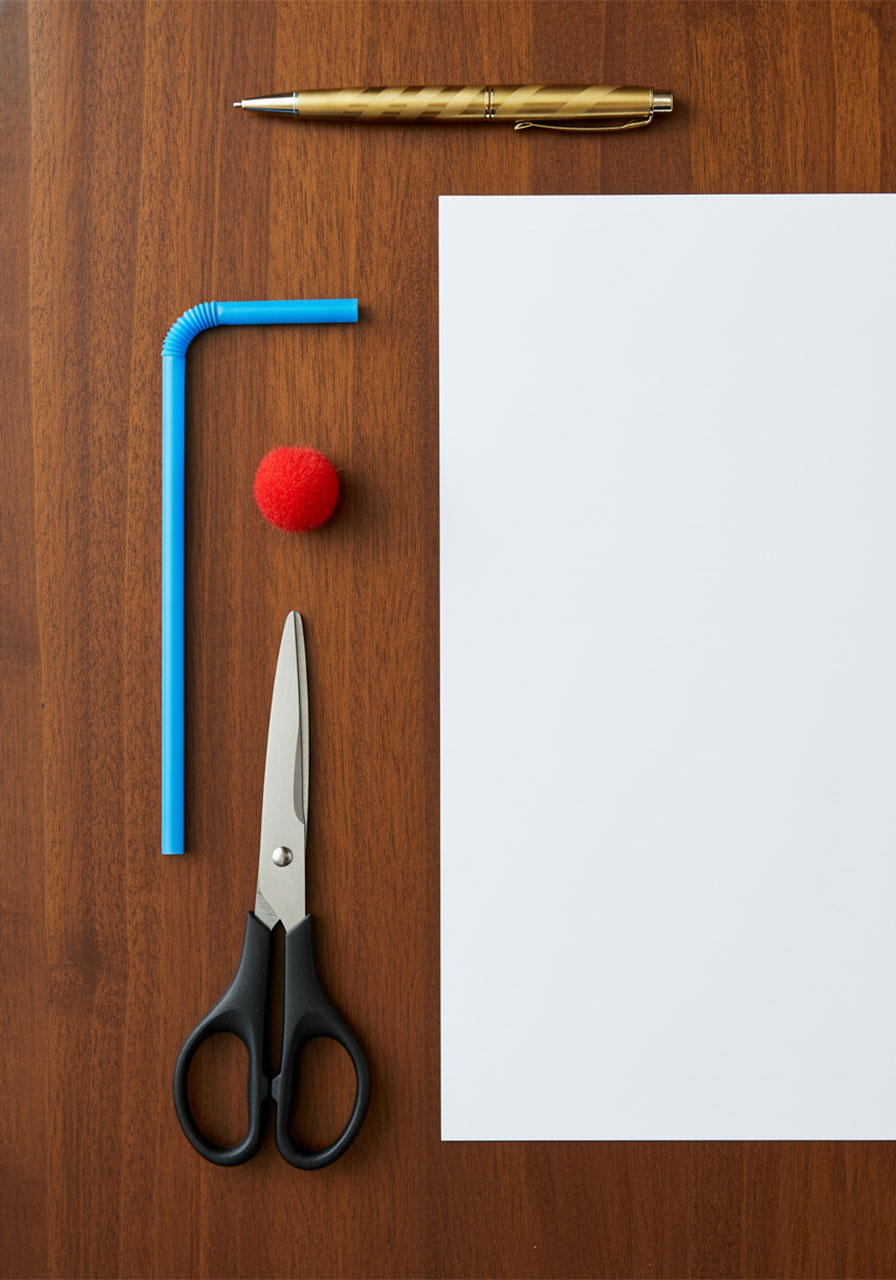
What You’ll Need
1 bendy (flexible) straw
1 sheet of paper (regular printer paper works great)
Scissors
A pen or pencil
Tape
A ping pong ball (best option) – OR – a small ball made from aluminum foil
Optional: A small amount of clay or putty (to seal any air gaps)
Optional: A round object like a bowl or cup to trace your circle
Pro Tip on the Ball: A ping pong ball works like a dream because air flows evenly around its smooth surface. If you’re making a foil ball, wrap the foil tightly and as smoothly as possible around a small wad of foil – avoid wrapping it around a felt ball, as felt absorbs air and the float won’t work as well.
How to Make the Floating Ball Launcher
Step 1: Trace and Cut Out a Circle
Place a round object (like a bowl or large cup) onto your sheet of paper and trace around it with your pen or pencil. The circle should be roughly 6–8 inches across – big enough to form a good-sized cone. Cut the circle out carefully.

Step 2: Make a Single Cut to the Center
Starting from the edge of your circle, cut a straight line toward the center – stop right in the middle. Don’t cut all the way through! This single slit is what allows you to shape it into a cone.

Step 3: Shape It Into a Cone (Funnel)
Overlap the two cut edges to form a cone shape – like a little party hat or an ice cream cone. The tighter you make the cone at the bottom, the better it’ll hold the straw. Secure the overlapping edges with tape to hold the cone shape firmly in place.
Step 4: Create a Small Hole at the Tip
At the very bottom tip of your cone, carefully poke or cut a small hole just big enough for the short end of your bendy straw to fit through snugly. The fit should be tight – you want air going UP through the cone, not leaking out the sides.

Step 5: Insert and Secure the Straw
Push the short end of the bendy straw up through the hole from the outside (bottom) of the cone so it pokes out the top. Bend the straw so the long end points outward – this is the part you’ll blow into. Wrap tape firmly around the outside of the cone tip where it meets the straw to seal it securely.
Step 6: Seal Any Air Gaps (If Needed)
Hold the launcher up and blow gently. If you feel air escaping around the edges or the cone feels loose around the straw, press a small amount of clay or putty around the joint to seal it completely. A tight, airtight connection between the straw and cone is the secret to a great float!
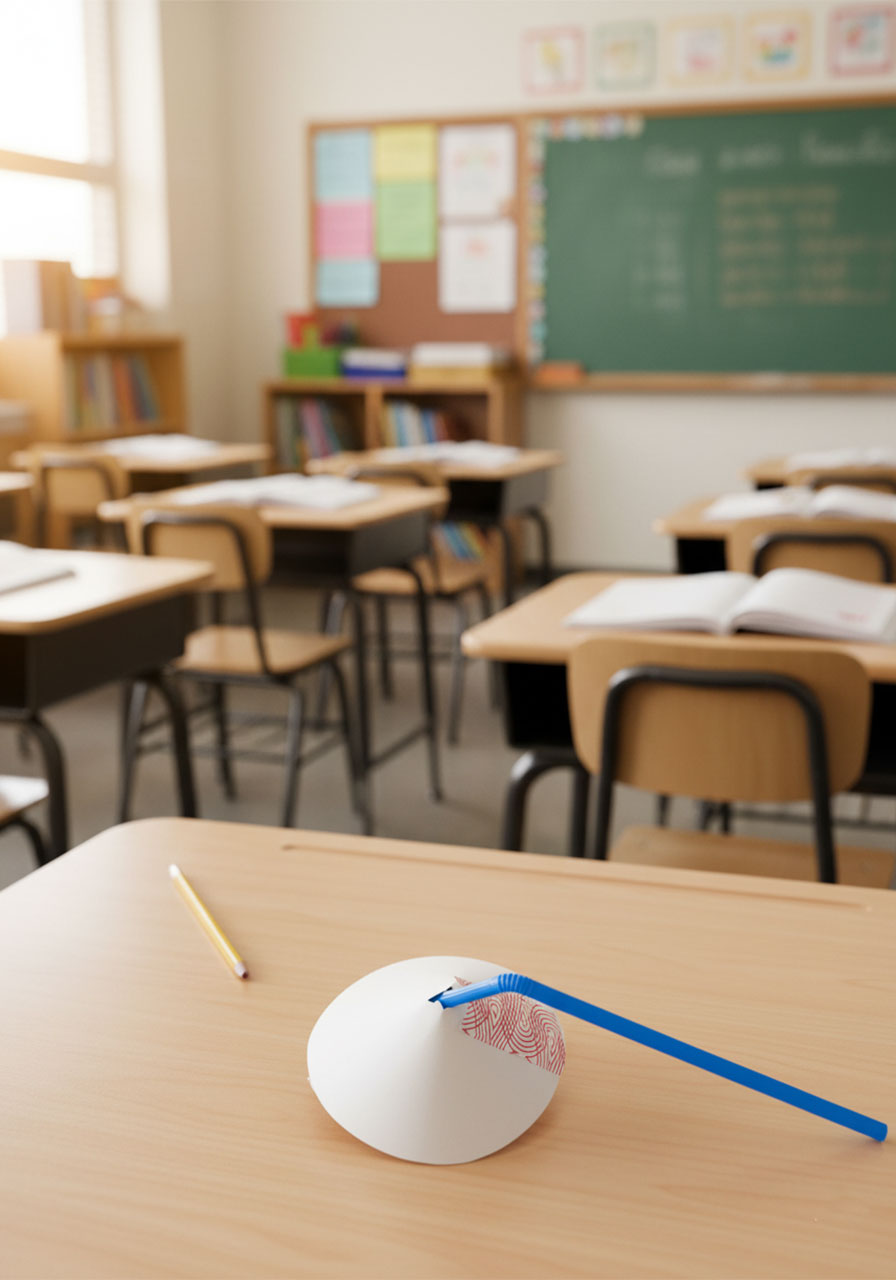
Step 7: Float Your Ball!
Place your ping pong ball (or foil ball) into the wide open top of the cone. Now put the long end of the straw in your mouth, aim the cone upward, and blow a slow, steady, consistent stream of air. Watch the ball lift and hover right above the cone!
The key is keeping your airflow even and continuous. If you blow too fast or stop, the ball will drop. But when you find that sweet, steady rhythm – it floats like magic.

Tips for the Best Float
Slow and steady wins. A calm, even breath works far better than a big powerful puff. Think of blowing out birthday candles gently, not blowing up a balloon.
Use a ping pong ball whenever possible. Its lightweight, smooth, perfectly round surface is made for this trick.
Seal it tight. Most failed attempts come down to air leaking at the straw-cone joint. A little extra tape or clay here makes a huge difference.
Make it a challenge! Once kids get the hang of it, dare them to walk around the room while keeping the ball floating, or see who can keep it up the longest.
Fun Variations to Try
Make it a competition: Give each kid their own launcher and see who can keep their ball floating the longest. Works great as a minute-to-win-it style party game!
Decorate your cone: Before assembling, let kids color or decorate their paper circle. Instant personalized launcher!
Try different balls: Experiment with a cotton ball, a small pompom, or a crumpled piece of paper. What floats? What doesn’t? Great conversation starter for curious kids.
Team relay: Can one person pass the floating ball to another player’s launcher without it dropping? This one gets hilarious fast.

Why Kids (and Teachers) Love This Activity
It takes less than 10 minutes to make, uses supplies you already have, and produces that priceless “I can’t believe it works!” reaction every single time. It’s also a sneaky-great science lesson – kids learn about air pressure and airflow without even realizing they’re learning.
For teachers, this makes an incredible hands-on activity for a unit on physics or simple machines. For parents, it’s the kind of thing that buys you a solid 30 minutes of focused, joyful play – and maybe a little quiet.
Either way, it’s a guaranteed good time. Happy floating!
More Kid’s Party Ideas to Keep the Fun Rolling:
Floating City STEM Challenge: Can Your Kid Build a City That Survives the Waves?
Dot Sticker Addition: The Hands-On Math Activity Kids Actually Want to Do Again and Again
Water Gun Painting: The Most Fun Kids Art Activity This Summer
How to Make a LEGO Sundial: A Hands-On Science Activity Kids Will Love
Rabbit Hole: The Hilarious Gross Motor Group Game Kids Will Beg to Play Again
How To Make a Tissue Box Toy Car Wash (The Easiest $0 Craft That Kids Go Absolutely Wild For)
Shaving Cream Sensory Play: The “Decorate the Cake” Activity Kids Go Absolutely Wild For
Q-Tip Push: The Crazy-Simple Baby Activity That Buys You 30 Minutes of Peace
