

Looking for a summer activity that gets the kids off their screens, outside in the fresh air, AND results in stunning artwork you’ll actually want to hang on the wall? Enter: water gun painting – the most epic mashup of art and play your backyard has ever seen.
I set this up for my boys one afternoon and honestly? I had as much fun watching them as they did creating. My 2-year-old was squinting with concentration, my older one was turning it into a full-on target challenge, and by the end, we had three colorful masterpieces taped to the fridge. Not bad for a Tuesday.
Whether you’re a parent hunting for a new summer activity, or a teacher planning an outdoor art day, this one is a guaranteed crowd-pleaser. It works for toddlers, big kids, and every age in between – and the setup is easier than you think.
One heads-up before we dive in: use washable paint. I learned this the hard way when I ended up with a beautifully tie-dyed patio and a sidewalk that still has “character” to this day. Save yourself. Washable paint only. You’re welcome. 😄
What You’ll Need
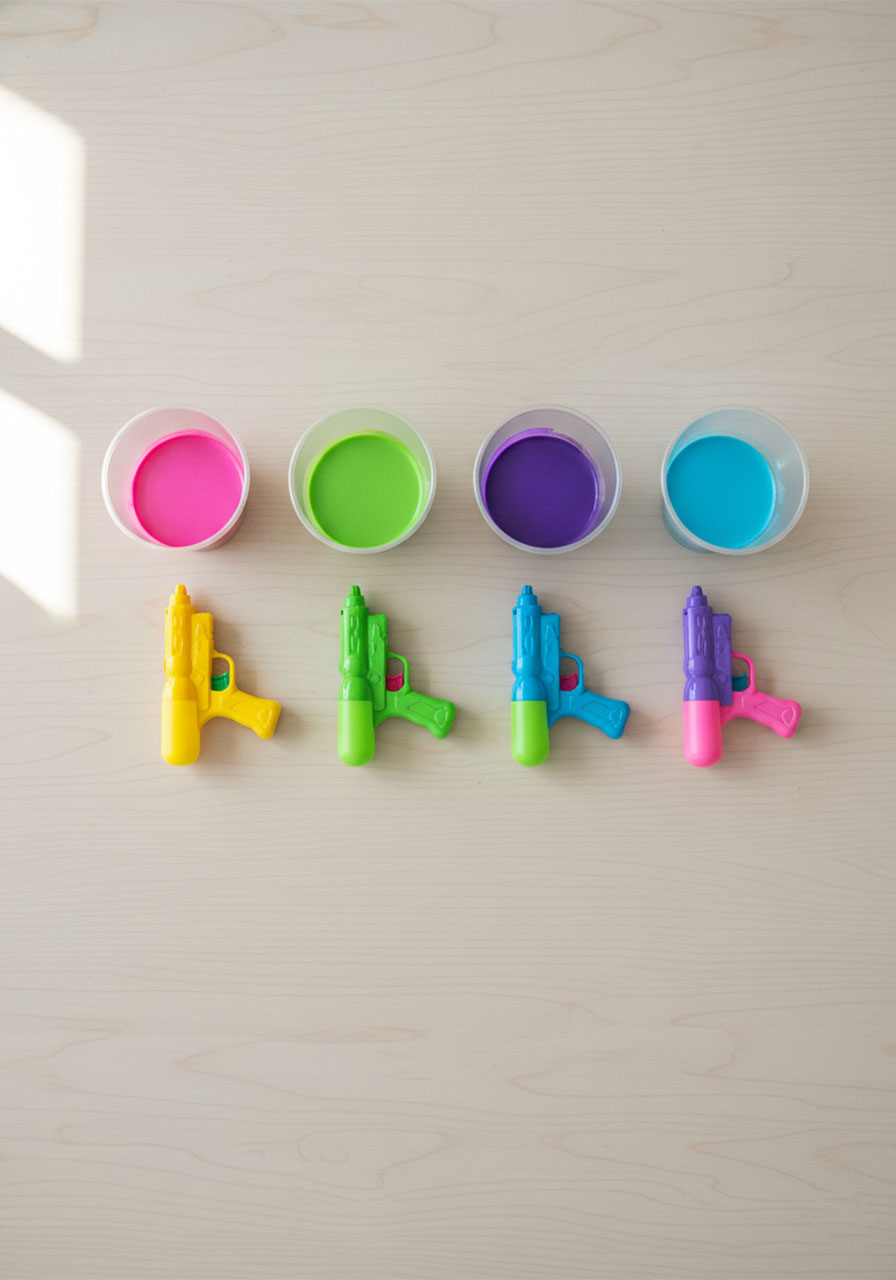
Small water pistols or squirt guns (one per child, or color-code them for a fun twist!)
Washable, non-toxic liquid paint – liquid watercolors work beautifully
Sturdy watercolor paper or canvas boards
A kids’ art easel, or a fence covered with a tarp or trash bags
Painter’s tape or masking tape (to secure the paper)
Small cups or bowls for mixing paint
Old clothes or an apron – this activity is gloriously messy
Pro Tip: Fill the water guns and mix the paint before the kids come outside. Trust us – once they see the setup, the excitement level goes from 0 to 100 instantly, and you won’t get a moment to prep once they’re out there!

How to Set Up Water Gun Painting (Step-by-Step)
Best for: Kids ages 2 and up, family gatherings, outdoor birthday parties, summer art camps
Time to Set Up: 10–15 minutes
Activity Time: 30 minutes to however long they’ll let you keep them out there (spoiler: it’ll be a while)
Step 1: Mix Your Paint
In small cups or bowls, mix your washable paint with water using roughly a 50/50 ratio. You want the consistency thin enough to shoot through the gun, but still vibrant enough to show up on the paper. Give it a stir – if it squirts smoothly through the gun nozzle, you’ve nailed it. Fill each water gun with a different color.
Step 2: Set Up Your Canvas Station
Tape a large sheet of watercolor paper or canvas to an easel and set it up in the grass – away from concrete, decks, or anything you don’t want splattered with color. No easel? No problem. Tape the paper to a fence, but lay down a tarp or garbage bags behind it to protect the surface. The grass is your best friend here – it won’t stain!

Step 3: Let Them Loose!
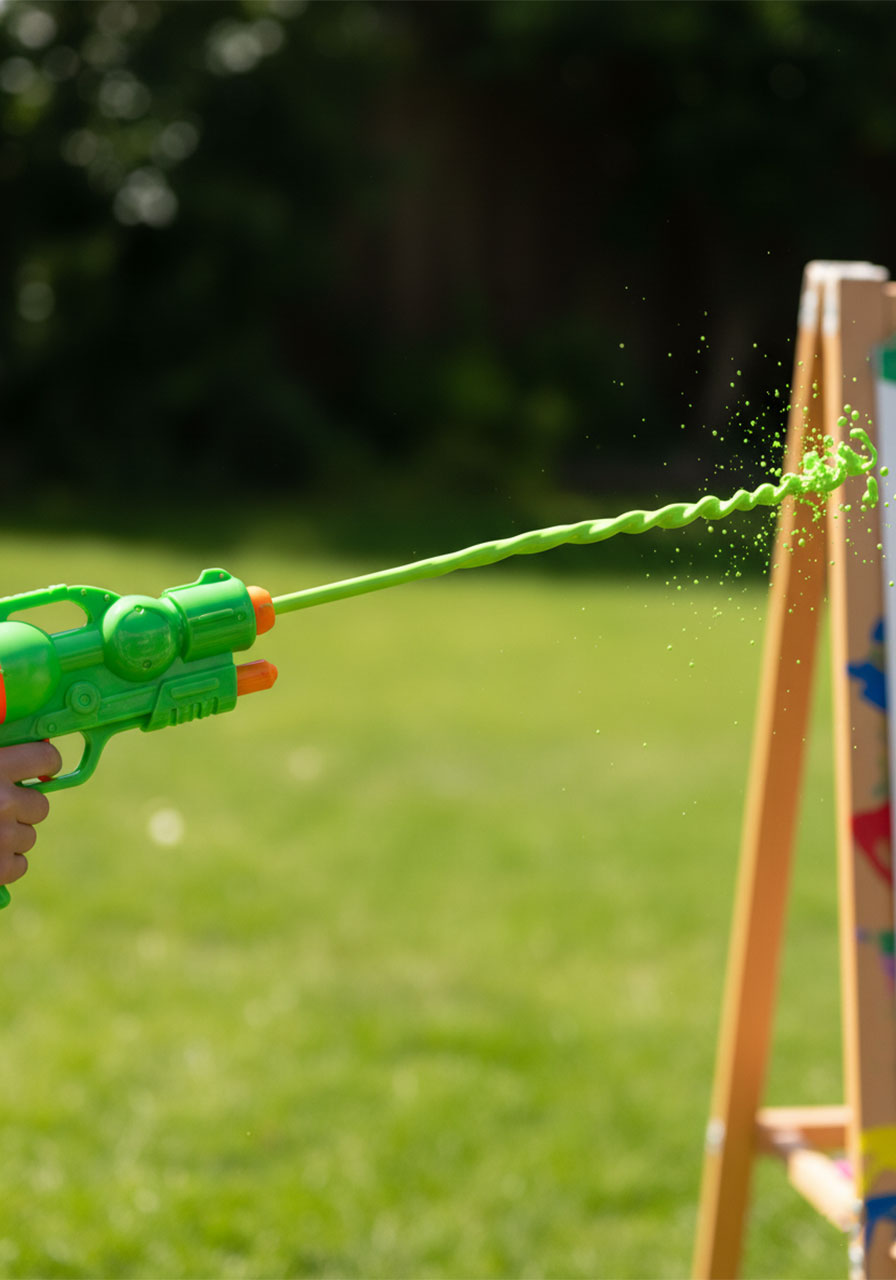
Hand each child their loaded water gun and step back. Let them experiment with distance – standing far away creates delicate splatter effects, while up-close shots make bold, dramatic drips. Both are gorgeous. There are zero rules here except “have fun and make something beautiful.”
Encourage them to try layering colors, shooting at different angles, or even collaborating on one giant shared canvas. The results are always surprisingly stunning.
Why Kids (and Parents!) Love This Activity
This isn’t just fun for the sake of fun – though that alone is reason enough! Here’s why water gun painting is such a win:
It builds fine motor skills. For toddlers especially, the squeezing and aiming action is fantastic for developing hand strength and hand-eye coordination. It’s sneaky learning at its finest.
It encourages creativity with zero pressure. There’s no “right” way to paint with a squirt gun. Every canvas turns out differently, and kids feel proud of whatever they make.
It works for a huge age range. A 2-year-old can do this just as much as a 12-year-old. You can do it together, making it a rare activity the whole family genuinely enjoys at the same time.
It’s an amazing party activity. Planning a backyard birthday party or summer playdate? Set up multiple easels and let every kid take home their own original artwork as a party favor. How cool is that?

Fun Variations to Try
Target Practice Art: Draw or print big targets and tape them over the paper. Kids earn “points” by hitting the center rings – but the real prize is the colorful splatter art that forms around the target. Competitive AND creative!
Team Mural: Tape a really long strip of paper or butcher paper to the fence and let everyone contribute to one massive collaborative painting. Great for classrooms or large groups.
Color Mixing Challenge: Give each child only a primary color (red, blue, or yellow) and challenge them to create new colors by overlapping their shots on the canvas. It’s art AND a science lesson!
Nighttime Glow Version: Use glow-in-the-dark or neon paints for an after-dark painting session. Set up a black light – the results are absolutely magical.
Setting This Up as a Classroom or Camp Activity
If you’re a teacher or camp counselor, this activity scales up beautifully. Here’s how to make it work for a group:
Pre-fill the water guns yourself before the activity starts to keep things moving smoothly.
Color-code the guns by wrapping the handle with a small piece of matching tape – this makes it easy to assign colors to individual kids or small groups.
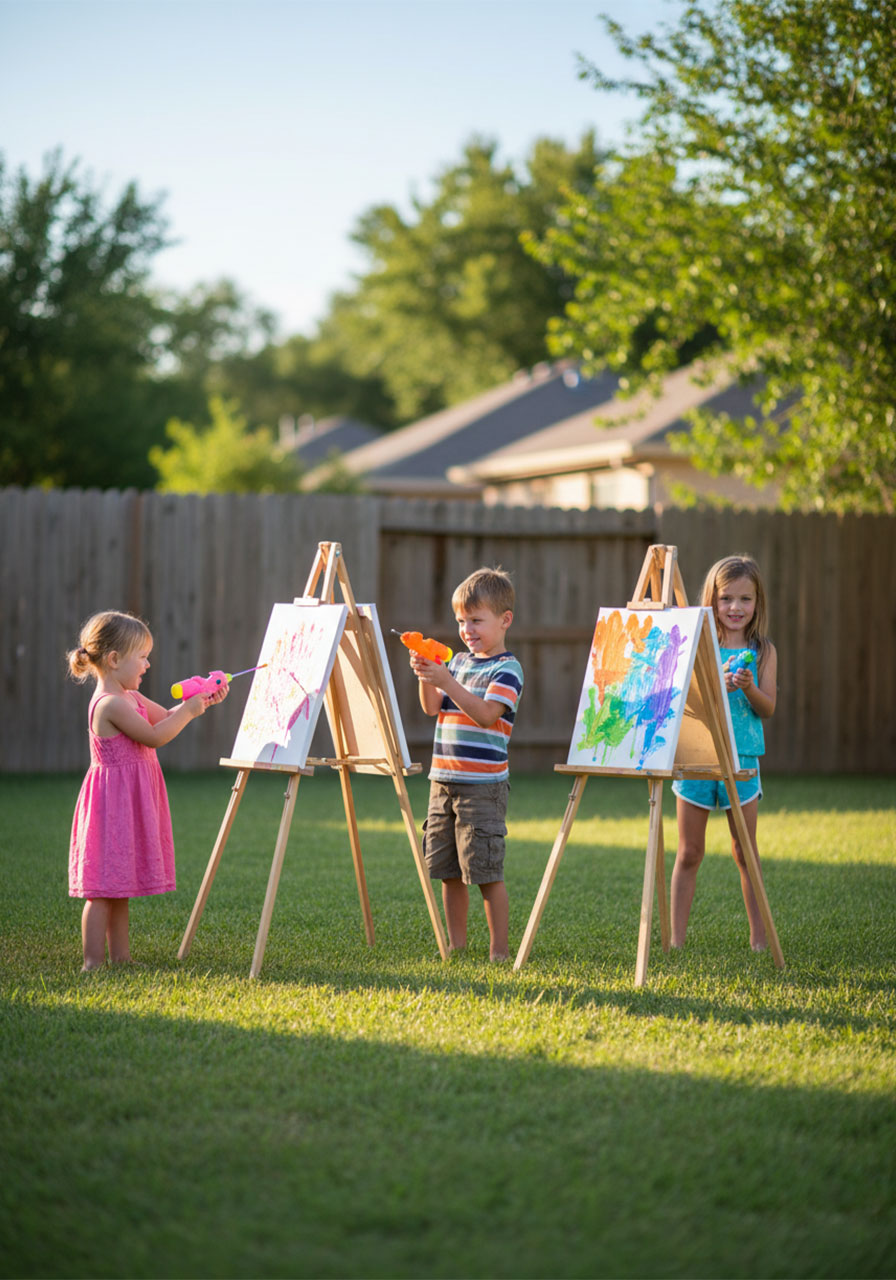
Set up two or three easels side by side so multiple kids can paint at once without a long wait.
Have a refill station ready: extra cups of pre-mixed paint so guns can be quickly topped up without chaos.
Let each child’s finished canvas dry flat in the sun before sending it home – they’ll be so proud to show it off!
Ready to Make Some Mess-terpieces?
Water gun painting is one of those rare activities where the process is just as memorable as the result. Kids walk away with beautiful, one-of-a-kind artwork – and you walk away with a memory of their faces completely lit up with joy. That’s the kind of summer moment worth chasing.
So grab some water guns, mix up those colors, and turn your backyard into the most colorful art studio on the block. The cleanup is easy (washable paint, remember!), and the smiles? Completely priceless.
Have you tried water gun painting with your kids? Drop a comment below and tell us what colors you used – we’d love to hear how it went!
More Kid’s Party Ideas to Keep the Fun Rolling:
How to Make a LEGO Sundial: A Hands-On Science Activity Kids Will Love
Rabbit Hole: The Hilarious Gross Motor Group Game Kids Will Beg to Play Again
How To Make a Tissue Box Toy Car Wash (The Easiest $0 Craft That Kids Go Absolutely Wild For)
Shaving Cream Sensory Play: The “Decorate the Cake” Activity Kids Go Absolutely Wild For
Q-Tip Push: The Crazy-Simple Baby Activity That Buys You 30 Minutes of Peace
The Muffin Tin Letter Sounds Activity That Makes Learning ABCs Actually Fun
How to Build a LEGO Marble Maze (Step-by-Step DIY for Kids of All Ages)
What Melts in the Sun? The Easiest Science Experiment Kids Will Beg to Do Again
