
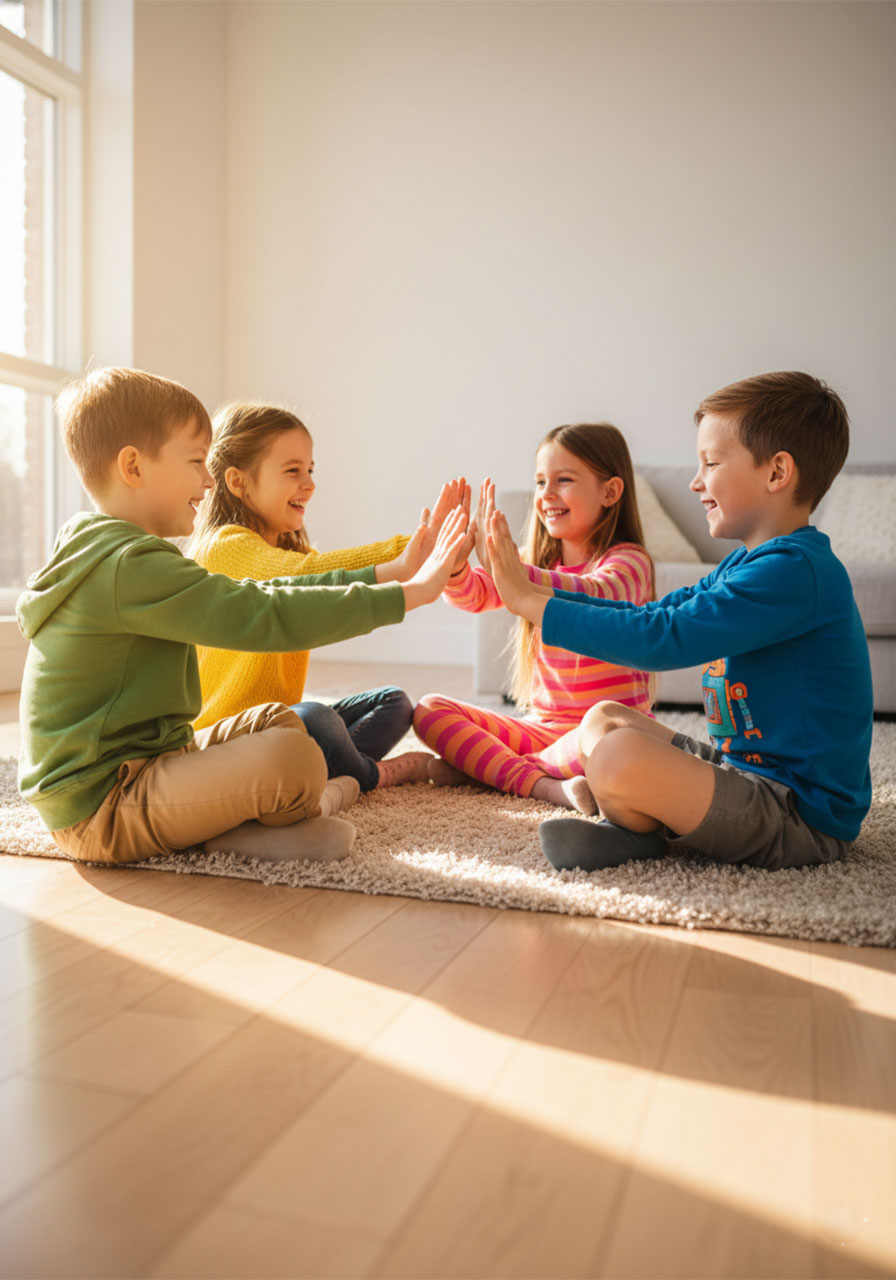
Hand-clapping games might look like simple playground fun – but don’t let that fool you. These rhythmic, partner-based games are secretly one of the best tools you have as a parent or teacher for building coordination, memory, focus, and rhythm in kids, all without a single screen in sight.
Whether you’re looking for a brain break during a homeschool day, a no-prep activity for recess, or just something fun to do with your kids at home, this list has you covered. These 7 hand-clapping games are ordered from easiest to most challenging, so you can start where it makes sense and level up as your kids get more confident.
The best part? Zero supplies needed. Just two pairs of hands and a little enthusiasm.
1. Pat-a-Cake (The Mirror Version)
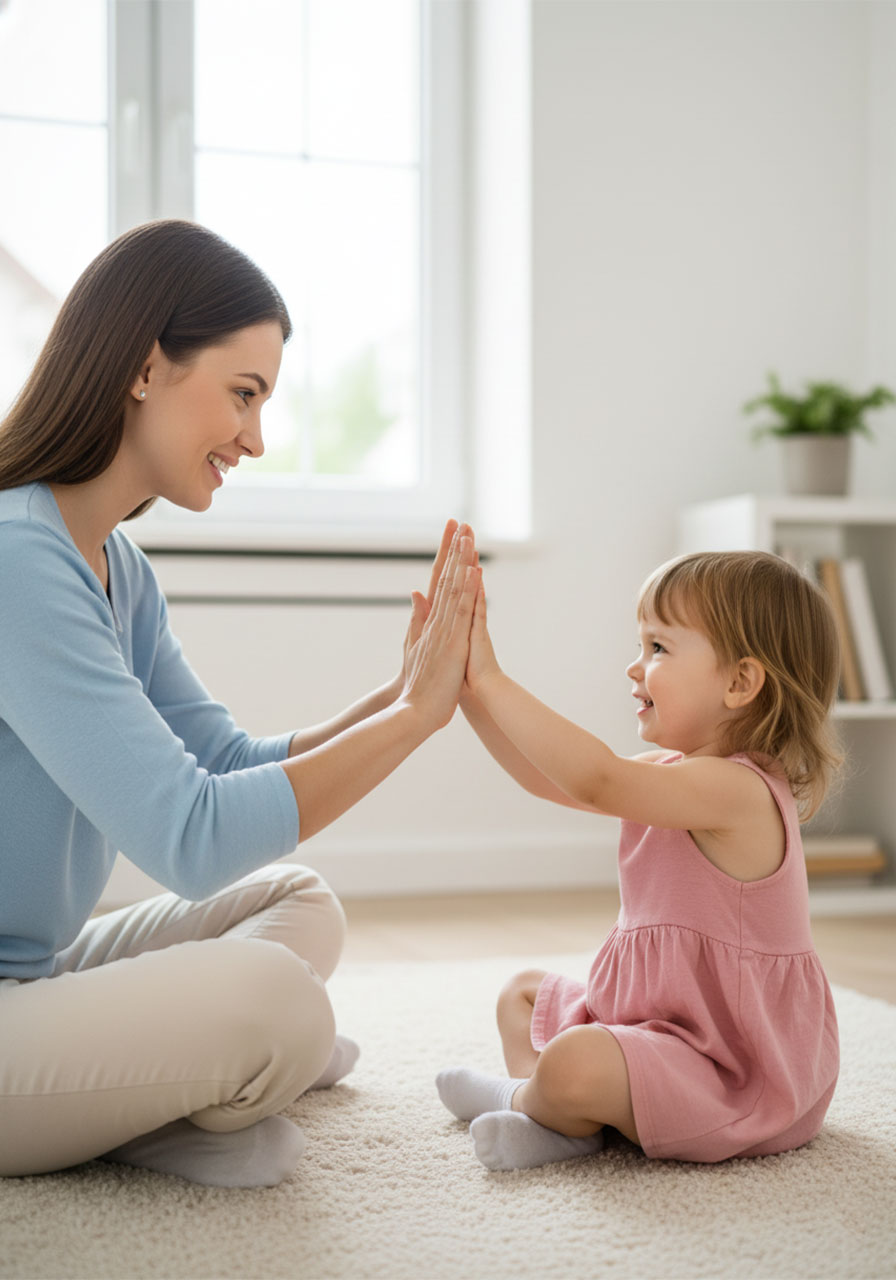
You already know Pat-a-Cake – but this mirror version takes the classic nursery rhyme up a notch. Instead of a simple back-and-forth clap, your child mirrors your movements as you face each other, making it a fantastic activity for hand-eye coordination and focused attention. It’s the perfect starting point for younger kids who are brand new to partner clapping.
Best for: Toddlers and preschoolers, parent-child bonding, fine motor development
Players: 2 (one adult, one child)
Time to Play: 5–10 minutes
What You’ll Need:
Nothing! Just you and your child facing each other.
How to Play:
1. Sit or stand facing your child so you’re at eye level with each other.
2. Begin the chant: “Pat-a-cake, pat-a-cake, baker’s man…”
3. On “Pat-a-cake”: Clap your own hands together, then clap both of your palms against your child’s palms (like a double high-five). Repeat.
4. On “Bake me a cake as fast as you can”: Continue the same alternating clap-and-partner-clap motion.
5. On “Roll it”: Circle both hands around each other in a rolling motion.
6. On “Pat it”: Pat both hands flat on your knees.
7. On “Mark it with a B”: Clap your hands together, then extend them outward toward your child.
8. On “Put it in the oven for baby and me”: Interlace your fingers, sway your joined hands back and forth, then finish with one big clap.
Pro Tip: Start at a slow, exaggerated pace so your child can follow along. Once they’ve got it down, speed it up and watch the giggles begin! Expressive facial expressions go a long way here – this game is as much about connection as it is coordination.

2. Double Double This That
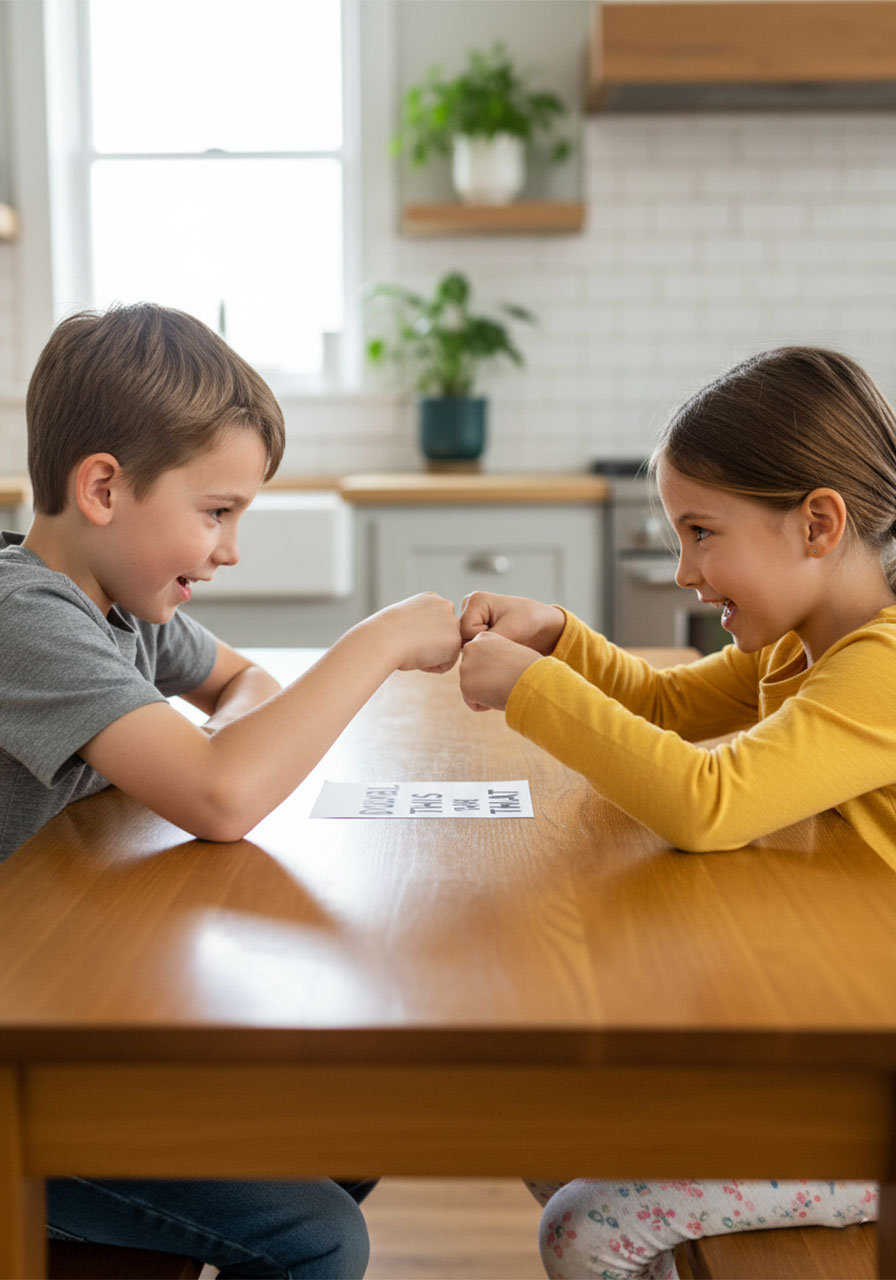
This one is a total brain workout disguised as a clapping game. The sequence sounds simple at first – double, this, that – but the moment you try to speed it up, it becomes hilariously tricky. Kids (and plenty of adults) love the challenge of keeping up without losing their place. It’s a fantastic focus-builder that works just as well in a classroom as it does at the kitchen table.
Best for: Elementary-age kids, brain breaks, small groups
Players: 2 or more
Time to Play: 5–10 minutes
What You’ll Need:
Just your hands!
The Three Moves to Learn First:
- Double: Make two fists and tap them against your partner’s fists.
- This: Clap your palms together (a regular clap).
- That: Clap the backs of your hands together (a reverse clap).
How to Play:
1. Practice each of the three moves separately until they feel natural. Don’t rush this – getting the “That” (back-of-hand) move right is the secret to the whole game.
2. Now put them together with this chant, matching each word to its move:
- “Double double” → Fist-tap twice
- “This this” → Clap palms twice
- “Double double” → Fist-tap twice
- “That that” → Back-of-hand clap twice
- “Double this” → Fist-tap once, then palm clap once
- “Double that” → Fist-tap once, then back-of-hand clap once
- “Double double” → Fist-tap twice
- “This that” → Palm clap once, then back-of-hand clap once
3. Repeat the full sequence from the beginning, getting faster each round.
4. Anyone who messes up the sequence is out. Last one standing wins!
Pro Tip: With a group of kids, turn this into an elimination round – each round gets faster until only one person is left clapping perfectly. It gets competitive fast, in the best possible way.
3. A Sailor Went to Sea Sea Sea
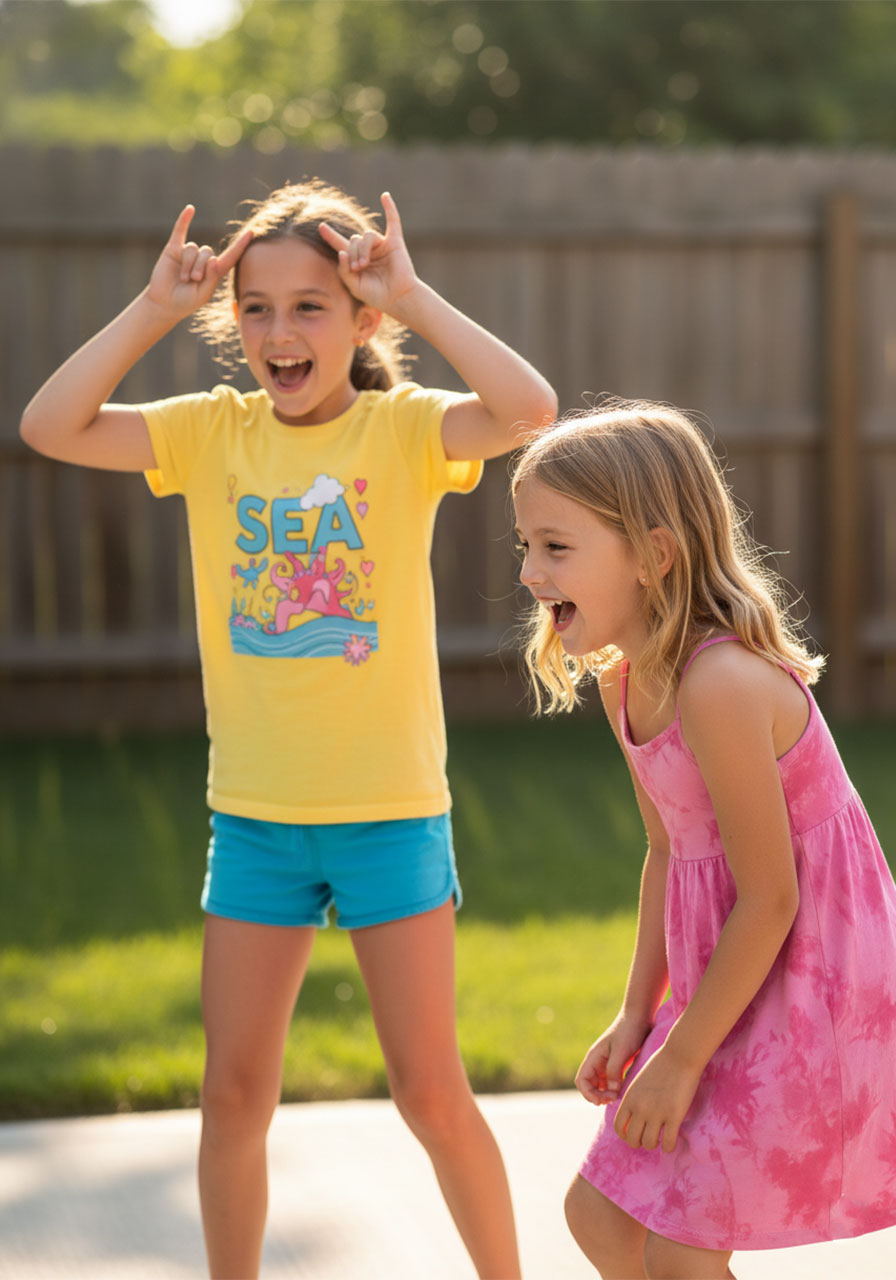
This high-energy classic is one of the best games for developing bilateral coordination – that’s the brain’s ability to use both sides of the body together, which is a key building block for reading and writing. The three-round format (Sea, Knee, Chop) keeps the energy up, and the final combined round is a genuine challenge that even older kids will find satisfying to conquer.
Best for: Ages 5 and up, coordination development, pairs or small groups
Players: 2
Time to Play: 10–15 minutes
What You’ll Need:
A partner and enough space to move!
The Three Moves:
- Sea: Touch your fingertips to your temples (like shading your eyes to look out to sea).
- Knee: Pat both hands on your knees.
- Chop: Hold one hand flat and “chop” the other hand down onto it.
How to Play:
1. Stand facing your partner. For every line of the chant, clap your own hands once, then give your partner a double high-five (both palms).
2. Round 1 – Sea: Chant and clap through the song. Every time you say “Sea, Sea, Sea,” touch your temples three times instead of clapping.
- “A sailor went to… Sea, Sea, Sea”
- “To see what he could… Sea, Sea, Sea”
- “But all that he could… Sea, Sea, Sea”
- “Was the bottom of the deep blue… Sea, Sea, Sea”
3. Round 2 – Knee: Repeat the same chant. This time, replace every “Sea, Sea, Sea” with patting your knees three times.
4. Round 3 – Chop: Repeat again, replacing “Sea, Sea, Sea” with the chopping motion three times.
5. The Final Challenge: Combine all three! For each “Sea-Knee-Chop” moment, do one temple touch, one knee pat, and one chop – all in sequence, in rhythm. This is the round that separates the pros from the beginners!
Pro Tip: Don’t skip the individual rounds – they’re essential for building the muscle memory needed to nail the final combination. Think of it as leveling up in a video game.
4. Miss Mary Mack
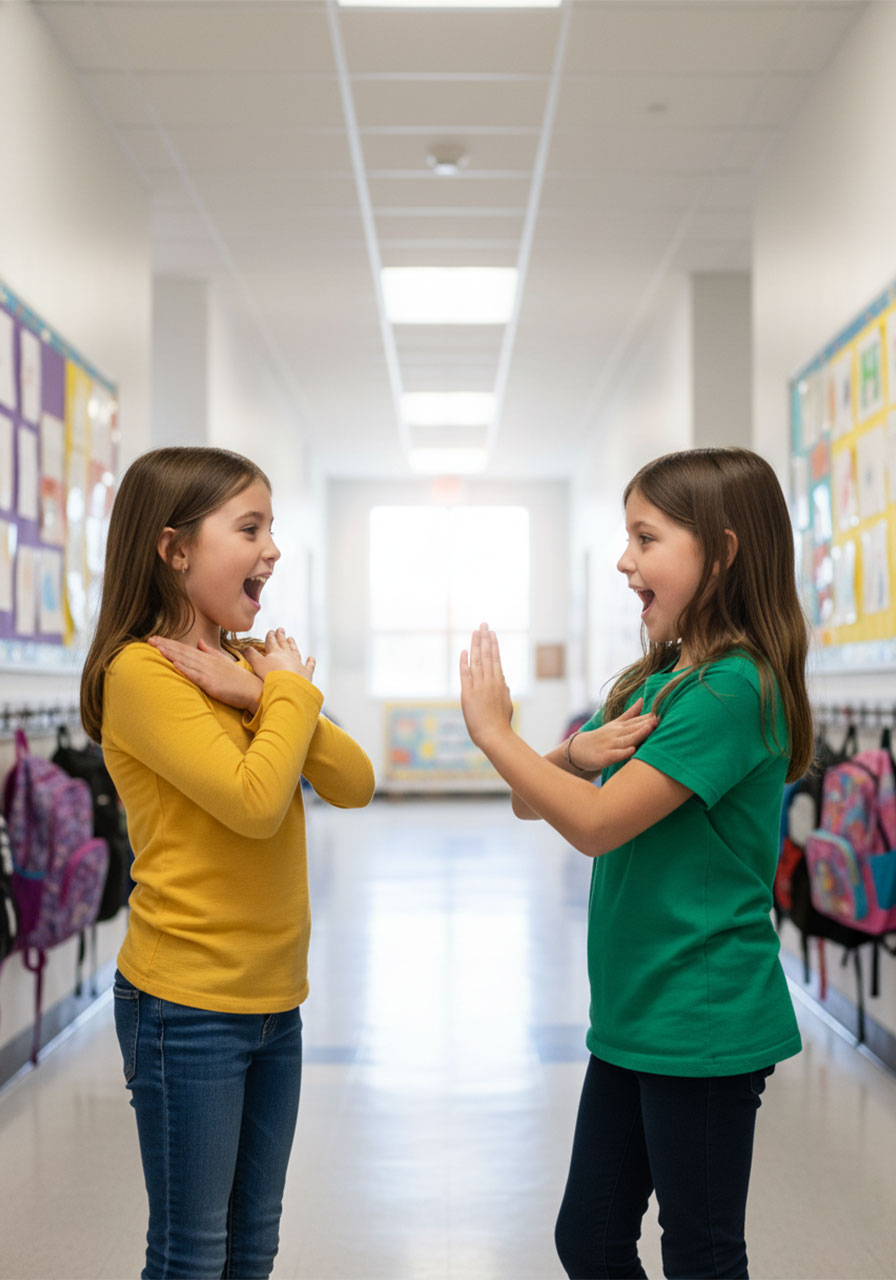
If there’s one hand-clapping game that has stood the test of time, it’s Miss Mary Mack. The steady four-beat rhythm makes it accessible for younger kids, while the call-and-response nature of the lyrics makes it genuinely fun to perform. It also introduces a cross-body movement (crossing your arms over your chest) that’s great for midline development.
Best for: Ages 5 and up, classroom brain breaks, playdates
Players: 2
Time to Play: 10 minutes
What You’ll Need:
Just your hands and a partner!
The 4-Step Pattern (repeats for every line of the song):
1. Cross: Cross your arms over your chest, touching your opposite shoulders.
2. Pat: Uncross and pat both hands on your own knees.
3. Clap: Bring both hands together in a single clap in front of you.
4. Partner Clap: Reach out and clap both of your partner’s hands at once.
How to Play:
1. Sit or stand facing your partner.
2. Practice the four-step pattern (Cross, Pat, Clap, Partner Clap) slowly without any words first. Get the rhythm locked in before adding the chant.
3. Once the pattern feels steady, add the lyrics. Each line of the song gets one full round of the four-step pattern. The repeated words at the end of each line (Mack, Mack, Mack) happen fast – one beat each!
- Miss Mary Mack, Mack, Mack – All dressed in black, black, black
- With silver buttons, buttons, buttons – All down her back, back, back
- She asked her mother, mother, mother – For fifty cents, cents, cents
- To see the elephants, elephants, elephants – Jump over the fence, fence, fence
- They jumped so high, high, high – They touched the sky, sky, sky
- And never came back, back, back – ‘Til the fourth of July, ly, ly!
4. Speed it up once you’ve nailed the pattern. See how fast you can go before someone misses a beat!
Fun Variation: Got three players? Form a triangle and have each person clap with both neighbors at the same time during the “Partner Clap” step. It sounds chaotic, and it absolutely is – in the best way.
5. Rockin’ Robin
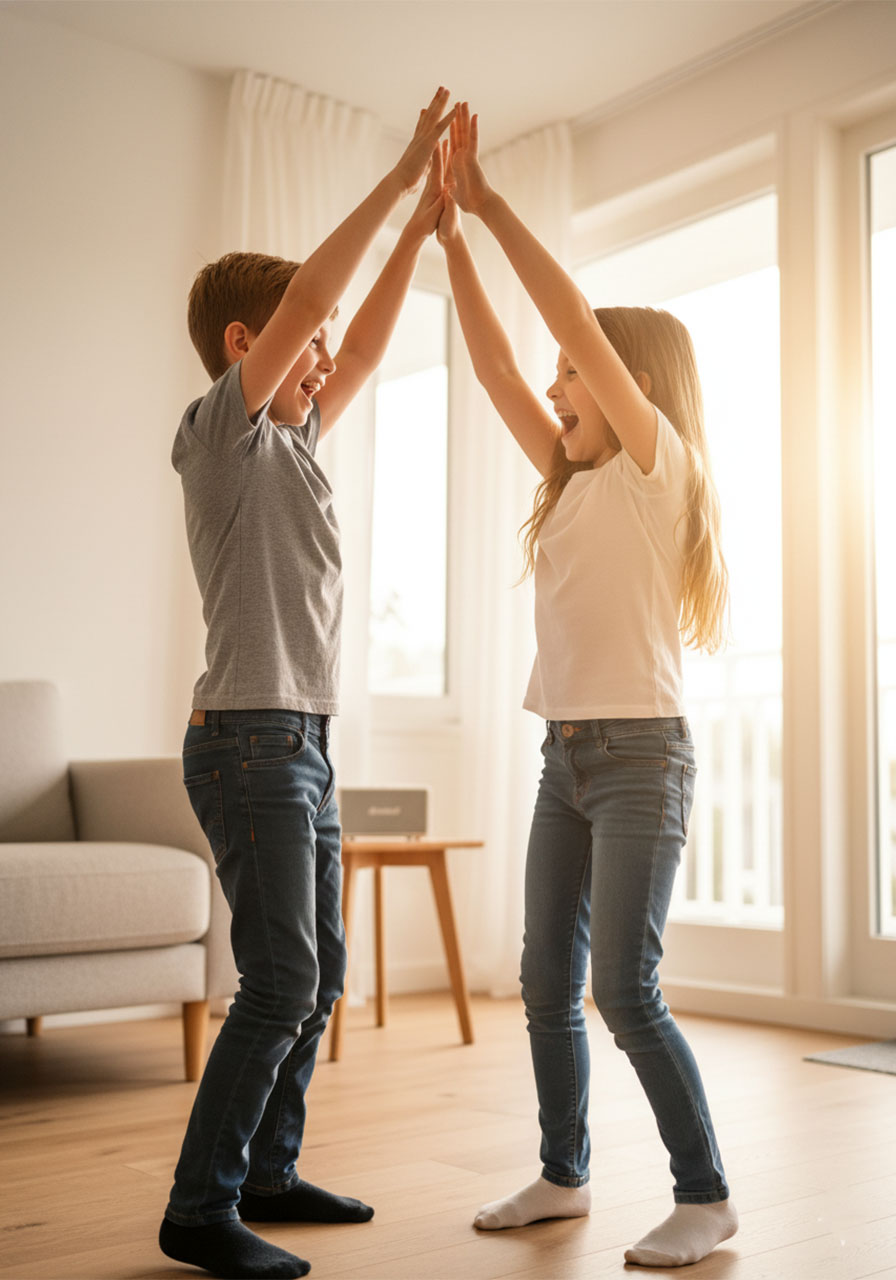
This one adds a fun twist: a high-and-low clapping pattern that gets kids moving their whole body, not just their hands. Playing along to the actual song recording turns this into a full sensory experience – rhythm, movement, and music all in one. It’s a wonderful activity for kids who are wiggly and need to release some energy in a structured, focused way.
Best for: Ages 6 and up, music-based movement, active brain breaks
Players: 2
Time to Play: 5–10 minutes
What You’ll Need:
A recording of “Rockin’ Robin” to play in the background (optional but recommended!)
The 5-Step Pattern:
1. High Clap: Raise both hands up and clap your partner’s hands above your heads.
2. Low Clap: Drop both hands down to waist level and clap your partner’s hands.
3. Right Hand Clap: Clap your right hand against your partner’s right hand.
4. Both Hands Clap: Clap both of your hands against both of your partner’s hands at once.
5. Left Hand Clap: Clap your left hand against your partner’s left hand.
How to Play:
1. Stand facing your partner with enough room to reach up high and down low comfortably.
2. Walk through all five steps slowly together before adding any music. The “High-Low” at the start is what catches most people off guard, so practice that transition a few extra times.
3. Once the pattern is solid, put on the song and try to keep the sequence going in time with the beat. The goal is to keep going all the way through the song without losing your place.
4. For added fun, try to keep a straight face while doing it – surprisingly difficult at speed!
Pro Tip: The high-low claps are excellent for midline crossing, which is one of the core developmental benefits of hand-clapping games. If a child struggles with the “High-Low” transition, spend a few sessions just practicing that movement on its own before adding the rest of the sequence.
6. Say Say Oh Playmate
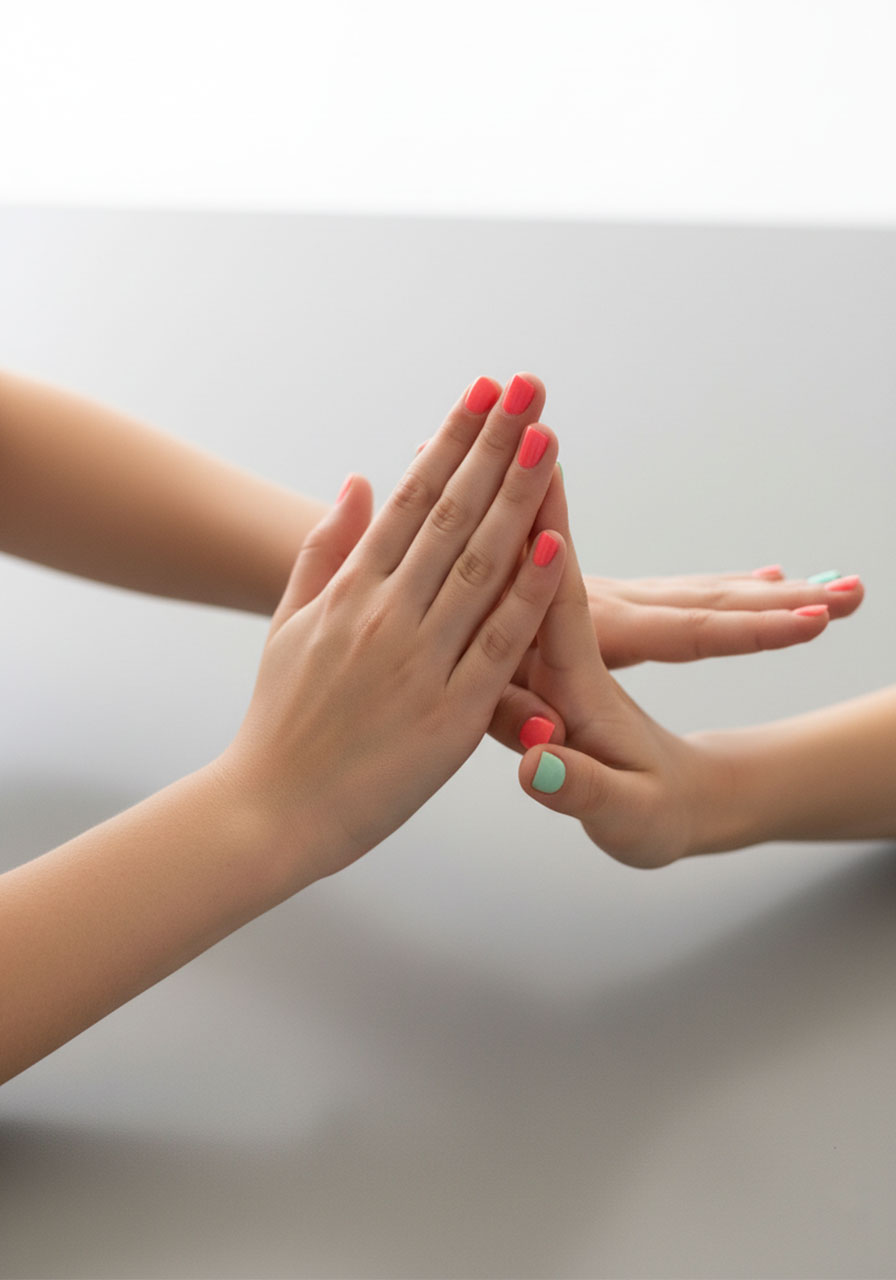
Consider this the advanced level of hand-clapping. “Say Say Oh Playmate” uses an 11-step sequence that introduces cross-body claps and reverse claps in a more complex pattern than anything in the earlier games. It’s genuinely challenging – in the most satisfying way. Mastering this one is a real confidence booster for kids who’ve worked their way through the list.
Best for: Ages 8 and up, advanced coordination, confidence building
Players: 2
Time to Play: 10–15 minutes (more for learning, less for playing once mastered)
What You’ll Need:
Two pairs of hands – and patience while learning!
Before You Start: Make sure your child is comfortable with the back-of-hand clap from Double Double This That (#2) and the cross-body move from Miss Mary Mack (#4). Those skills are used here.
The 11-Step Sequence (repeats throughout the song):
1. Together: Clap your own hands together.
2. Palms Out: Clap both of your palms against your partner’s palms.
3. Together: Clap your own hands together.
4. Backs Out: Clap the backs of both your hands against your partner’s hands.
5. Together: Clap your own hands together.
6. Left to Right: Clap your left palm against your partner’s right palm.
7. Right to Left: Clap your right palm against your partner’s left palm.
8. Together: Clap your own hands together.
9. Backs Out: Clap backs of hands against partner’s hands again.
10. Together: Clap your own hands together.
11. Palms Out: Clap both palms against your partner’s palms.
How to Play:
1. Walk through the 11 steps slowly, calling out each step name as you do it. Don’t add the song yet.
2. Run the sequence several times until both players can do it without calling out the names.
3. Now add the song lyrics and try to keep the sequence going throughout:
- Say, say, oh playmate, come out and play with me
- And bring your dollies three, climb up my apple tree
- Shout down my rainbow, slide down my cellar door
- And we’ll be jolly friends, forevermore!
4. Once the sequence is locked in, challenge yourselves to go faster each round.
Pro Tip: Steps 6 and 7 (the cross-claps) are the trickiest part for most kids. Slow down specifically at that moment until it clicks. Once it does, the whole sequence will feel effortless.
7. Down Down Baby
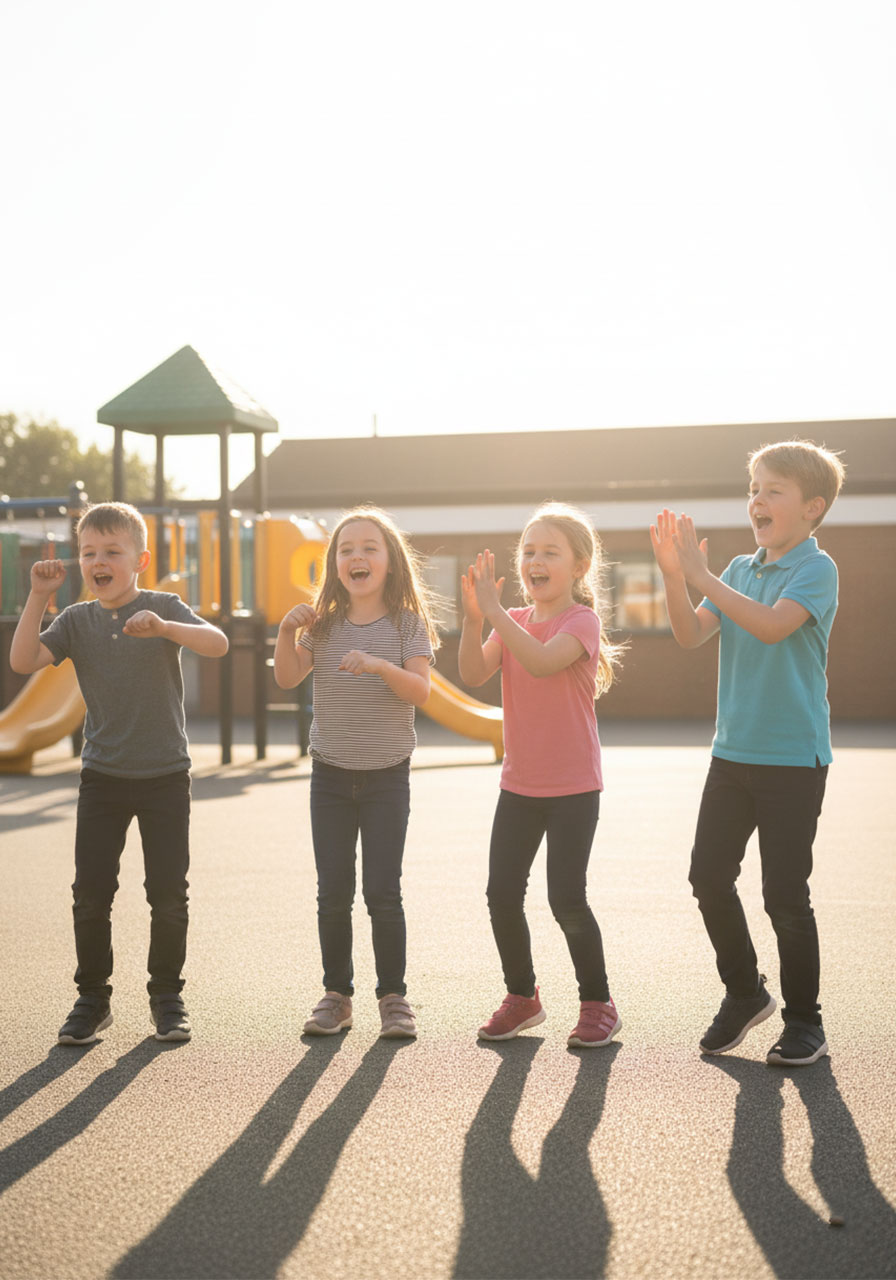
Here’s a classic schoolyard favorite that brings together everything kids have practiced in the previous games: rhythm, partner clapping, a chant, and just enough unpredictability to keep everyone on their toes. “Down Down Baby” has a call-and-response structure with a fun twist – the “Shimmy shimmy cocoa pop” section breaks the clapping pattern and gets the whole body involved. It’s energetic, joyful, and impossible not to smile during.
Best for: Ages 7 and up, groups, outdoor play or recess, end-of-day brain breaks
Players: 2 or more
Time to Play: 10–15 minutes
What You’ll Need:
A partner (or a whole group!)
The Clapping Pattern:
- For most lines: clap your own hands, then clap your partner’s right hand, then clap your own hands again, then clap your partner’s left hand. Repeat in a steady rhythm.
- During the “Shimmy shimmy” lines: stop clapping, put your hands on your hips, and shimmy your shoulders side to side.
- During “cocoa pop”: clap hands together sharply on each syllable.
How to Play:
1. Stand facing your partner and establish the basic right-left alternating clap pattern before starting the chant.
2. Begin the chant together, keeping a steady beat throughout:
- “Down, down, baby, down by the roller coaster”
- “Sweet, sweet baby, I’ll never let you go”
- “Shimmy shimmy cocoa pop, shimmy shimmy pop”
- “Shimmy shimmy cocoa pop, shimmy shimmy pop”
- “Grandma, grandma, sick in bed”
- “Called the doctor and the doctor said”
- “Let’s get the rhythm of the head, ding dong”
- “Let’s get the rhythm of the hands, clap clap”
- “Let’s get the rhythm of the feet, stomp stomp”
- “Let’s get the rhythm of the hot dog!”
3. On the final line, everyone freezes in a silly pose. First one to move or laugh is out!
4. Repeat, getting faster each round.
Fun Variation: In a group setting, form a line and turn this into a chain game – each person passes the clap down the line in sequence. It takes focus and timing, and it’s chaos in the absolute best way possible.
Tips for Teaching Hand-Clapping Games
Whether you’re a parent introducing these at home or a teacher looking for a quick brain break, here are a few things that make all the difference:
Always learn the moves before adding the chant. Trying to do both at once is the #1 reason kids get frustrated and give up. Separate the physical pattern from the words, then bring them together.
Start slow, always. Tempo can always increase once the pattern is locked in. Starting too fast creates bad habits that are hard to undo.
Do it alongside them. Kids learn best when a trusted adult models the movements with enthusiasm. Your energy sets the tone.
Let them mess up. Laughter at a mistake is half the fun. Frame errors as part of the game, not a failure.
Follow the order in this list. These games are arranged by difficulty on purpose. Building skills progressively makes each new game feel achievable rather than overwhelming.
The best parties – and the best learning moments – happen when people are laughing, moving, and fully present. These seven hand-clapping games deliver all three, and all it takes is two pairs of hands and a little enthusiasm. Start with Pat-a-Cake, work your way to Say Say Oh Playmate, and watch your kids (and honestly, yourself) get totally hooked.
Because the best memories don’t need batteries.
More Kid’s Party Ideas to Keep the Fun Rolling:
DIY Robot Hand: The STEM Activity That’ll Make Kids Say ‘Whoa!’
DIY Toilet Roll Knitting for Kids: The Ultimate Beginner Craft That Actually Works
11 Ridiculously Simple Fine Motor Activities That’ll Keep Toddlers Busy for Hours
Sticker Lines: The Ridiculously Simple Activity That Keeps Kids Busy for Hours
101+ Fun Questions To Ask Kids That’ll Get Them Talking (FREE Printable!)
15+ Brilliant Games You Can Play With UNO Cards (Way Beyond the Rules!)
