

Perfect for parents, teachers, and kids ages 6+ · No special tools needed · Makes a stunning, one-of-a-kind gift
Want to give Mom a card she’ll actually want to keep forever? Skip the store-bought kind. This gorgeous DIY 3D pop-up heart card blooms with paper flowers the moment she opens it – and the look on her face? Absolutely priceless.
The best part: it costs almost nothing to make, and kids can absolutely help (with a little adult guidance on the scissors). I’ve made these with a classroom of second-graders, and every single one turned out beautifully. Here’s exactly how to do it.
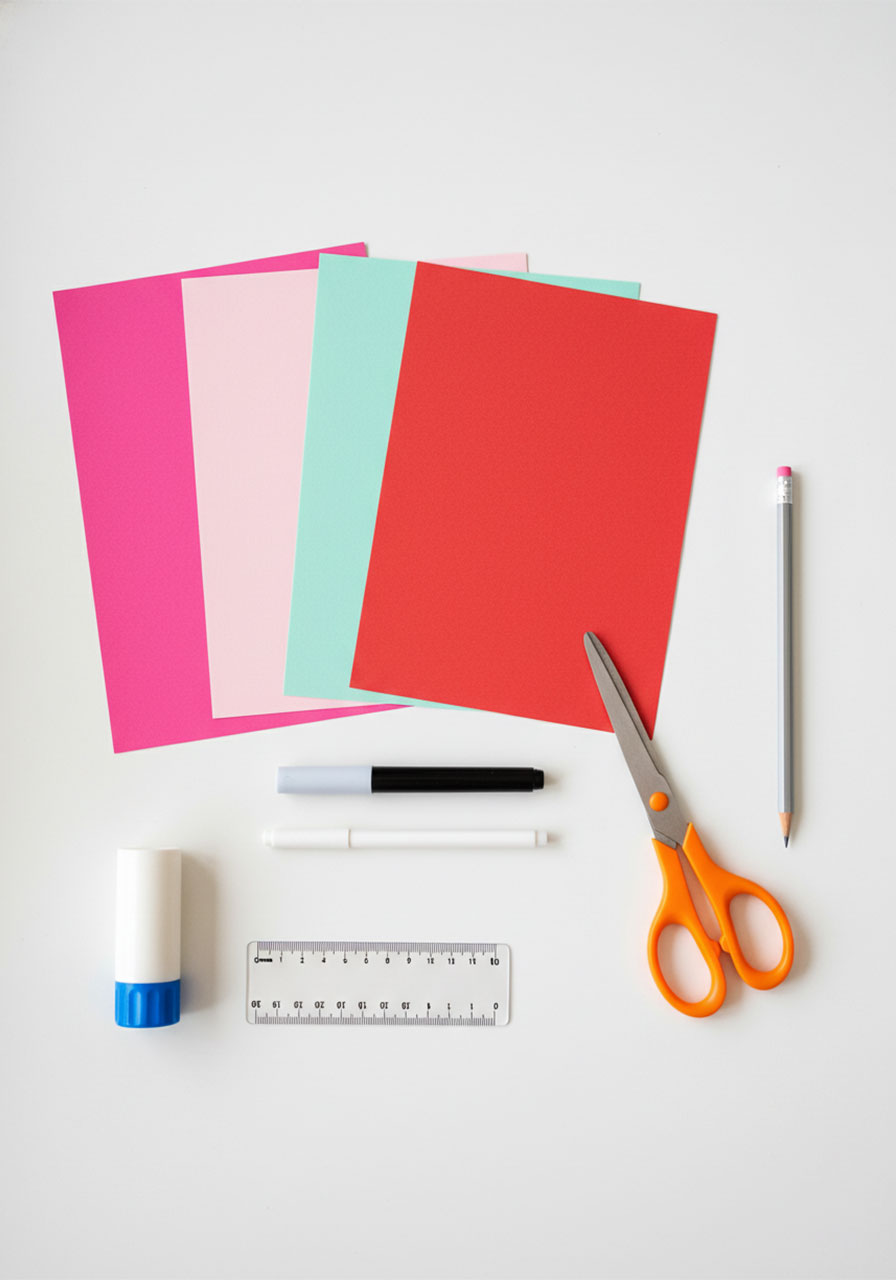
What You’ll Need
Colored construction paper – pink, hot pink, red, light green, and white (or any colors you love)
White gel pen or white marker
Pencil
Scissors
Glue stick or craft glue
Markers for your personal message
⏱ Time to Make: About 45–60 minutes
Best For: Parents, teachers, kids ages 6+ (with adult help)
Difficulty: Easy-Medium

Step 1: Make the Paper Flowers
This is the heart of the whole project – and once you nail the folding technique, you’ll want to make flowers for everything. Each flower starts as a small square of paper and ends up as a beautiful 3D bloom.
Fold the Paper
1. Cut a square of colored paper – about 4×4 inches works perfectly for a medium-sized flower.
2. Fold it in half to make a rectangle.
3. Fold it in half again to make a smaller square.
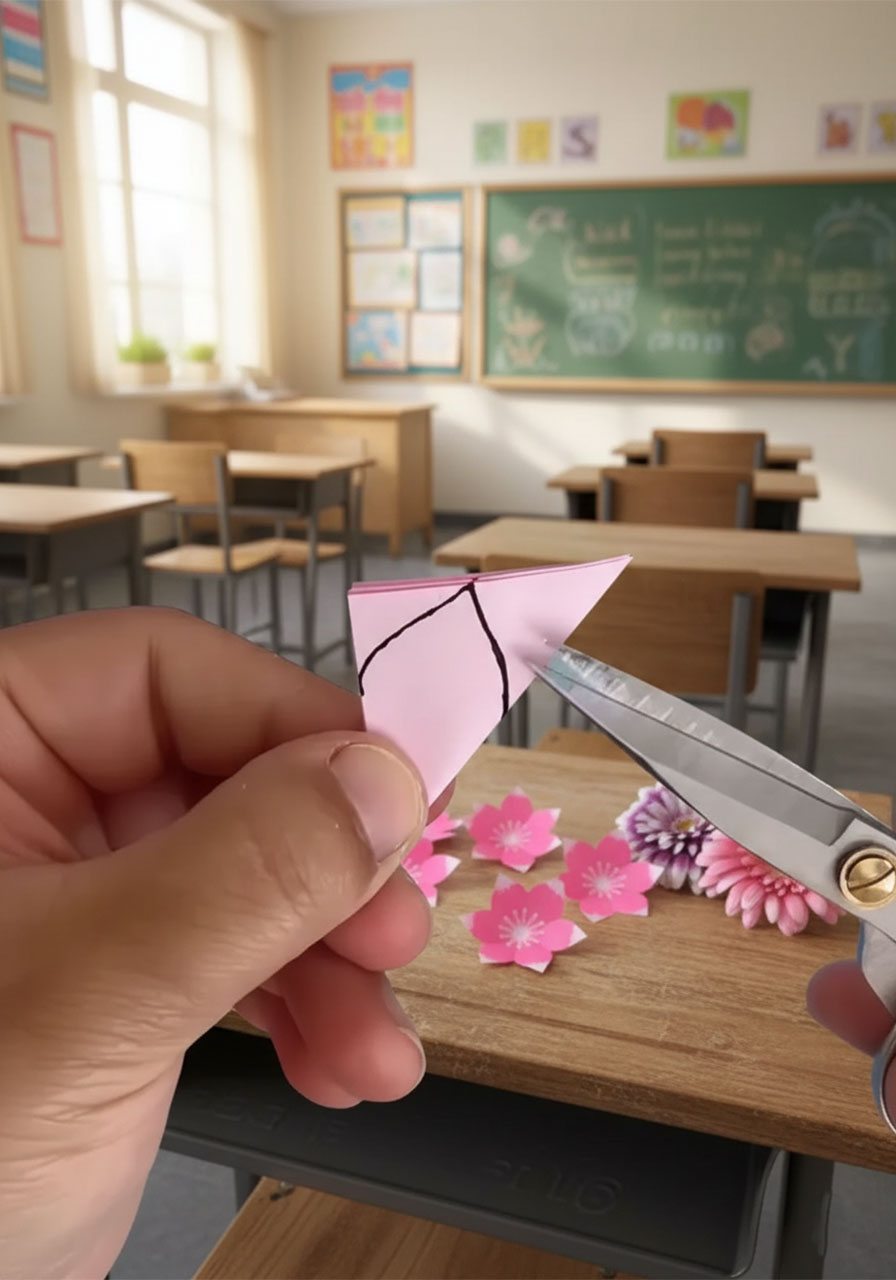
4. Fold it diagonally to make a triangle. You now have 8 layers of paper folded up neatly.


Draw and Cut the Petal Shape
5. With a pencil, draw a rounded petal shape on the triangle – start from the folded corner at the bottom and curve up to a rounded tip. Think of drawing one half of a rounded raindrop.
6. Cut along your pencil line through all the layers.
7. Unfold the paper. You should now have a flat 5-to-8 petal flower shape! ✂️
🌸 Pro Tip:The rounder and wider your petal shape, the more lush and full the finished flower will look. Pointier petals give a more dramatic cherry blossom feel – both are gorgeous!
Add the White Details
8. Using your white gel pen or white marker, draw delicate lines radiating outward from the center of each petal – like thin veins or stamens. You can also draw a starburst in the very center.
9. This tiny detail is what takes your flower from “cute craft” to “wow, did you buy that?” – don’t skip it!


Give It Dimension
10. Cut one petal off completely from the flower (leaving a gap where it was).
11. Apply a small dot of glue to one of the petals right next to the gap.
12. Overlap that petal over the petal on the other side of the gap, so the flower curves upward into a cup shape.
13. Hold for 10 seconds. You now have a 3D flower! 🎉
14. Repeat to make 7–9 flowers total. Make a mix of sizes – a few larger ones for the center, smaller ones for the edges.
⚠️ Common Mistake Alert: Don’t use too much glue when connecting the petals – a tiny dot is all you need. Too much glue makes the paper buckle and the flower won’t hold its cup shape nicely.


Step 2: Build the Heart Card Base
Cut the Hearts
1. Take a large sheet of construction paper (at least 9×12 inches) and fold it in half.
2. Draw half a heart shape along the folded edge and cut it out. When you unfold it, you’ll have a perfect symmetrical heart. This is your outer heart – use a bold color like pink or red.
3. Repeat with a slightly smaller piece of paper in a contrasting color (light green or white works beautifully) for your inner heart.
4. Glue the smaller inner heart centered on top of the larger outer heart. Let dry flat.
💡 Size Tip:The inner heart should be about 1/2 to 3/4 inch smaller all the way around so you can see the border color peeking out. This layered look makes the card feel polished and intentional.
Keep the Fold!
Make sure your card can still fold cleanly in half – the flowers will pop up when Mom opens it, so that fold line is everything. Press it firmly with your finger or a ruler to keep it crisp.
Step 3: Assemble the Flower Cluster
Here’s where the magic happens. You’re going to connect all your flowers into one big blooming arrangement before gluing it onto the card.
1. Lay your flowers out on a flat surface and arrange them in a cluster – larger flowers in the middle, smaller ones around the edges.
2. Apply tiny dots of glue to the petal tips where flowers will touch each other and press them together. Let the cluster dry for a few minutes.
3. Once your cluster is set, apply glue to the very bottom center of the cluster.
4. Glue the flower cluster directly onto the fold line of your open card – right in the center where the two halves meet. This is what creates the pop-up effect when the card opens and closes.
5. Let it dry completely before closing the card (at least 5 minutes).
🌟 Pro Tip: For an extra-full bouquet look, glue the first flower right on the fold line, then layer more flowers around it, letting them fan out toward both sides of the heart. The more layered, the more dramatic the “bloom” when the card opens!


Step 4: The Final Touches
Write Your Message
Use a marker to write your Mother’s Day message on the inside of the card, to the right of the flower cluster. Keep it simple and heartfelt – something like “Happy Mother’s Day! You make every day bloom. 💕” works perfectly.
Decorate the Outside
Flip the card over and decorate the front! Some ideas:
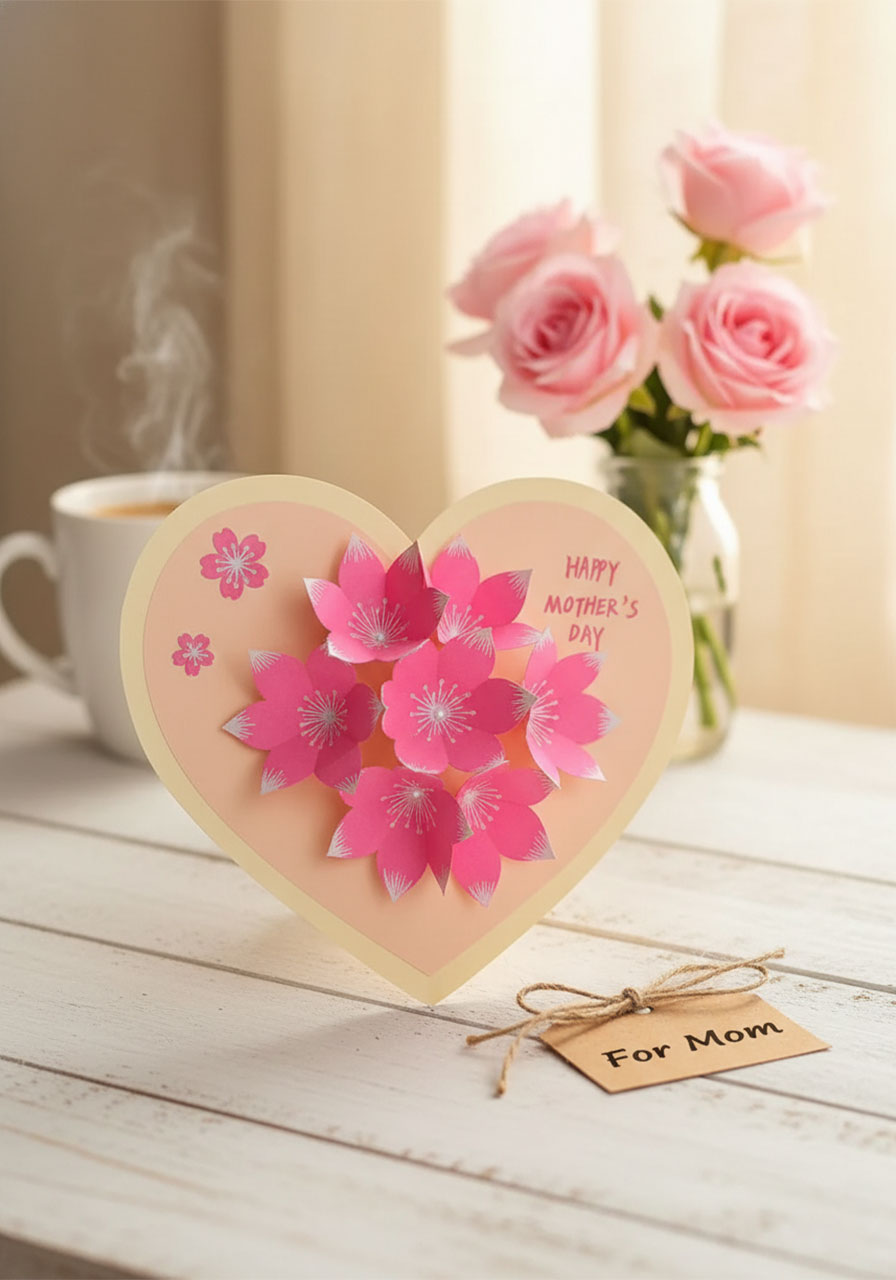
- Glue 2–3 tiny paper flowers (made the same way but much smaller) to the corners
- Write “For Mom 💕” in the center
- Add small hand-drawn hearts or dots around the edges with a marker
✨ Fun Variation: Use different color combinations for different moods! Red and gold feels elegant and classic. Pink and mint feels fresh and sweet. Purple and white feels dreamy and whimsical. Let the kids pick Mom’s favorite colors!
Tips for Doing This with Kids
This craft is wonderfully adaptable for different ages. Here’s how to make it work in any setting:
Ages 4–6: Let them do the decorating with markers and glue stickers onto the pre-cut flowers and heart base that an adult prepares.
Ages 7–10: Kids can do the folding and drawing on their own. Help them with the initial scissors cuts and the gluing-to-the-fold step.
Ages 11+: They can handle the whole thing independently with this guide open in front of them. Challenge them to make a red version AND a pink version!
Classroom tip: Pre-cut the flower squares ahead of time to save a ton of time. Assembly goes fast once the cutting step is done.
You Did It! 🌸
There’s something extra special about a gift that was made by hand – and this card delivers that feeling the second Mom opens it and a burst of 3D flowers blooms toward her. It’s the kind of card that doesn’t get thrown away. It gets framed.
Whether you make it solo, with your kids, or with a whole classroom of proud little artists, this one is guaranteed to be a hit. Happy crafting – and Happy Mother’s Day!
More Mother’s Day Ideas to Keep the Fun Rolling:
30+ Mother’s Day Crafts for Kids of All Ages
DIY Mother’s Day “Flower Shop” Pop-Up Card Your Kids Will Be So Proud To Give
The Sweetest DIY Mother’s Day Gift: A Decorated “Mama” Mug Filled with Paper Heart Wishes
How to Make the Cutest Mothers Day Flower Pots (A Fingerprint Keepsake She’ll Treasure Forever)
How to Make a DIY Pop-Up Flower Bouquet Mother’s Day Card
DIY “Helping Hands” Bouquet: The Sweetest Mother’s Day Craft Kids Can Make
“I Love You This Much!” DIY Handprint Card for Mother’s Day
Surprise Mom with This Magic Foldable Heart Flower Card
How to Make a DIY Tissue Paper Heart Flower Bouquet for Mother’s Day
