

If you’re looking for a craft that sparks pure, wide-eyed wonder – this is it. This Paper Bag Fairy House is one of those magical projects that turns a humble brown lunch bag into something kids will want to display, play with, and brag about to every person who walks through the door.
The best part? You don’t need a fancy craft room or an Amazon cart full of supplies. A few sheets of colored cardstock, some buttons, paint pens, and a brown paper bag are all it takes to build a fairy’s dream home. Whether you’re planning a rainy afternoon activity, a classroom craft, or something fun for a spring or summer party, this one’s a guaranteed hit.
Let’s build something magical!
What You’ll Need
Gather these simple supplies before you start – everything should be easy to find at your local craft store or dollar store:
Brown paper lunch bags (one per child)
Cardstock in pink, yellow, purple, orange, light blue (baby blue), and green
Buttons in two sizes – a mix of bright, colorful ones works best
White and green paint pens
Scissors
Glue stick or craft glue
Pro Tip: Lay all the supplies out in the middle of the table before you start so kids can easily reach what they need. It speeds things up and cuts down on the “can I have the scissors?!” chaos.


How to Make a Paper Bag Fairy House
Step 1: Cut Out Your Fairy House Pieces
Start by cutting out all the pieces you’ll need from your colored cardstock. Here’s what to cut:
Pink cardstock: The roof – cut a large rectangle, then use scissors to snip a scalloped (wavy, bumpy) edge along the bottom to give it that storybook look.
Yellow cardstock: The door – cut an arch shape (like a rectangle with a rounded top).
Light blue cardstock: Two small squares for the windows. Use your white paint pen to draw a “+” cross in the middle of each one to make them look like window panes.
Orange and purple cardstock: Two flower shapes – cut 6–8 petal shapes and layer them together to form flowers.
Green cardstock: Leaf shapes to go behind each flower.
While you have the paint pen out, add little white dots along the scalloped edge of the pink roof – it gives it that extra whimsical fairy-tale feel!

Step 2: Set Up Your Paper Bag
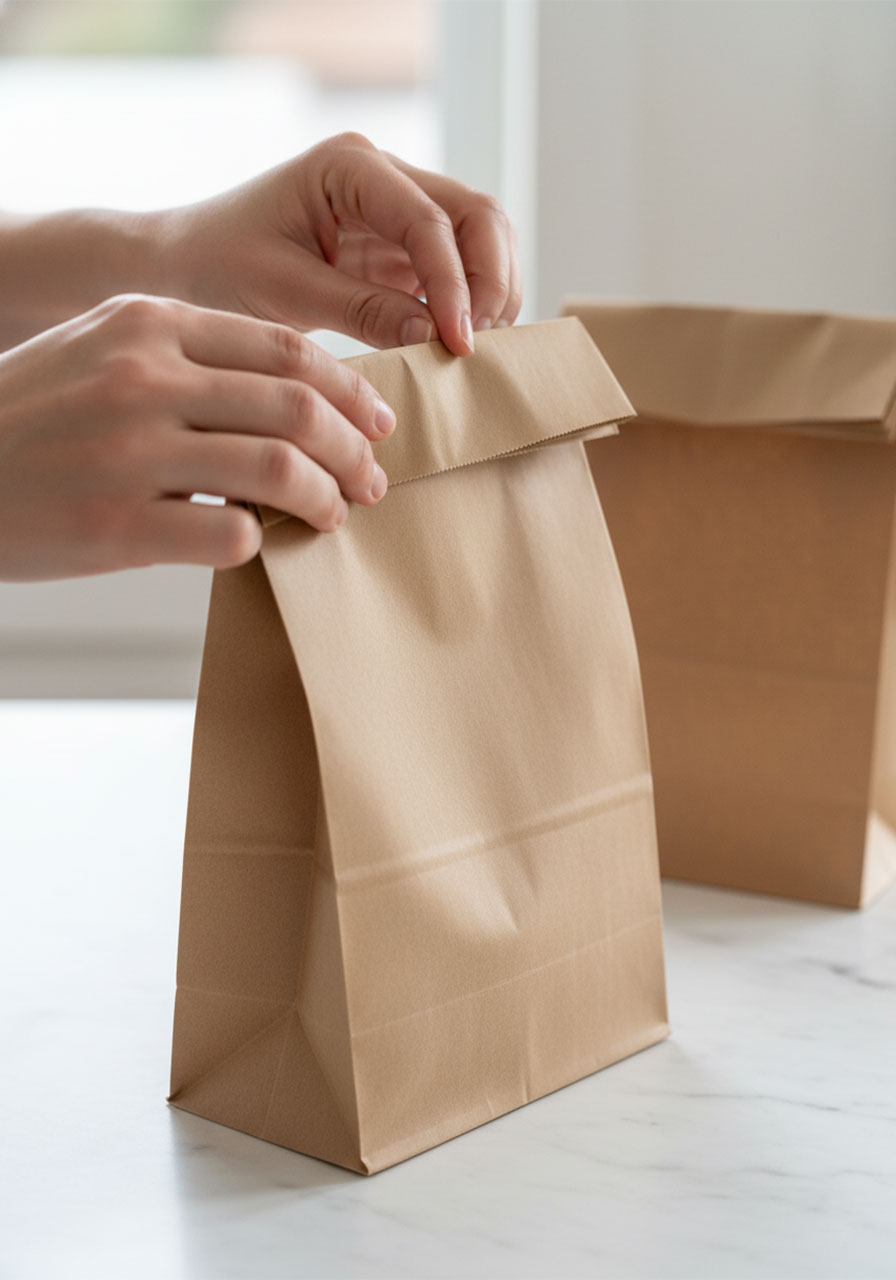
Open the paper bag and give it a gentle puff to fill it out a little – this helps it stand up on its own and look full and house-like. Once it’s puffed, fold the top of the bag over about 1 inch to create a flat, sturdy “roofline” for your pink cardstock roof to sit on.
Set the bag down flat on the table with the folded flap facing you. This is now the front of your fairy house!
Step 3: Attach the Roof
Glue the pink cardstock piece to the folded-over top of the bag. The scalloped edge should hang down slightly over the front of the bag – that’s what gives it the adorable cottage-roof look. Press it down firmly and let it dry for a minute before moving on.
Step 4: Add the Windows and Door
Now it’s time to bring the house to life! Glue your two blue windows side by side on the upper half of the bag, below the roof line. Then glue the yellow arched door in the center of the lower half of the bag.
Next, grab your white paint pen and draw a scalloped outline around all three sides of each window (like a decorative frame). Do the same around the door. Add three small white dots below each window – these look like little decorative studs and are a super easy touch that makes the whole house look so polished.
Add a tiny dot on the side of the yellow door for the doorknob.

Step 5: Create the Button Flower Garden
This is the step kids absolutely love. Using your green paint pen, draw three or four curvy stems coming up from the bottom of the bag – these will be your garden flowers. Don’t worry about making them perfect; wonky stems have charm!
Glue a colorful button at the top of each stem to create the flower blooms. Mix up the sizes – a couple of big buttons and one tiny one looks great. Let kids pick their own button colors for extra ownership over their creation.

Step 6: Finish with the Rooftop Flowers
Assemble your two cardstock flowers by layering the petal pieces together. Glue a large button in the center of each flower, then glue two green leaf shapes behind the petals. Attach one flower to the left side of the roof and one to the right. These are the showstopper finishing touches that make the whole house look like it belongs in an enchanted garden.
And just like that – your fairy house is done! 🌸
Tips to Make This Craft Even Better
Let kids choose their own color combinations. Want a purple roof and an orange door? Go for it! There are no rules in Fairyland.
Add natural touches. If you’re doing this craft outdoors or have access to small sticks, pebbles, or pine cones, let kids glue them on for extra texture and a nature-inspired look.
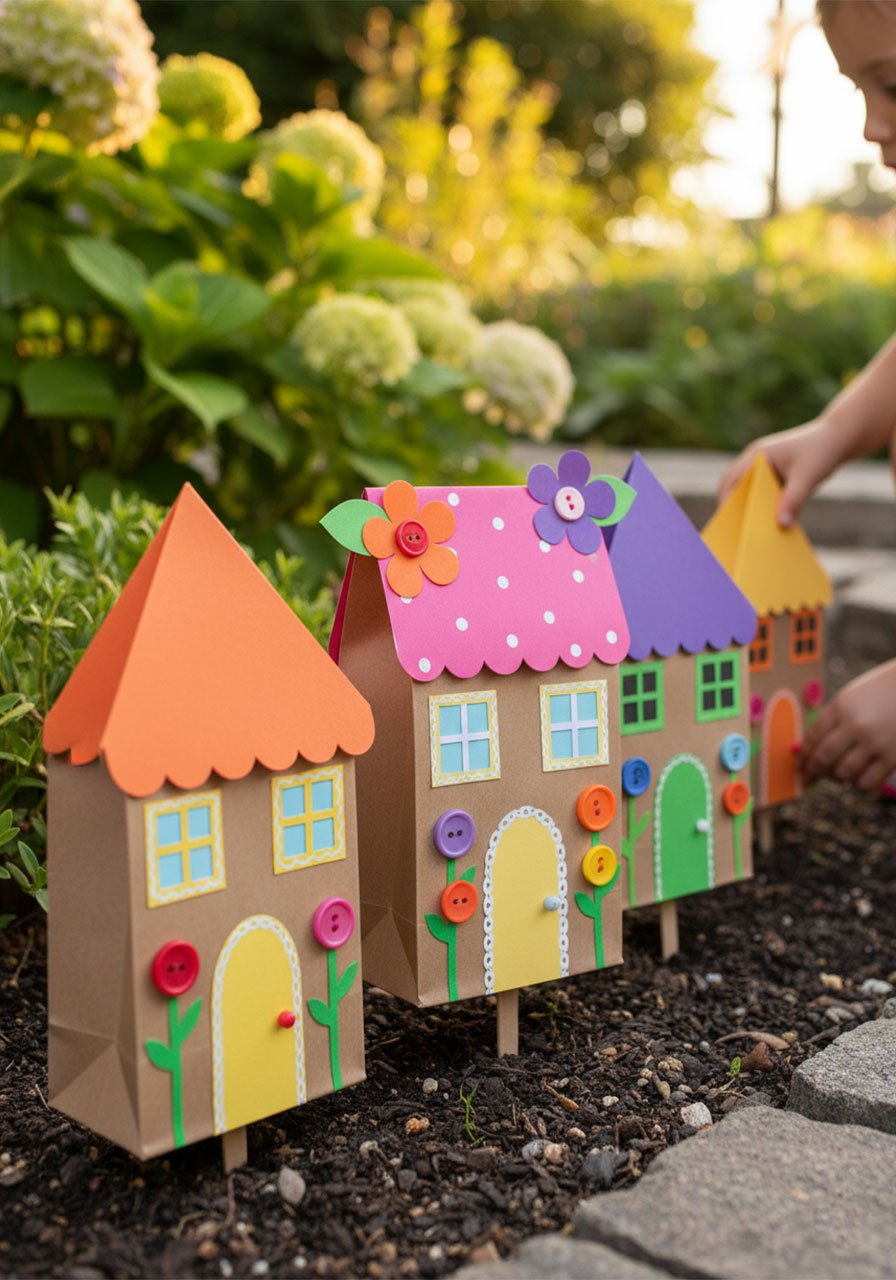
Turn it into a fairy garden scene. Glue a craft stick to the bottom of the bag and stick it into a pot of soil or a flower bed outside. Instant fairy village!
Make it magnetic. Glue a strip of magnetic tape to the back of the finished bag and let kids display their fairy house on the refrigerator. It makes an adorable kitchen gallery.
Hang it up! Thread a piece of twine through the top of the bag and hang the fairy house in a bedroom window or from a hook in a playroom. So cute as a room decoration.
For younger kids (ages 3–4): Pre-cut all the pieces ahead of time and let little ones focus on gluing and decorating. It keeps the project manageable and frustration-free.
Why This Craft Is Worth Making
Beyond how adorable the finished product looks, this craft is quietly doing a lot of good things for kids:
Fine motor skills: Cutting, gluing, and using paint pens all build those small-muscle skills kids need for writing and drawing.
Creative thinking: There’s no single “right” way to make this fairy house, which encourages kids to make their own design choices.
Imaginative play: Once the house is built, the play begins. Kids naturally start creating stories about who lives inside, what the fairy’s name is, and what adventures happen next.
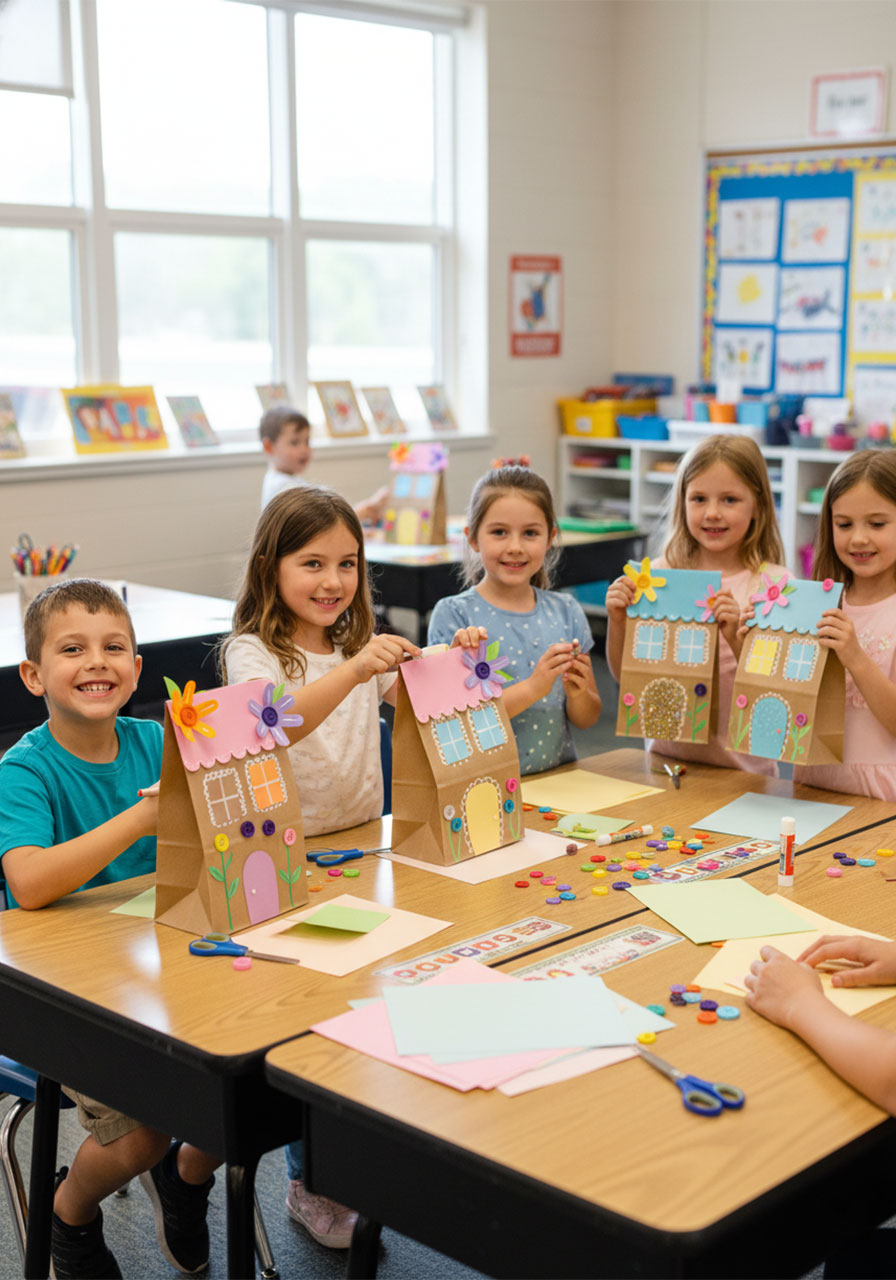
Budget-friendly for classrooms: Brown paper bags are inexpensive in bulk, and you likely already have most of the other supplies on hand. This is a great all-class activity that won’t break the supply budget.
Great Occasions for This Craft
This fairy house works beautifully for so many different settings and seasons:
Spring or summer classroom craft days
Earth Day activities (paper bags = recycled/natural materials!)
Fairy-themed birthday parties
Rainy day activities at home
After-school craft clubs
Nature or garden unit projects for homeschool families
With a brown paper bag and a little imagination, there’s truly no limit to what you and your kids can create together. This fairy house is just the beginning – once they build one, they’ll want to build an entire enchanted neighborhood!
Happy crafting!
More Kid’s Party Ideas to Keep the Fun Rolling:
Frozen Dinosaur Eggs: The Coolest Summer Activity Kids Will Beg to Do Every Year
Floating Ball Activity: The Easy DIY Science Game Kids Can’t Stop Playing
Floating City STEM Challenge: Can Your Kid Build a City That Survives the Waves?
Dot Sticker Addition: The Hands-On Math Activity Kids Actually Want to Do Again and Again
Water Gun Painting: The Most Fun Kids Art Activity This Summer
How to Make a LEGO Sundial: A Hands-On Science Activity Kids Will Love
Rabbit Hole: The Hilarious Gross Motor Group Game Kids Will Beg to Play Again
How To Make a Tissue Box Toy Car Wash (The Easiest $0 Craft That Kids Go Absolutely Wild For)
