Perfect for parents, teachers, and crafters of all skill levels | Ages 10 and up
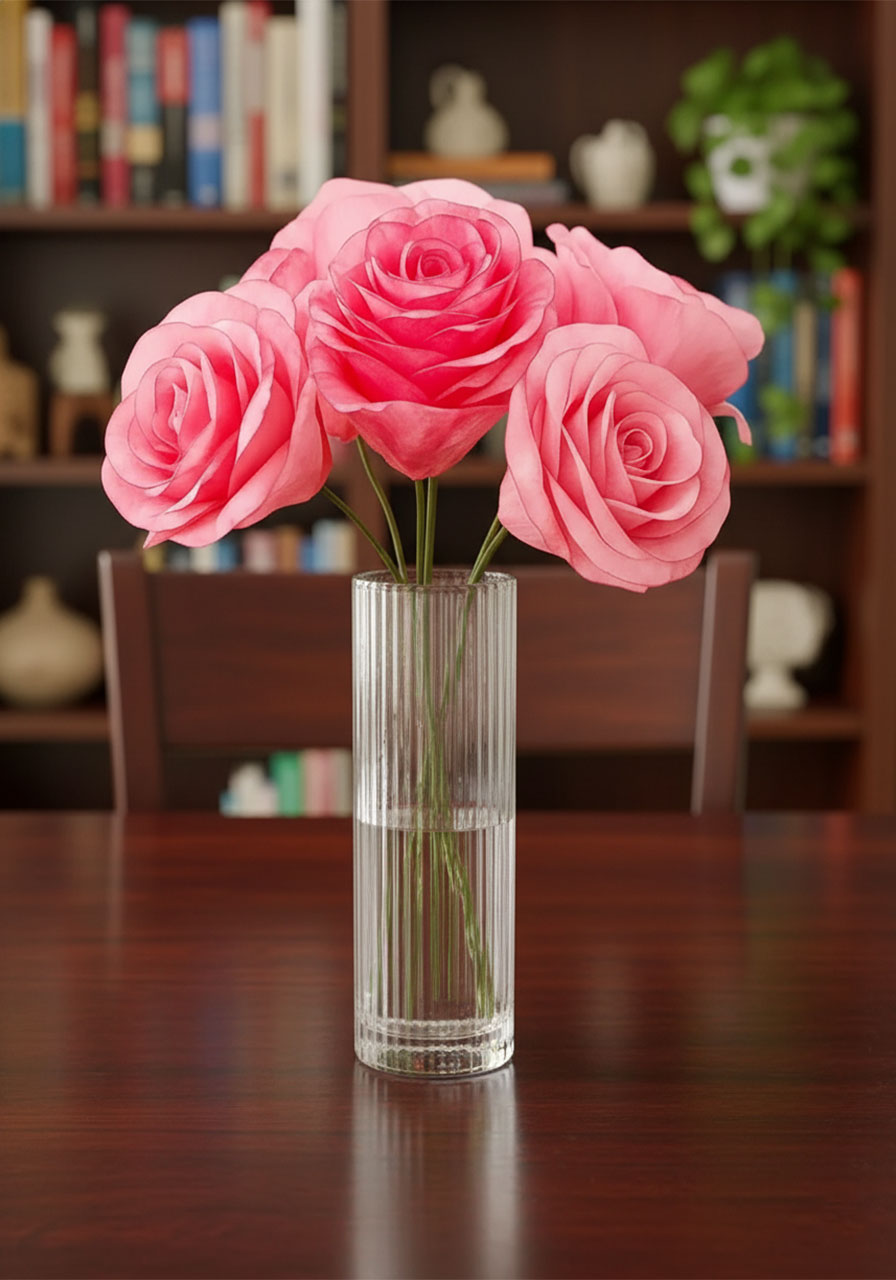
What if the most beautiful flowers you ever gave Mom came straight from your kitchen drawer? These coffee filter roses are so strikingly realistic, people genuinely do a double-take when they see them. The soft watercolor ombre effect, the layered petals, the lush blush-pink colour – they look like something you’d find in an expensive boutique florist, and they cost next to nothing to make.
Best of all? They never wilt. Mom gets to keep them forever.
Why you’ll love this project: It requires zero artistic experience, uses supplies you can grab at any dollar store or craft shop, and the results are genuinely jaw-dropping. This is one of those rare crafts where the process is relaxing and the finished product looks impressive enough to gift with pride.
Whether you’re a parent crafting alongside your kids on a rainy Sunday, a teacher organizing a meaningful Mother’s Day project for your class, or just someone who loves a beautiful DIY – this one is for you. Let’s make something she’ll treasure.

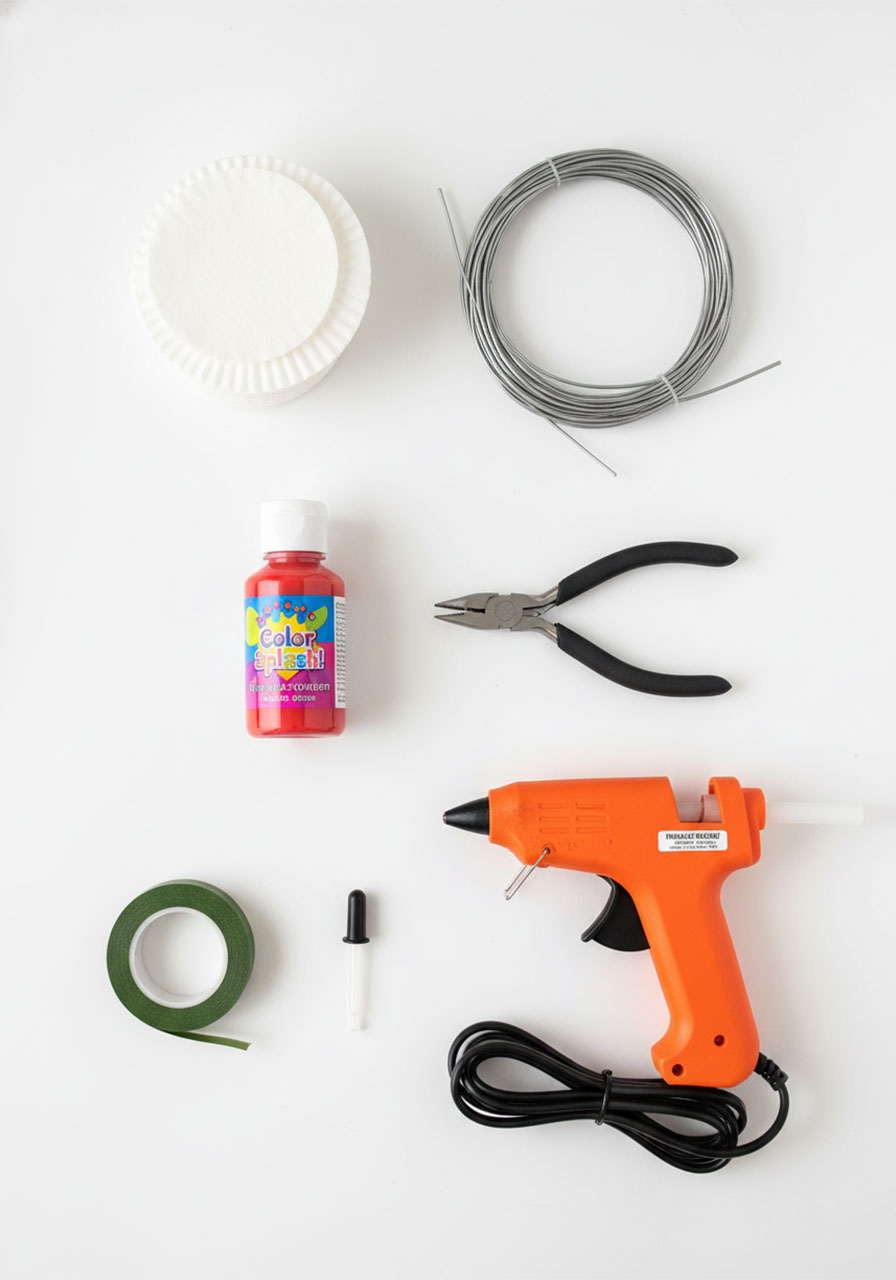
What You’ll Need
Gather everything before you start – it makes the process so much smoother.
Materials:
Basket-style (flat-bottom) coffee filters – 4-cup size works best
Liquid watercolor paint (red or pink)
18-gauge floral wire (about 8 inches per rose)
Green floral tape
Tools:
Scissors
A drinking glass
An eye dropper or small pipette
Needle-nose pliers
A hot glue gun and glue sticks
A small bowl or ramekin
A baking sheet (to protect your surface)
💡 Pro Tip – Paint Options: No liquid watercolor? No problem. Food coloring diluted with a little water works beautifully! You can also color dry coffee filters using washable markers, then mist them with water from a spray bottle to spread the color. Each method gives a slightly different look – all of them gorgeous.


How to Make Coffee Filter Roses – Step by Step
One finished rose takes about 30–45 minutes of hands-on time, plus overnight drying. Plan to make several at once so you can build a whole bouquet while you wait!
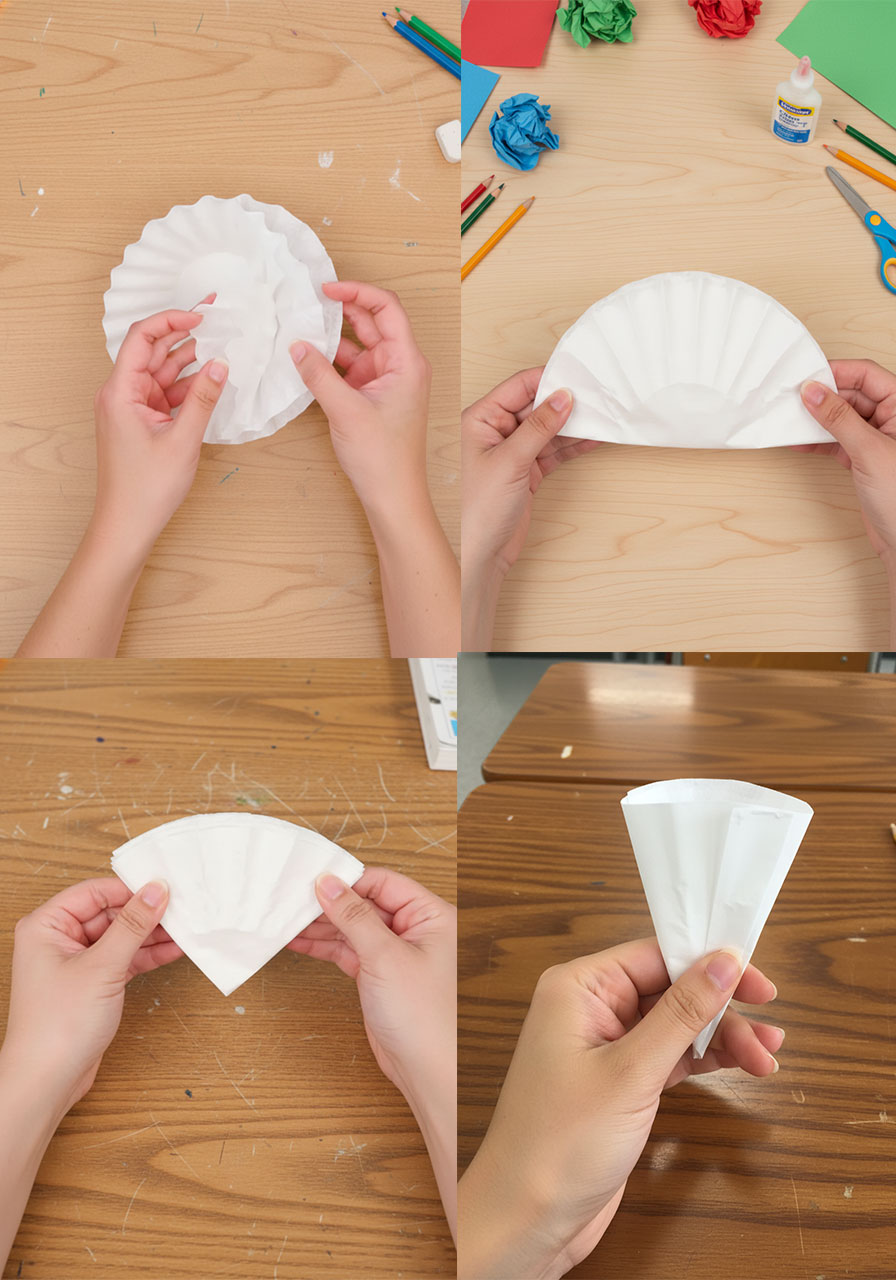
STEP 1 – Stack and Fold Your Coffee Filters
Make a neat stack of 5 coffee filters. Now fold the stack in half, then in half again, and in half one final time – that’s 3 folds total. You’ll end up with a tight, wedge-shaped bundle.
Once folded, use your scissors to cut the wider (outer) edge into a rounded petal shape – think of a gentle curve, like the top of a heart. Don’t stress about perfection here; slight variations actually make the finished rose look more natural and lifelike.
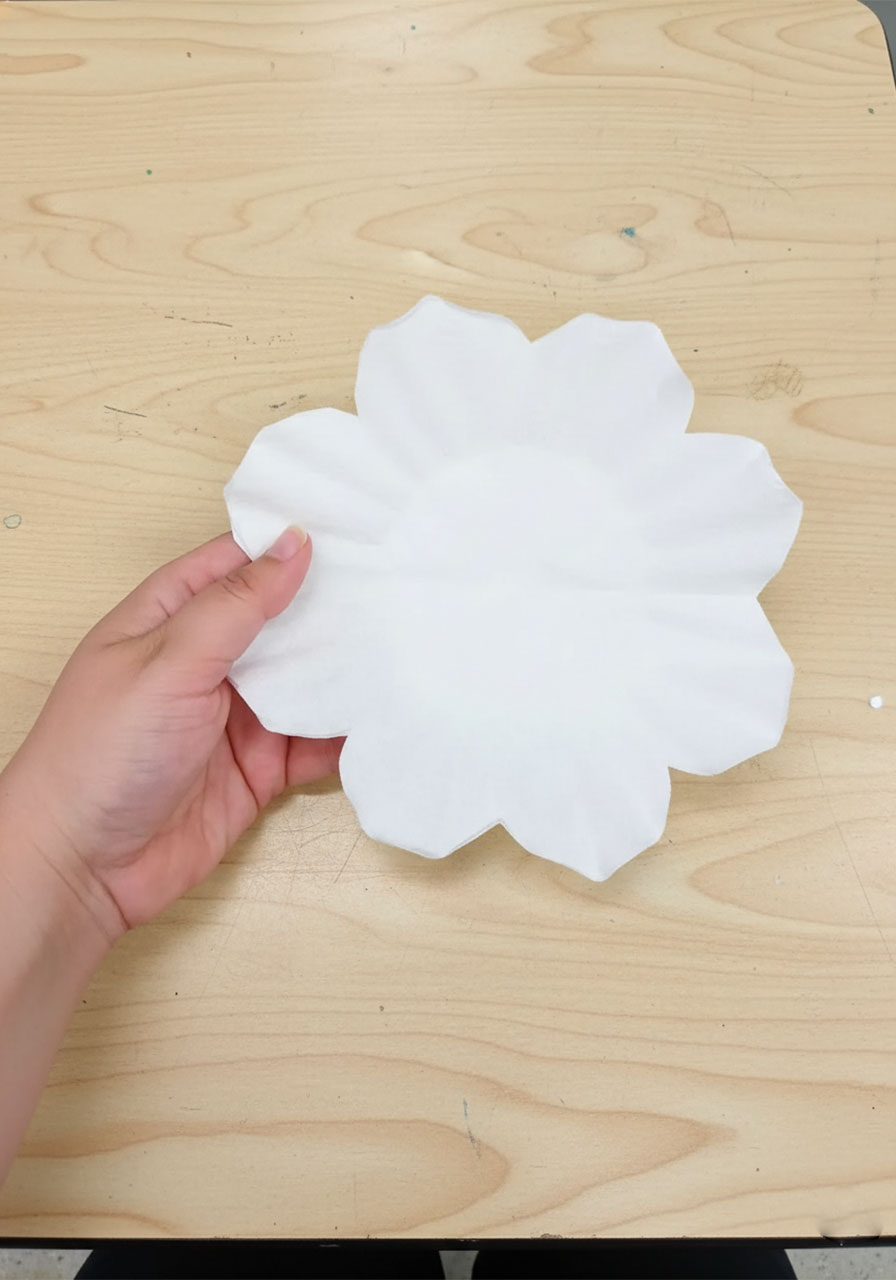
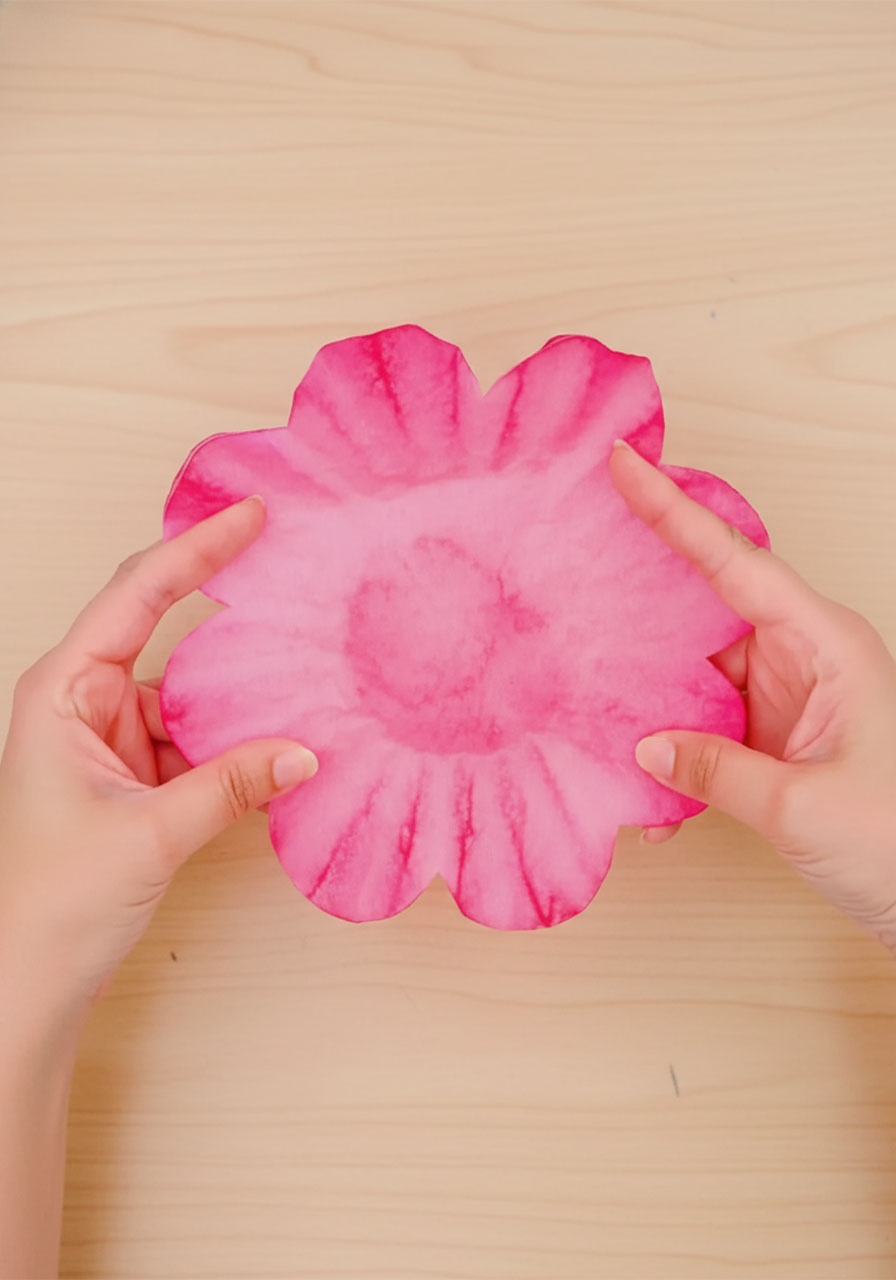
Now unfold the stack. Each coffee filter should reveal a beautiful flower shape with rounded petals all around. Set these aside – they’re ready for color!


STEP 2 – Set Up for Painting
Place a drinking glass upside-down on your baking sheet. Lay your stack of 5 petal-shaped coffee filters on top of the glass, petals pointing downward and outward, like a flower opening up. This elevated position allows the paint to flow beautifully through all the layers without pooling.
STEP 3 – Mix and Apply Your Color
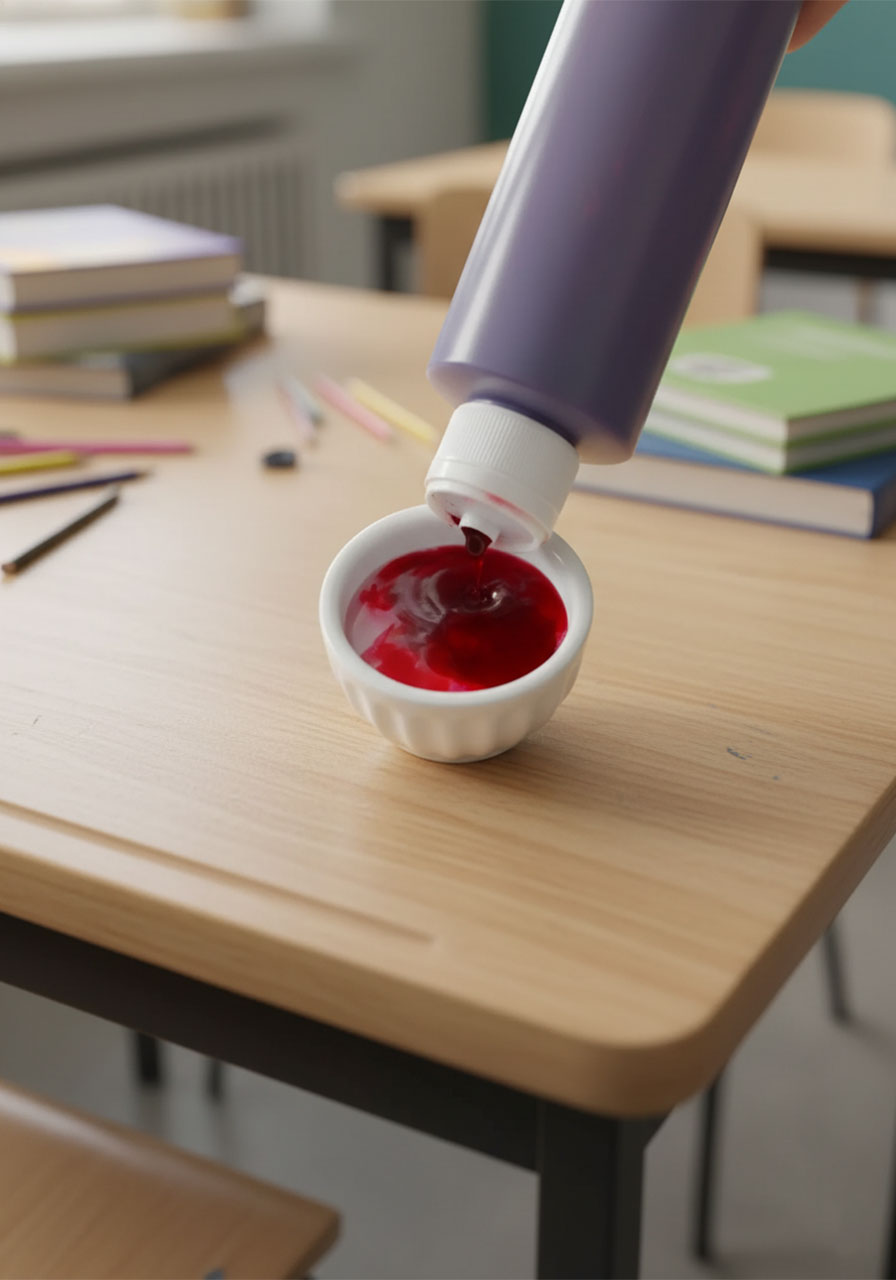
In a small bowl, mix about 10 drops of liquid watercolor into roughly 2 tablespoons of water. Stir well. For deep, rich roses, go heavier on the paint – the color lightens quite a bit as it dries, so don’t be shy!
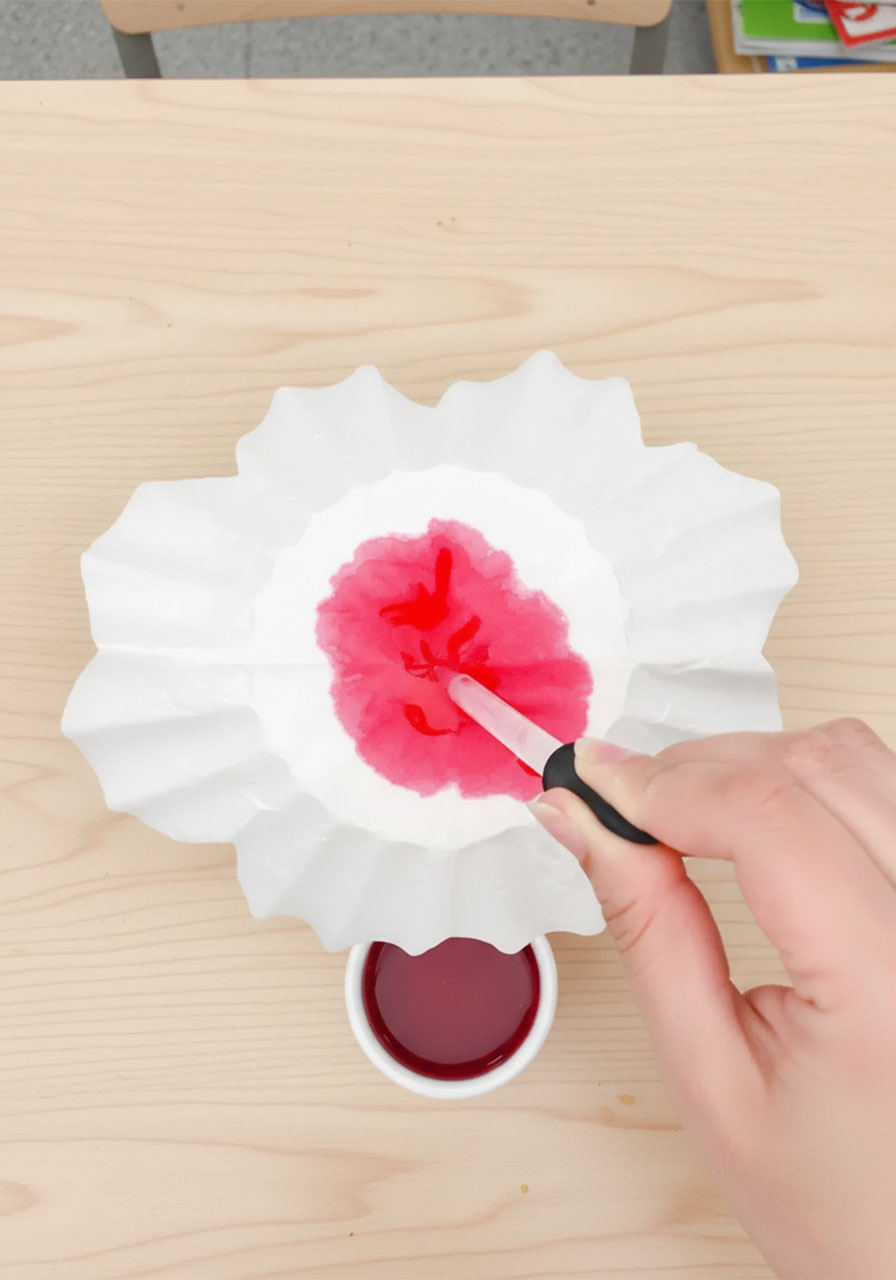
Fill your eye dropper with the paint mixture and begin applying it to the center of the coffee filters, working outward. Be generous – you want the paint to soak through all 5 layers completely, leaving no white spots behind.
Once fully saturated, let the filters dry completely overnight. This step requires patience, but it’s worth every minute.
💡 Color Ideas: Classic red and blush pink are stunning, but don’t stop there! Try orange for a warm autumn rose, soft lavender for something dreamy, or mix red and orange for a peachy coral bloom. Every filter absorbs color a little differently, so each rose truly is one of a kind.

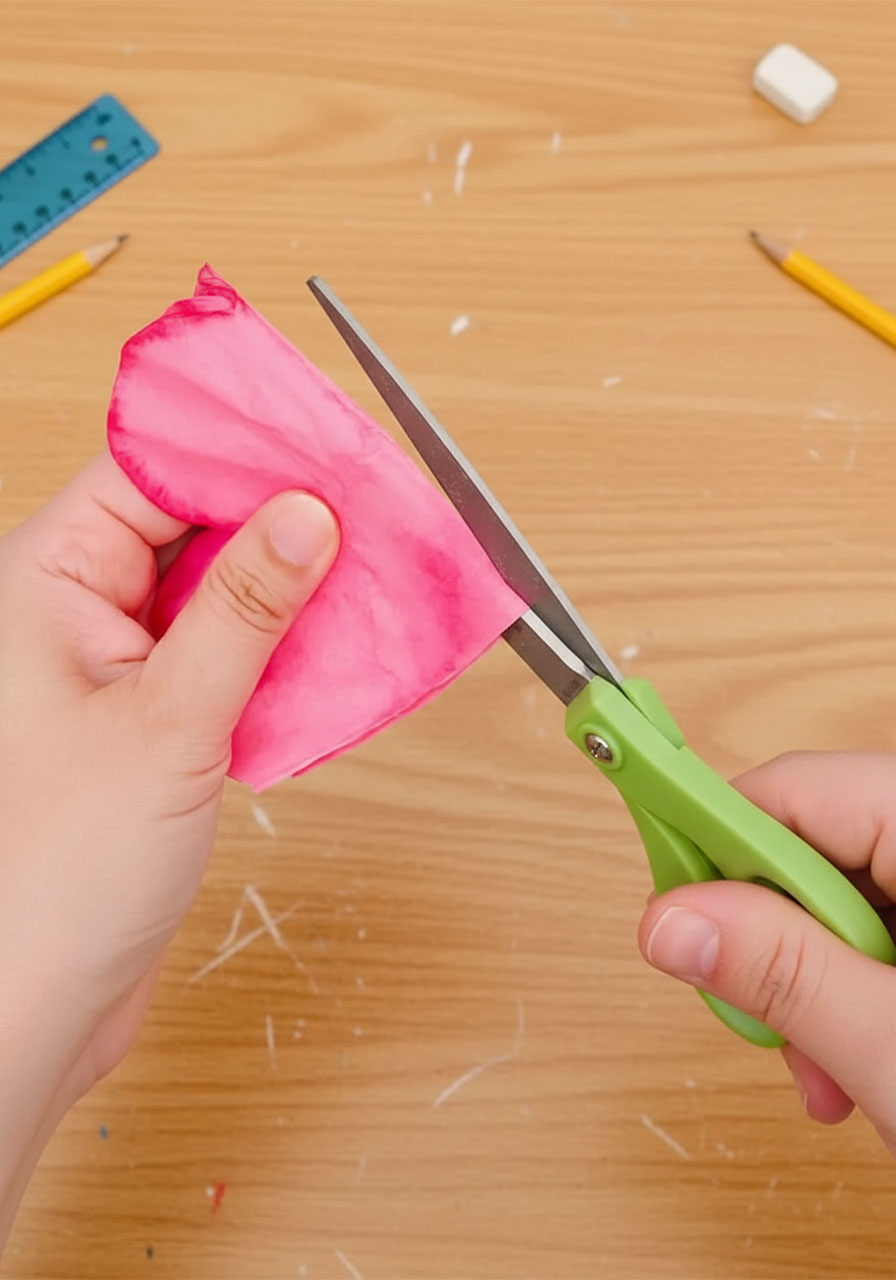
STEP 4 – Cut the Dried Filters Into Petals
Once dry, take a look at your stack. The top filter will have absorbed the most color and may look very dark or uneven – go ahead and set it aside (or keep it if you love the bold look!). You’ll work with the remaining 4 filters.
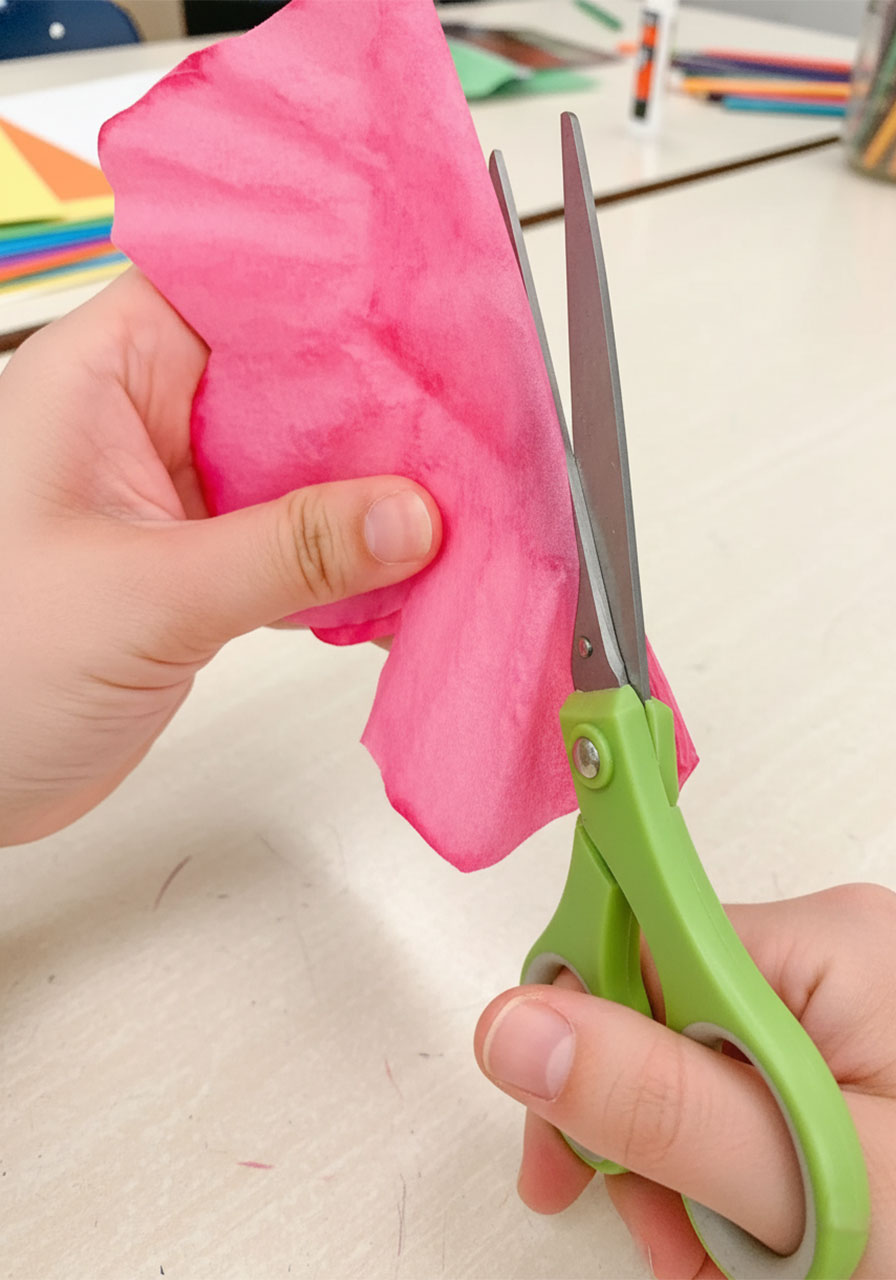
Now fold those 4 filters in half and cut straight down the fold. You now have 8 layers. Fold in half again and cut down that fold too. You’ll end up with 16 heart-shaped sections, each with 2 petals – these are the individual petals for your rose!

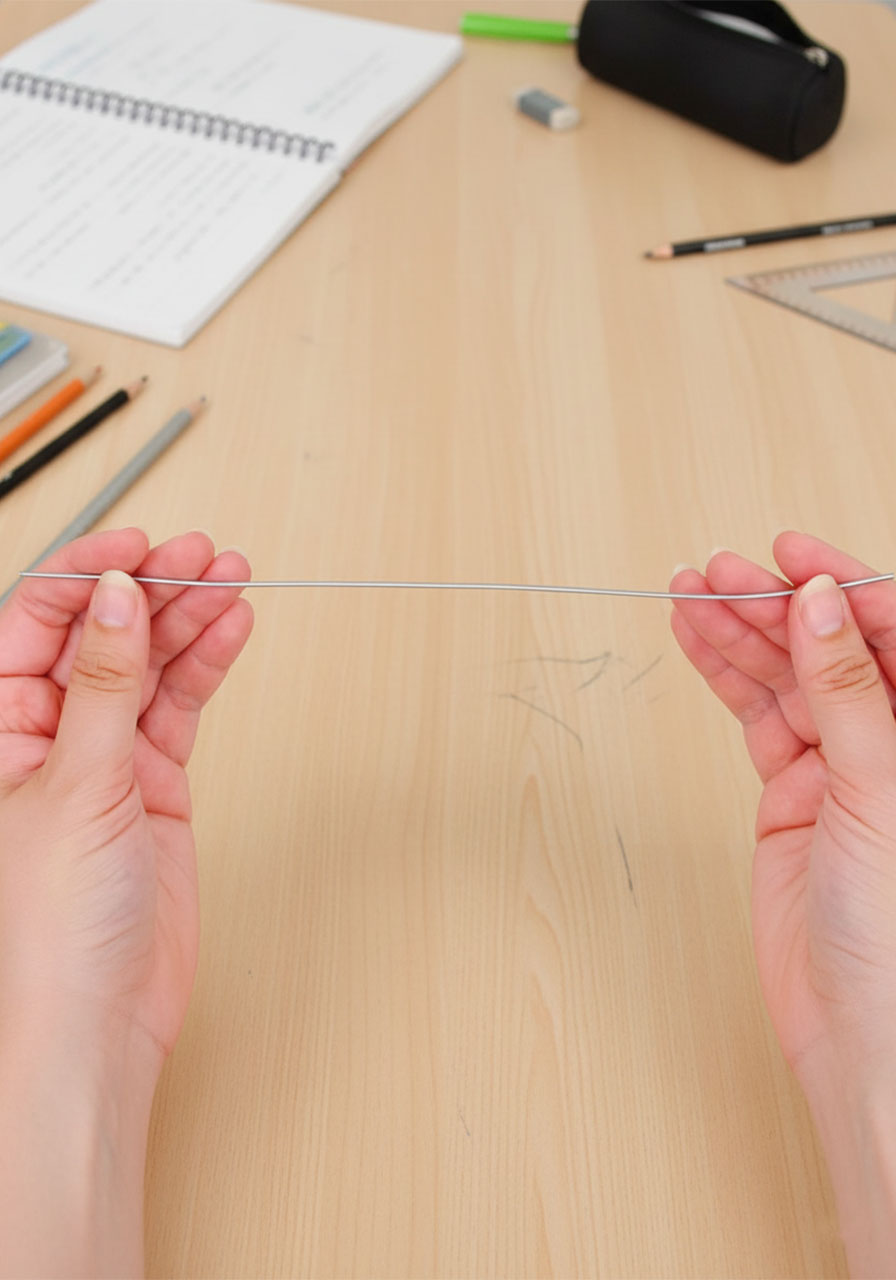
STEP 5 – Make the Stem
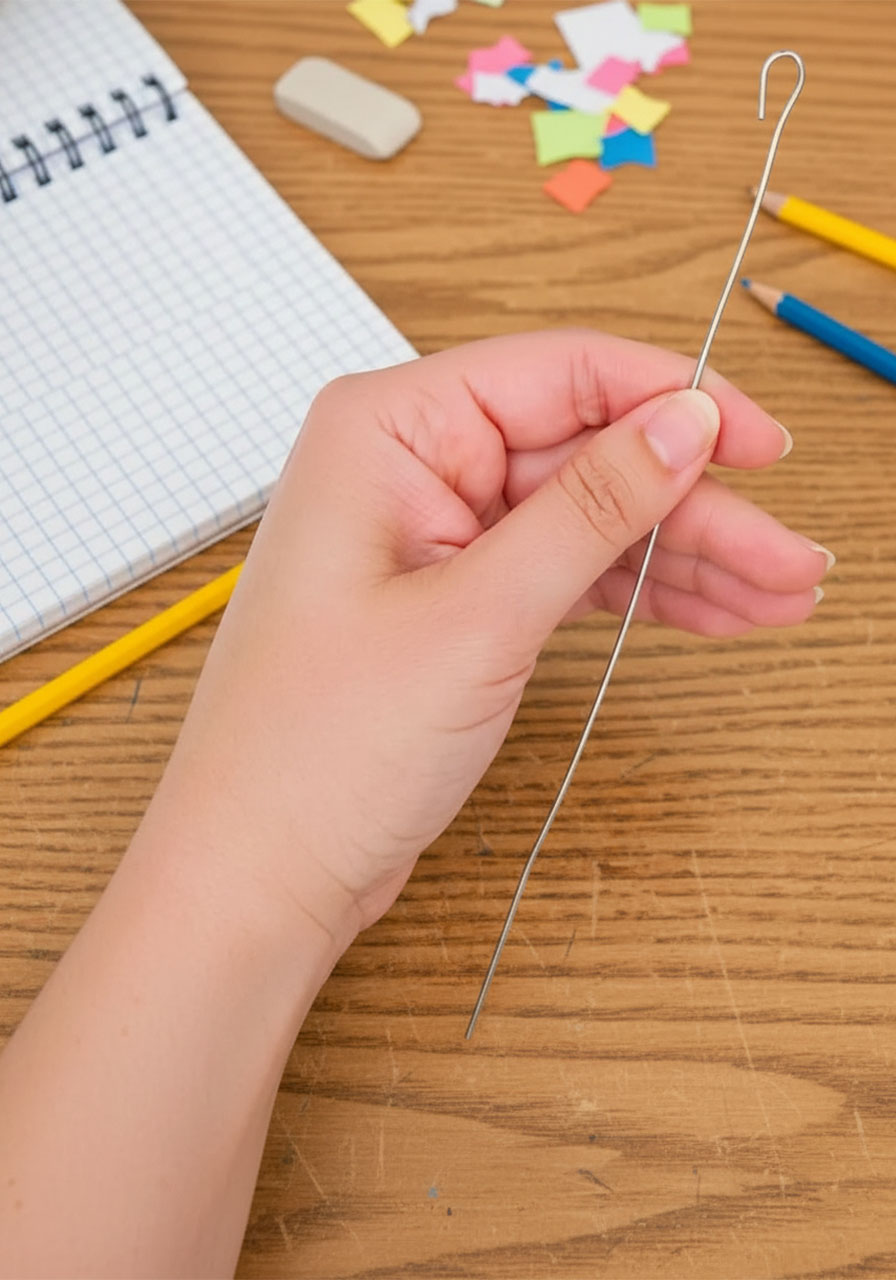
Cut a piece of floral wire to about 8 inches long. Using your needle-nose pliers, bend the very top of the wire into a small curved loop – this is what the first petal will grip onto, so it anchors the whole flower.
Starting from the looped end, wrap the entire wire in green floral tape, stretching the tape slightly as you go (this activates the adhesive). Work your way down to the bottom of the stem. If the ends won’t stay put, a tiny dot of hot glue will hold them perfectly.
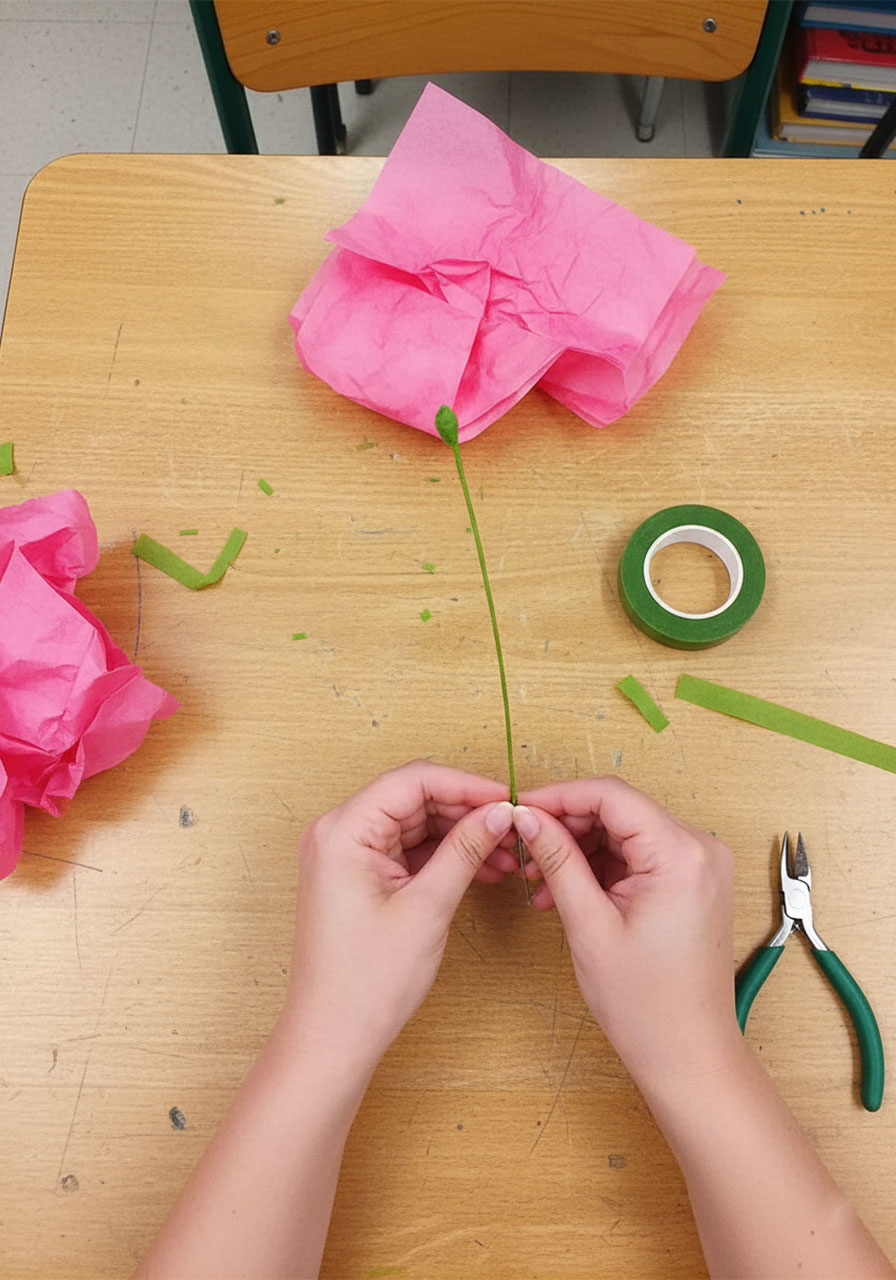
STEP 6 – Assemble Your Rose
This is where the magic happens – and it’s easier than it looks!
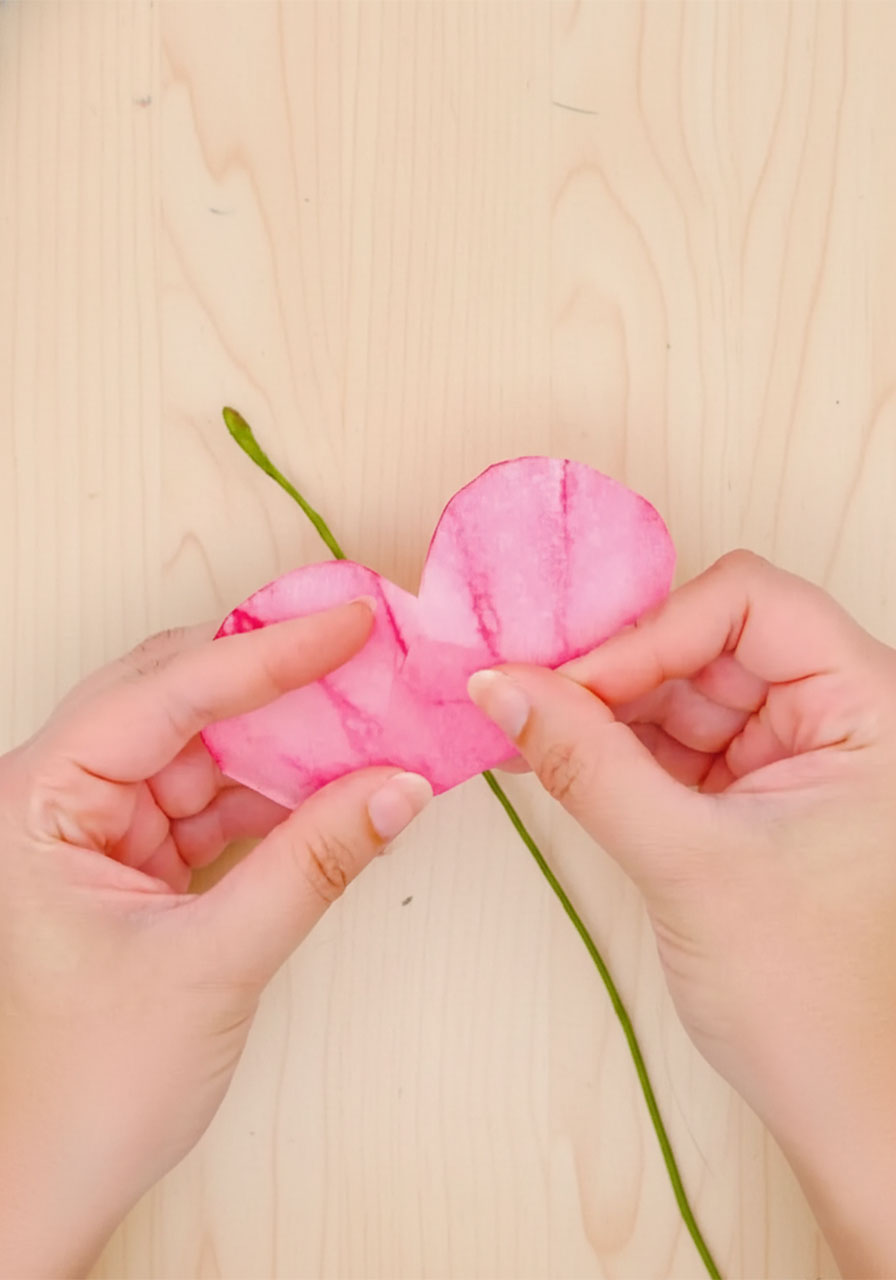
1. Take one heart-shaped petal section. Fold the bottom point up toward the center, in between the two petals. This creates a small flat base.
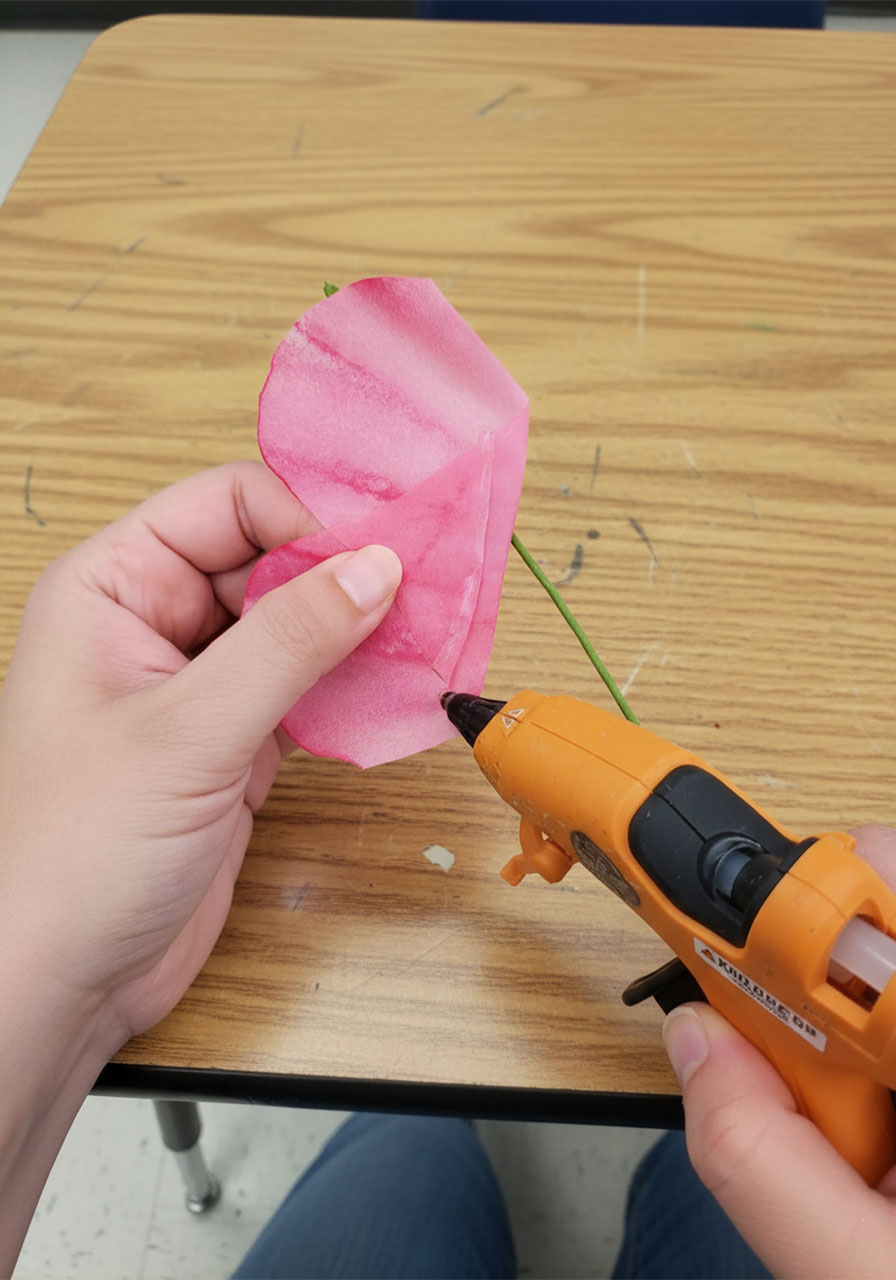
2. Run a thin line of hot glue along the bottom fold.
3. Press the looped end of your stem into the glue on one side, then roll the petal section tightly around the stem. Keep the bottom edge even and snug – this is the tight center bud of your rose. Hold for a few seconds until the glue sets.
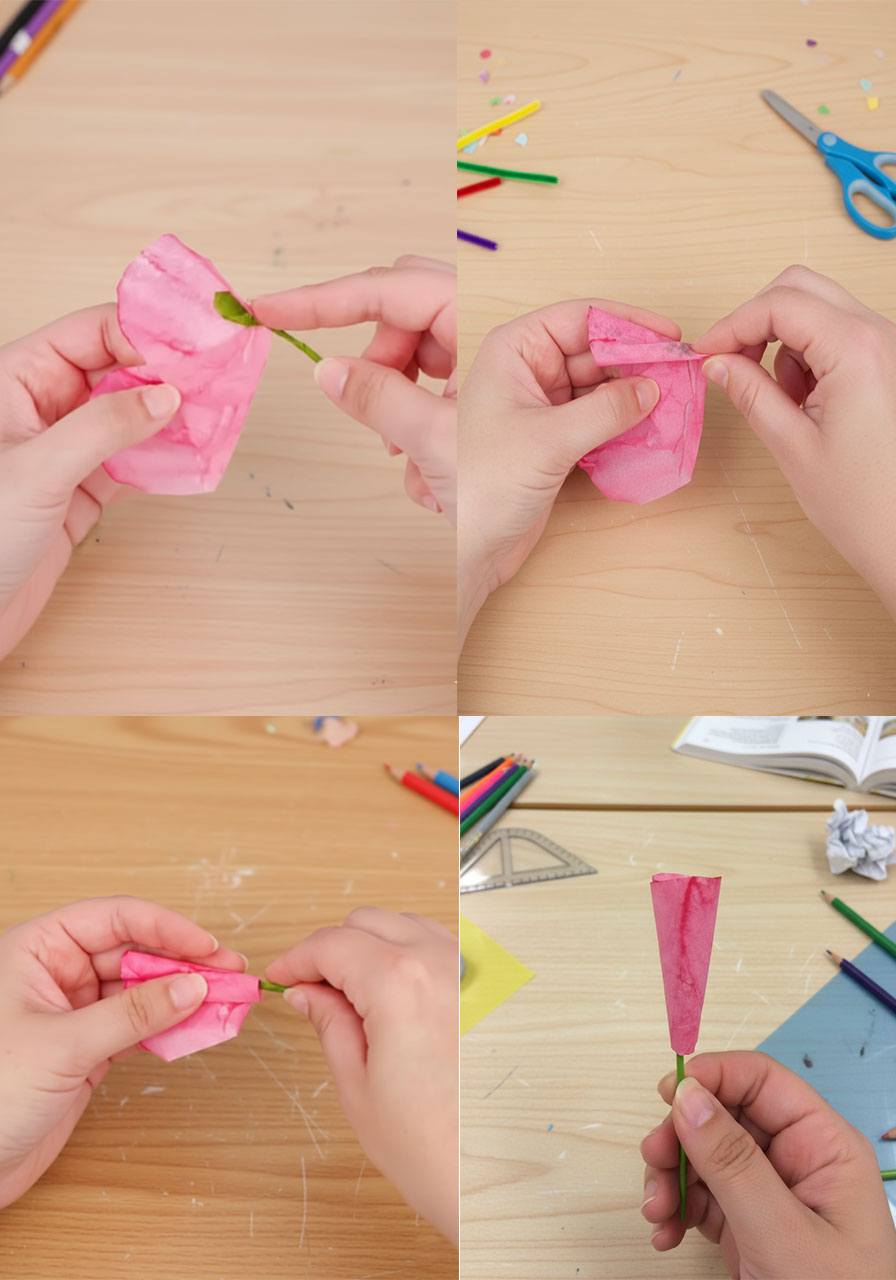
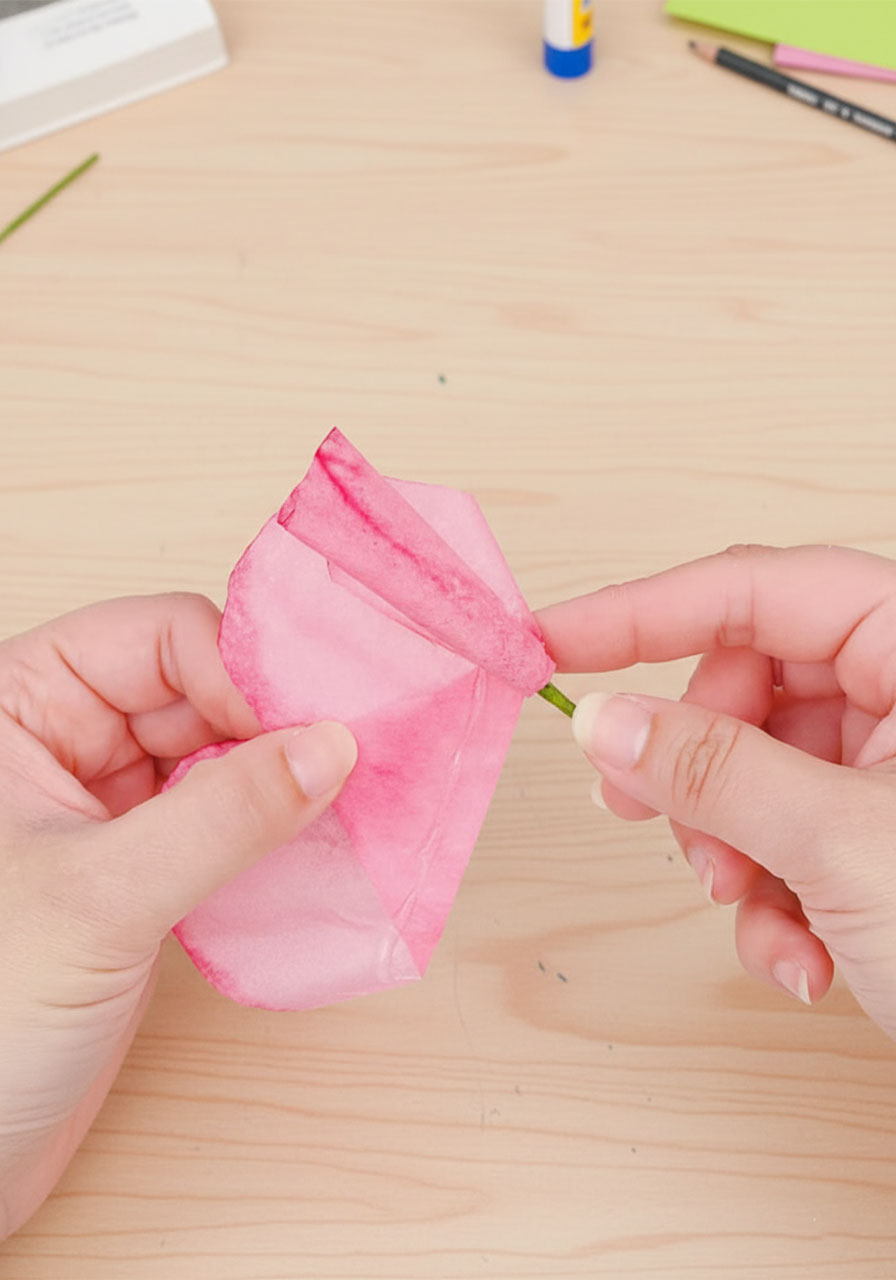
4. For each additional petal section: fold the bottom point up, add a line of hot glue along the base, and wrap it around the previous layer. Line up the bottoms of each section as you go – this keeps your rose looking neat and full.
5. Continue adding petal sections one by one until all 16 are used.
6. Once all petals are attached, gently fluff them outward, starting from the outermost layer and working in. Curl and bend the petals to your liking until the rose looks lush and open.
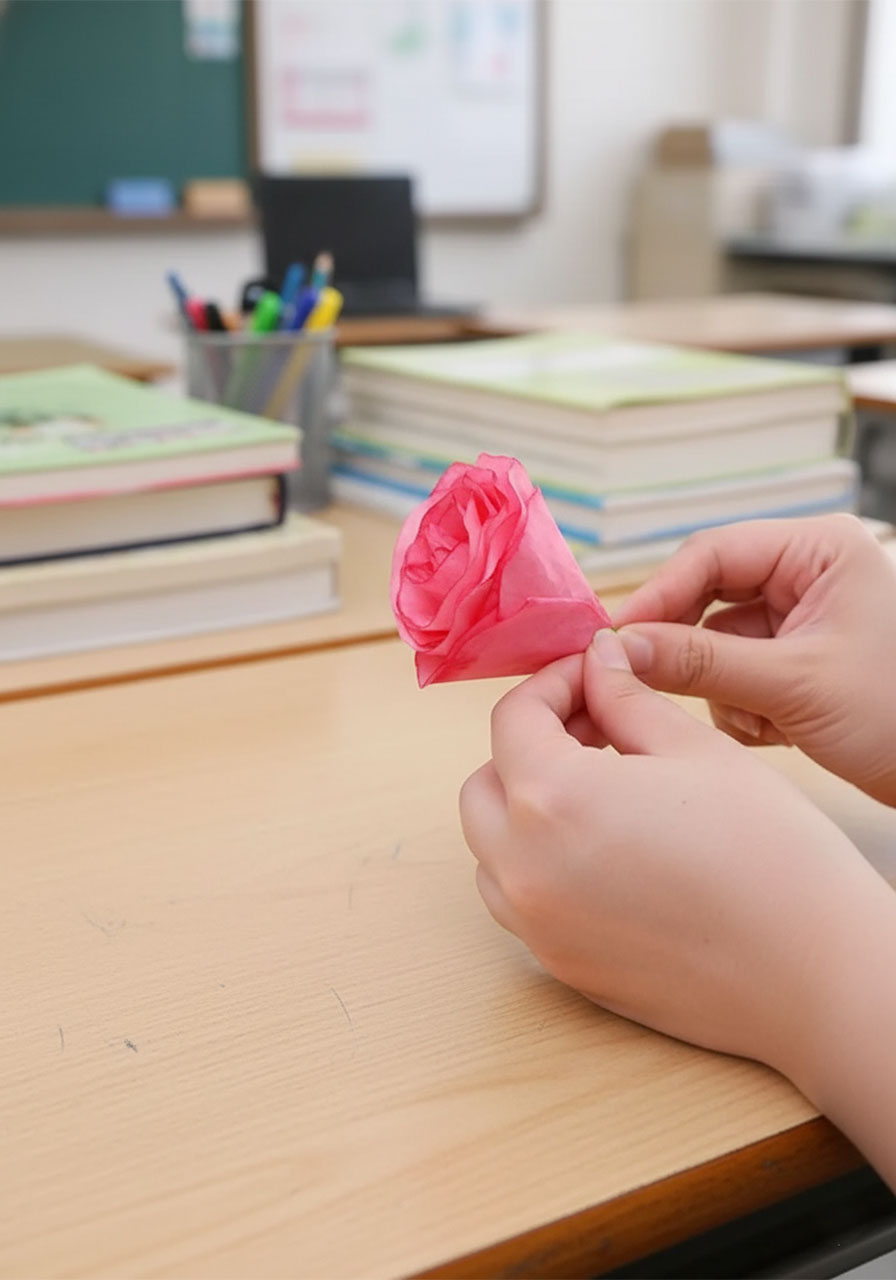
Your coffee filter rose is complete! 🌹
💡 Pro Tip – Petal Shape Control: If you want very precise, uniform petals, cut each heart shape individually rather than cutting through all layers at once. It takes a little longer but gives you full control over the final look.
How to Display Your Coffee Filter Roses
A few stems in a simple glass vase make an absolutely stunning centerpiece. Mix different shades – blush, coral, deep red – for a bouquet that looks like it was professionally arranged. You can also:
Tuck a few stems into a kraft paper cone tied with twine for a charming handmade gift
Wire them onto a wreath form mixed with faux greenery
Attach a single rose to a gift box as a beautiful topper instead of a bow
Arrange a few stemless blooms in a flat tray or shadow box for wall art
For an extra-special touch, add a drop of your favorite essential oil to the inside of the bloom after it’s fully assembled. Your coffee filter roses will smell as lovely as they look – and Mom will be completely won over.

Frequently Asked Questions
What type of coffee filters should I use?
Flat-bottom, basket-style coffee filters work best – the 4-cup size is ideal. They fold and cut easily and absorb color beautifully. Avoid cone-shaped filters, which are harder to shape into petals and don’t give the same natural look.
Can kids make these?
Absolutely – with supervision! Children aged 10 and up can handle the folding, cutting, and painting steps with ease. The hot glue gun and pliers are the only steps that need an adult’s hands. This is a wonderful parent-child project, and kids are so proud of the final result.
Do I need liquid watercolor paint specifically?
Nope! Food coloring diluted with a little water works just as well. You can also use washable markers to color dry filters and then mist with water to spread the pigment. Each method gives a slightly different look, so have fun experimenting.
How many filters do I need per rose?
You’ll start with 5 coffee filters per rose, but after discarding the darkest top layer, you’ll work with 4. Those 4 filters give you 16 petal sections – the perfect amount for one full, lush bloom.
How long do these roses last?
Forever – that’s the real magic! Unlike fresh flowers, coffee filter roses won’t wilt, fade quickly, or need water. Keep them out of direct sunlight to preserve the color as long as possible.
There’s something really special about giving a gift you made with your own hands – and these coffee filter roses have a way of making people feel exactly that. They’re beautiful enough to display for years, and the thought and care behind them makes them priceless.
Whether you’re making one perfect bloom or a whole Mother’s Day bouquet, enjoy every step of the process. She’s going to love them. 💕
More Mother’s Day Ideas to Keep the Fun Rolling:
30+ Mother’s Day Crafts for Kids of All Ages
Easy Thumbprint Heart Necklace DIY Kids Can Make for Mother’s Day
“You Are My Flower”: The Sweetest DIY Clay Trinket Dish Kids Can Make for Mother’s Day
The Cutest DIY 3D Tulip Bouquet Card for Mother’s Day (That Opens Like a Real Bouquet!)
The DIY “Forever Bouquet” Card That Will Make Mom Cry Happy Tears This Mother’s Day
How to Make a DIY 3D “MOM” Pop-Up Card She’ll Actually Keep Forever