
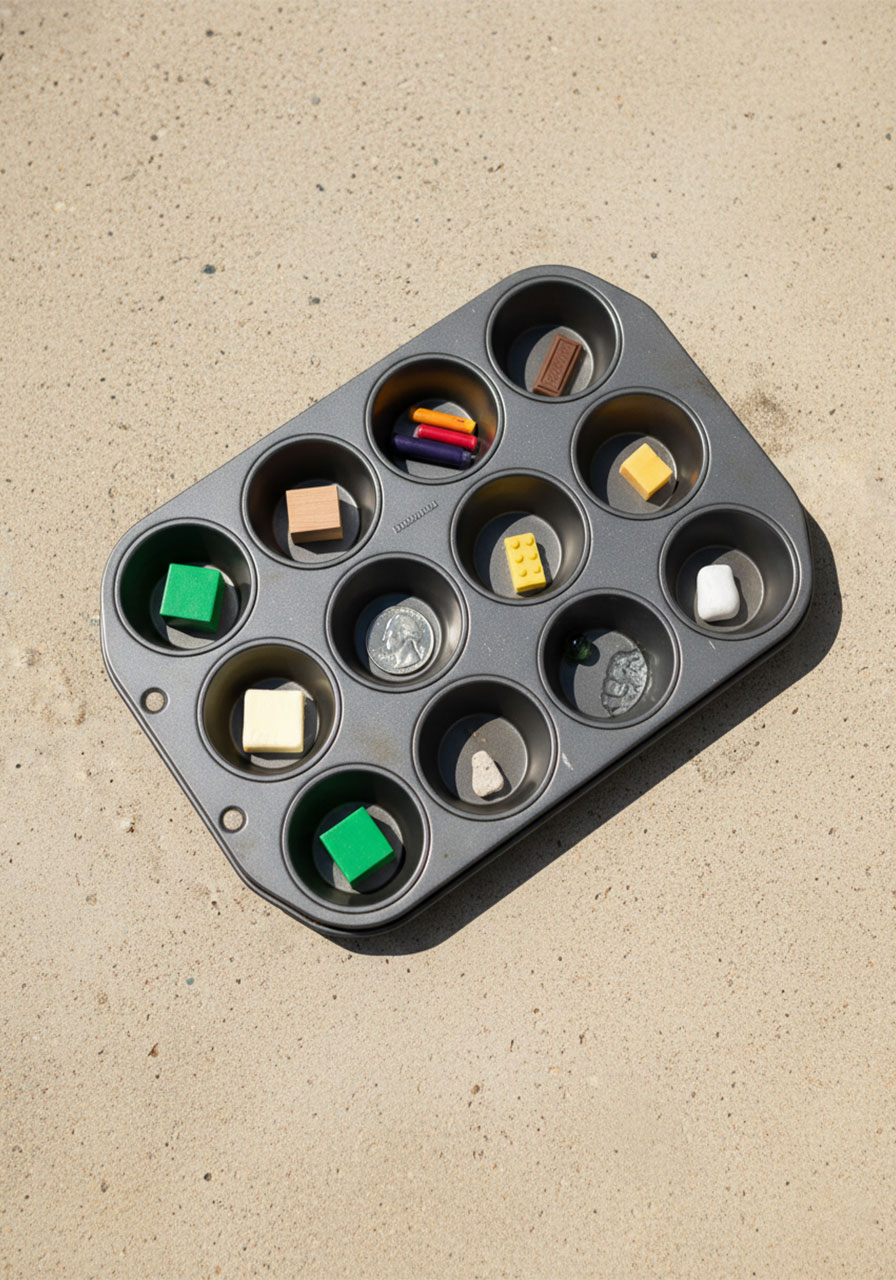
Got a hot sunny day and a curious kid? That’s literally all you need. This simple science experiment for kids turns your backyard into a real science lab – and the best part? The “equipment” is already in your kitchen.
We’re talking about a muffin tin, a handful of random household items, and the power of the sun. That’s it. No special supplies, no complicated setup, and zero stress for you. Just a whole lot of “Whoa, did you see that?!” from your kids.
This activity is perfect for preschoolers and kindergarteners, but honestly? Kids up to age 8 (and beyond!) get completely sucked in. It’s one of those rare experiments where they’re learning real science without even realizing it.
Why This Experiment Works So Well
Here’s what makes this activity a home run for both parents and teachers: it builds scientific thinking. Kids make a prediction (“Will it melt or not?”), run a test (leave it in the sun), and then observe the real result. That’s the scientific method – and they’re doing it naturally, just by playing.
Add a simple recording sheet and you’ve got a full STEM activity that checks every box: hands-on, low-prep, and genuinely exciting.

What You’ll Need
1 muffin tin (a standard 12-cup tin works great)
A sunny day with temperatures in the 80s°F or higher
A variety of small household items (see suggestions below)
A pencil and paper to record predictions and results
A timer
Suggested Items to Test
A square of chocolate (like Hershey’s)
An ice cube
A small pat of butter
A cube of cheese
A few crayons
A small piece of bar soap
A Lego brick
A marble
A coin (like a quarter)
A small wooden block
A rock
Pro Tip: Let your kids help choose the items! Half the fun is the debate over what will or won’t melt. It gets them invested in the outcome before the experiment even starts.
How to Do the Experiment
1. Set up your predictions first.
Before placing anything in the sun, draw a simple two-column chart on a piece of paper: “Do you think it will melt?” and “Did it melt?” List each object down the left side. Have your child circle YES or NO for each item based on their guess. This is the most important step – it’s what turns a fun activity into real scientific thinking.
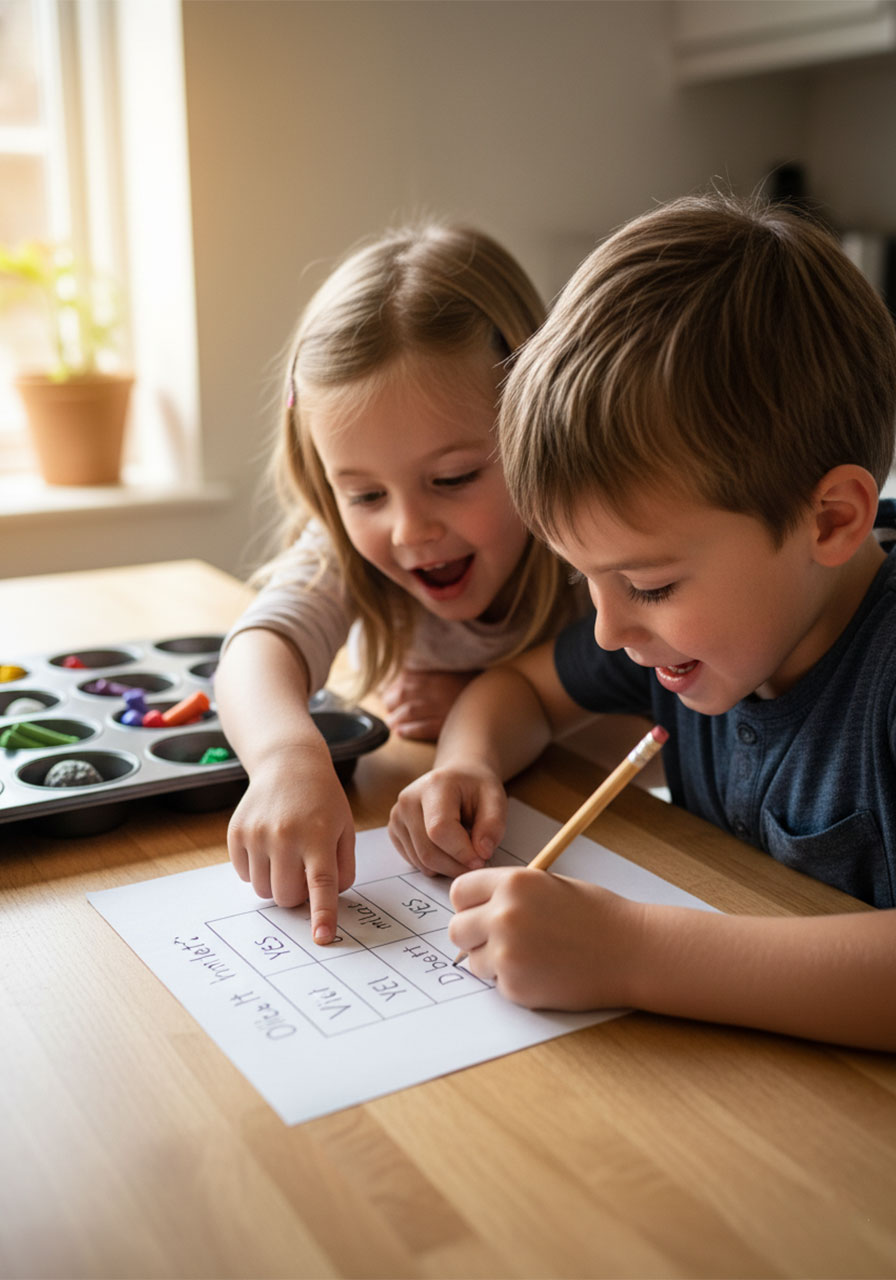
2. Place one item in each cup of the muffin tin.
Spread them out so nothing overlaps. Put breakable or sticky items like chocolate and butter toward the center so they’re easier to check.
3. Set the muffin tin in direct sunlight.
Find the sunniest, most exposed spot you can – a driveway, patio, or concrete ledge works great. Avoid shady areas; the experiment works best in full, hot sun.
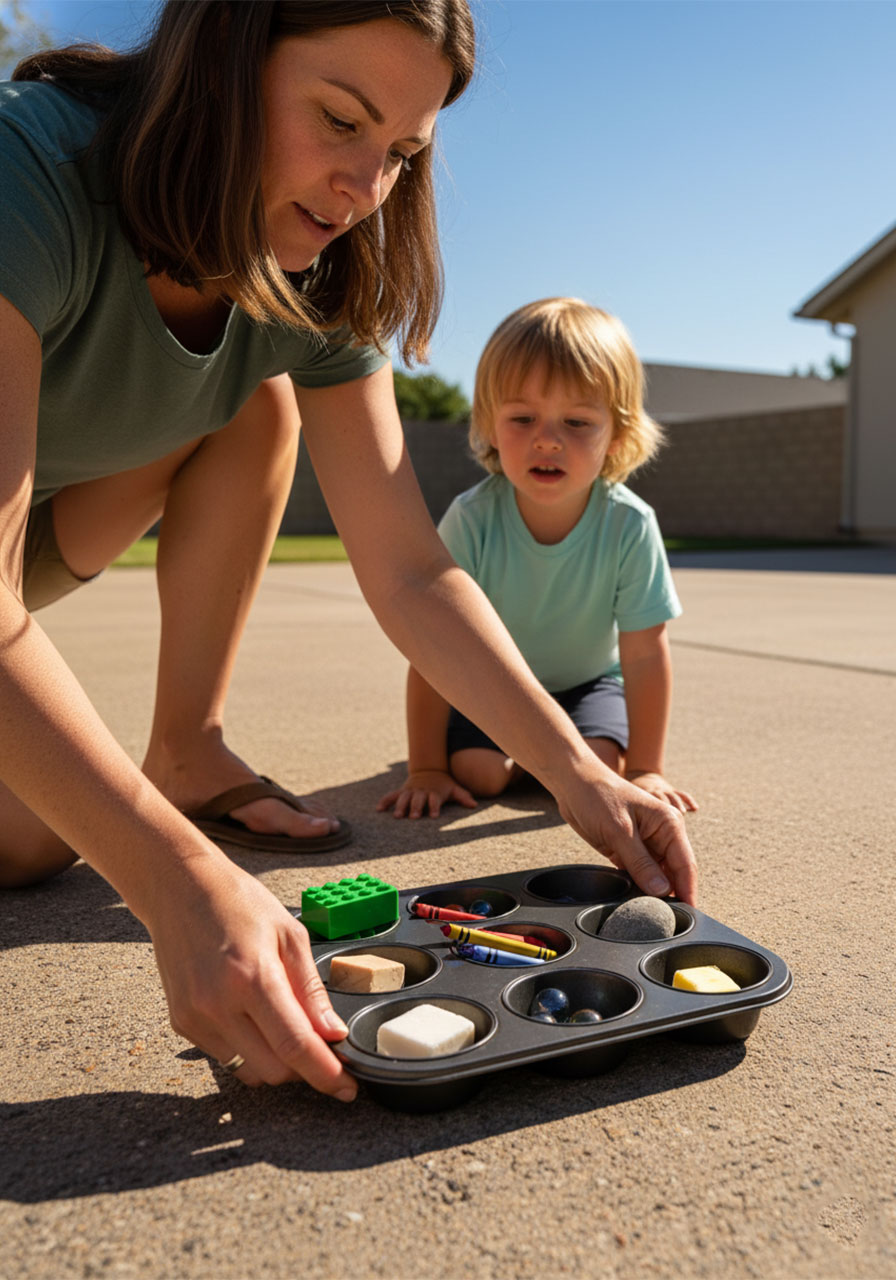
4. Set a timer for 10 minutes.
While you wait, talk through the predictions again. Ask questions like: “Why do you think the ice will melt? What about the Lego – what’s it made of?”
5. Check the results at 10 minutes.
Some items (chocolate and ice especially) will show changes fast. Record what you see on your chart.
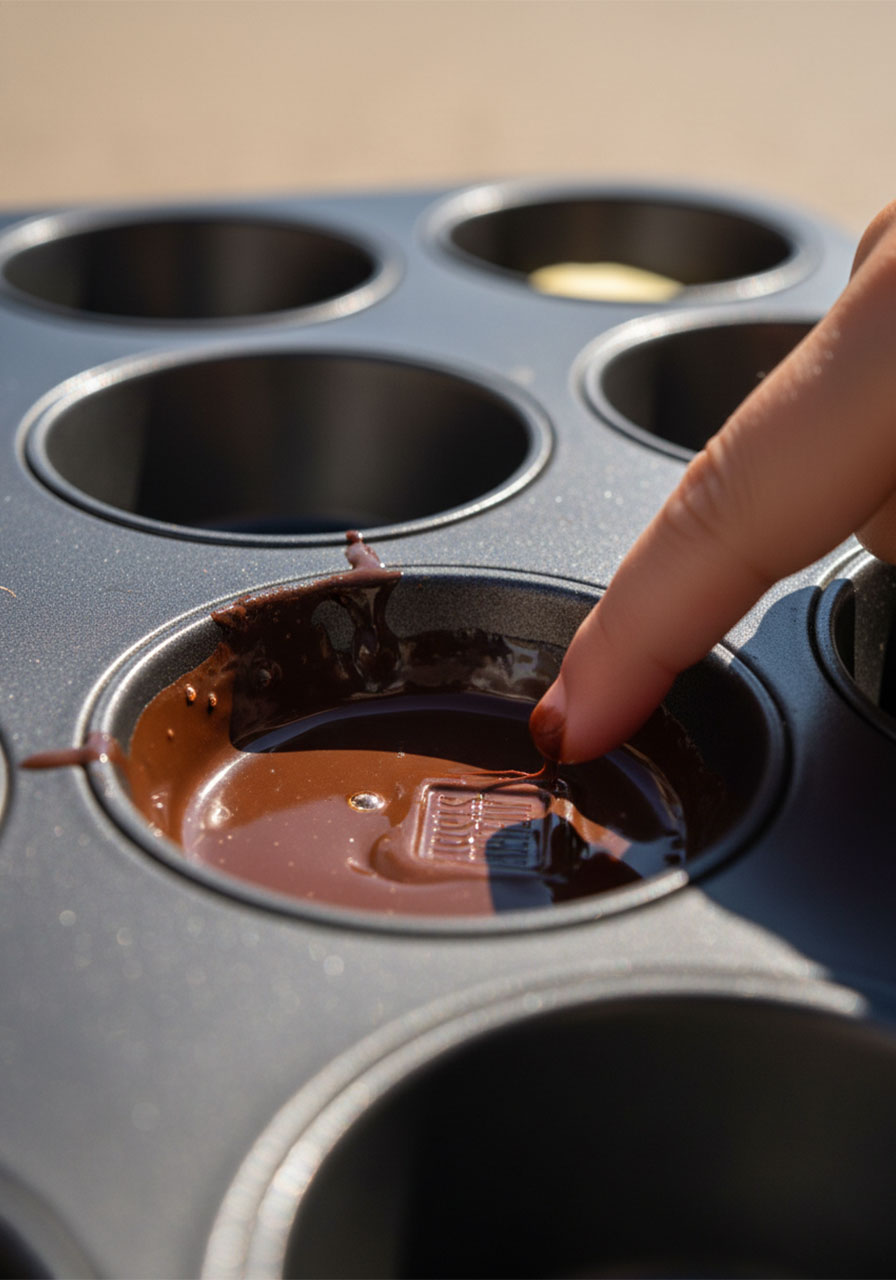
6. Leave it out longer if needed.
Set another timer for 30–40 more minutes and leave the tray out. Some items – like crayons and cheese – need more time. You might even forget about it, which leads to a great surprise when you check back!
7. Compare predictions to results.
Go through each item on the chart. What melted? What didn’t? Were there any surprises? (Spoiler: the soap is a sneaky one – it looks like it should melt, but it doesn’t budge!)

What to Expect: Real Results
Here’s a rough idea of what you’ll likely see, so you’re not caught off guard:
Chocolate: Melts fast – within 10 minutes on a really hot day. It turns into a satisfying puddle. (Fair warning: small fingers will immediately need to “test” it.)
Ice: Melts quickly, depending on how hot it is. Great visual for little ones.
Butter: Melts on hotter days (it melts at around 90°F). On milder days, it just softens.
Cheese: Starts to look shiny and soft, and may melt with longer sun exposure.
Crayons: These take longer – 40+ minutes on a very hot day. An interesting detail: lighter-colored crayons (especially yellow) melt faster than darker ones because they absorb heat differently!
Soap: Stays solid! A great conversation starter about why some things don’t melt in normal heat.
Lego, marble, coin, wooden block, rock: None of these will melt. They need far higher temperatures than the sun can provide outdoors.

The Science Behind It (Explained Simply)
Every solid has something called a melting point – the temperature at which it turns from solid to liquid. Water’s melting point is 32°F, which is why ice melts on a warm day. But every material is different!
Here are some fun facts to share with your kids:
Butter melts at around 90°F – so on a really hot day, it’s basically “frozen butter” sitting outside until the temperature tips it over the edge.
Crayons melt somewhere between 105°F and 147°F depending on the brand and color.
A quarter is mostly copper, which melts at around 1,981°F. We’re safe – that’s not happening in anyone’s backyard!
Soap has a very high melting point too, which is why it stays solid even on the hottest summer day.
The big takeaway for kids: different materials need different amounts of heat to melt. That’s real materials science – and they figured it out themselves!
Make It Even Better: Tips for Teachers & Parents
Turn it into a graphing activity. After recording results, help older kids create a simple bar graph showing how many items melted vs. didn’t melt.
Add a “Why?” column. For ages 6+, add a third column to the chart: “Why do you think it did/didn’t melt?” Encourage guesses – there are no wrong answers here.
Try it on different days. Repeat the experiment on a cloudy day or in the shade. What changes? This introduces the concept of variables.
Pair it with a book. Weekend with Wendell by Kevin Henkes features crayons melting in the sun – a perfect read-aloud tie-in for preschool and kindergarten classrooms.
Let them pick the items. Give kids ownership by letting them raid the junk drawer or pantry for items to test. They’ll be far more engaged with things they chose themselves.
Frequently Asked Questions
What age is this experiment best for?
This works beautifully for ages 3 and up. Toddlers love watching the chocolate melt and touching the results. Older kids (ages 6–10) get more out of the prediction-and-recording element. It’s truly one of those rare activities the whole crew can do together.
Does it have to be an extremely hot day?
The hotter, the better! You’ll get the most dramatic results – especially with butter, cheese, and crayons – on days above 85°F in full, direct sun. On milder days, chocolate and ice will still melt; the others just need more time.
How do I make the recording chart?
No need to print anything! Just grab a piece of paper and draw three columns with a ruler: “Object,” “Will it melt?” and “Did it melt?” Write the items down the side and let your child fill it in with YES or NO. Simple, effective, and totally customizable based on what items you use.
Can we do this indoors?
You could try it near a very sunny window, but full outdoor sun gives the best results. The heat that builds up in direct sunlight is what really drives the experiment. A sunny windowsill can work in a pinch for testing just chocolate or butter.
What should we do with the melted items?
Great question! The chocolate can be eaten (obviously the highlight). The melted crayon cups can be left to re-solidify and then popped out – you’ll have cool, swirled crayon discs that actually work for coloring. The rest can just be wiped clean.
With one muffin tin and a sunny afternoon, you’ve just turned your backyard into a science classroom – and your kid into a real scientist. That’s the kind of afternoon they’ll bring up for weeks. Now go find your sunniest spot and get experimenting!
More Kid’s Party Ideas to Keep the Fun Rolling:
How to Use LEGOs to Make Pictures in Playdough (It’s Easier Than You Think!)
LEGO Charades, Pictionary & Creationary: The Ultimate Hands-On Game for Kids & Families
DIY LEGO Pom Pom Maze: The Ultimate Rainy Day Activity Kids Will Beg to Do Again
16 Genius Colour Sorting Activities for Toddlers & Preschoolers
22 Pinterest Ideas Every Parent (and Teacher!) Will Actually Want to Try
The Easiest Math Activity for Preschoolers (All You Need Is a Cardboard Box!)
15 Cup Stacking STEM Challenges That Will Keep Preschoolers Busy for Hours
5 Domino Math Games Kids Actually Want to Play (No Worksheets Required!)
