

Looking for a St. Patrick’s Day craft that’s easy enough for little hands but cute enough to actually display? This craft stick leprechaun hat is about to become your new favorite March activity. It’s simple, it’s festive, and honestly, it’s adorable enough that you might just want to make one yourself.
Best for: Kids ages 4-10, classroom activities, at-home craft time
Time to Make: 30-40 minutes (including drying time)
Mess Level: Low (just paint and glue!)
Why You’ll Love This Craft
Here’s the thing about St. Patrick’s Day crafts: they can get overly complicated fast. This one? It keeps things refreshingly simple while still delivering that “Oh, look what I made!” excitement kids crave. Plus, you probably already have most of these supplies in your craft drawer.
The best part is watching kids transform ordinary popsicle sticks into something magical. There’s something deeply satisfying about seeing six plain sticks become a tiny leprechaun hat – and your students or kiddos will feel that pride too.

What You’ll Need:
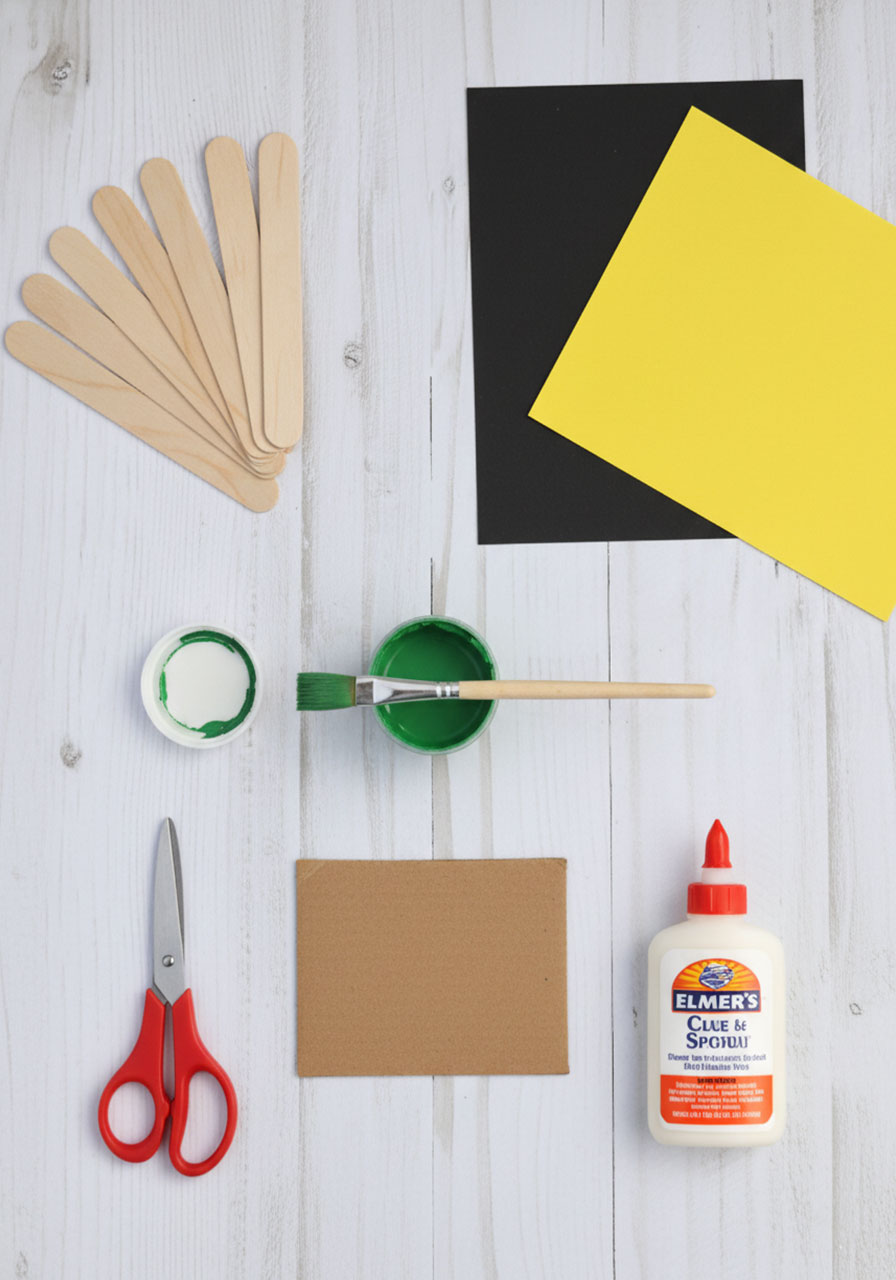
6-7 craft sticks (popsicle sticks work perfectly)
Green paint and paintbrush
Black construction paper or cardstock
Yellow construction paper or cardstock
Glue (regular white glue or a glue stick both work)
Small piece of cardstock or fiberboard for backing
Scissors
Pro Tip: If you’re doing this with a classroom full of kids, prep the bases ahead of time. Your future self will thank you when you’re not wrangling 20 glue bottles at once.
How to Make Your Leprechaun Hat (Step-by-Step):
1. Build your hat base.
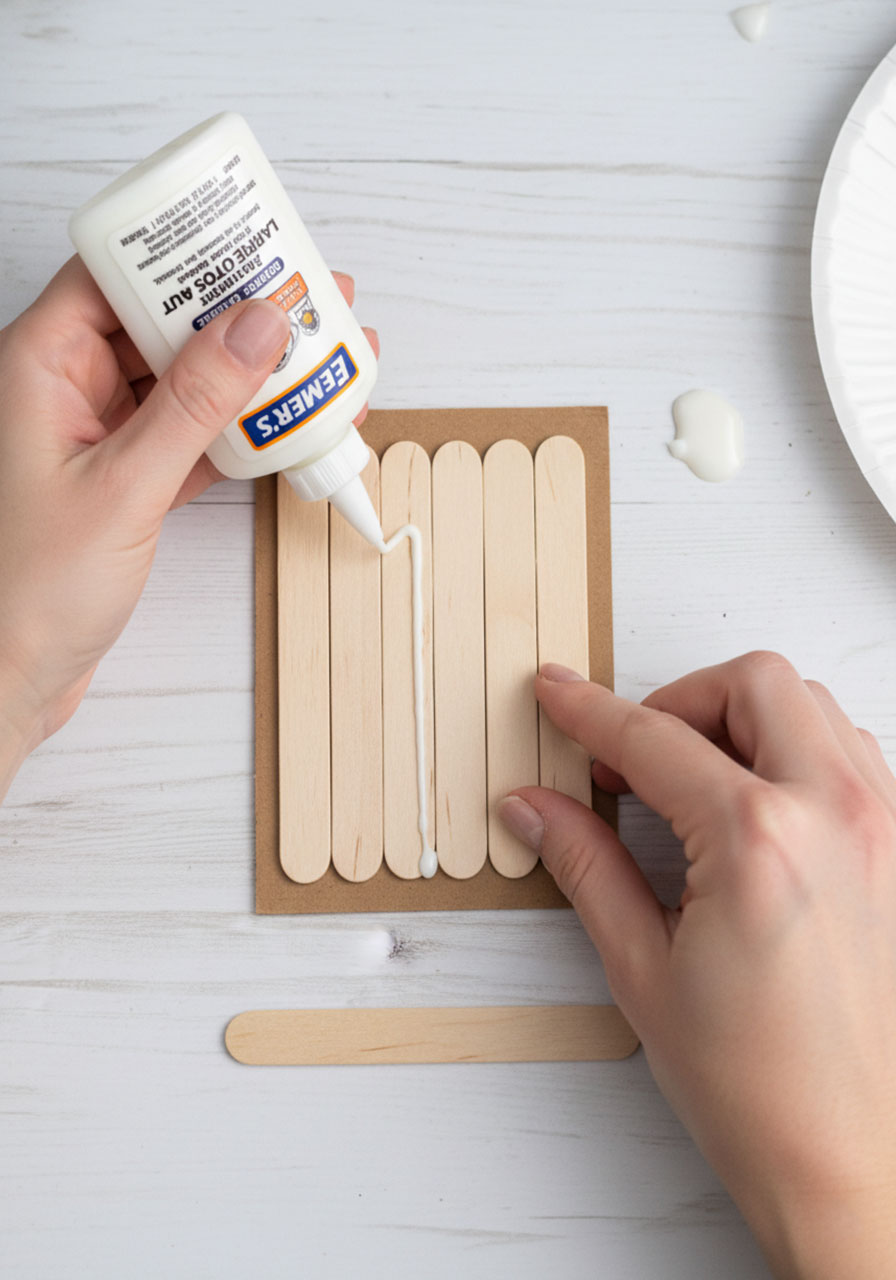
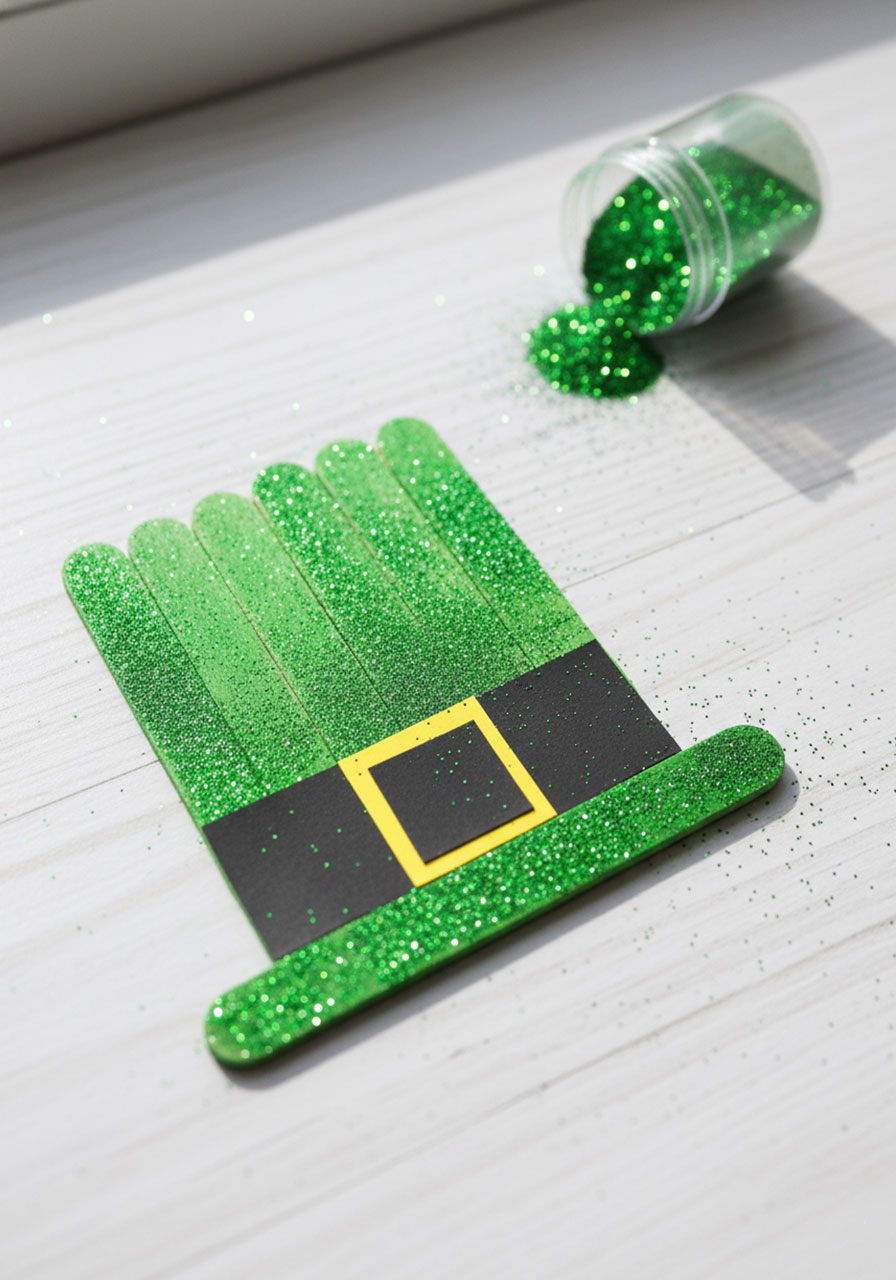
Grab six craft sticks and glue them side-by-side onto a small piece of cardstock or fiberboard. The cardstock is your secret weapon here – it holds everything together so your hat doesn’t fall apart mid-display. Make sure the sticks are lined up evenly at the top (this will be the top of your hat).
2. Add the brim.
Take one craft stick and glue it horizontally across the bottom of your six vertical sticks. This becomes the hat’s brim. Let the glue set for a few minutes before moving on – patience pays off here!
3. Paint it lucky green.
Hand over the paintbrush and let your kids go to town with green paint. Cover all the craft sticks completely, but don’t worry about perfection. A little paint texture adds character! Set it aside to dry completely (about 15-20 minutes).

4. Craft the belt while you wait.
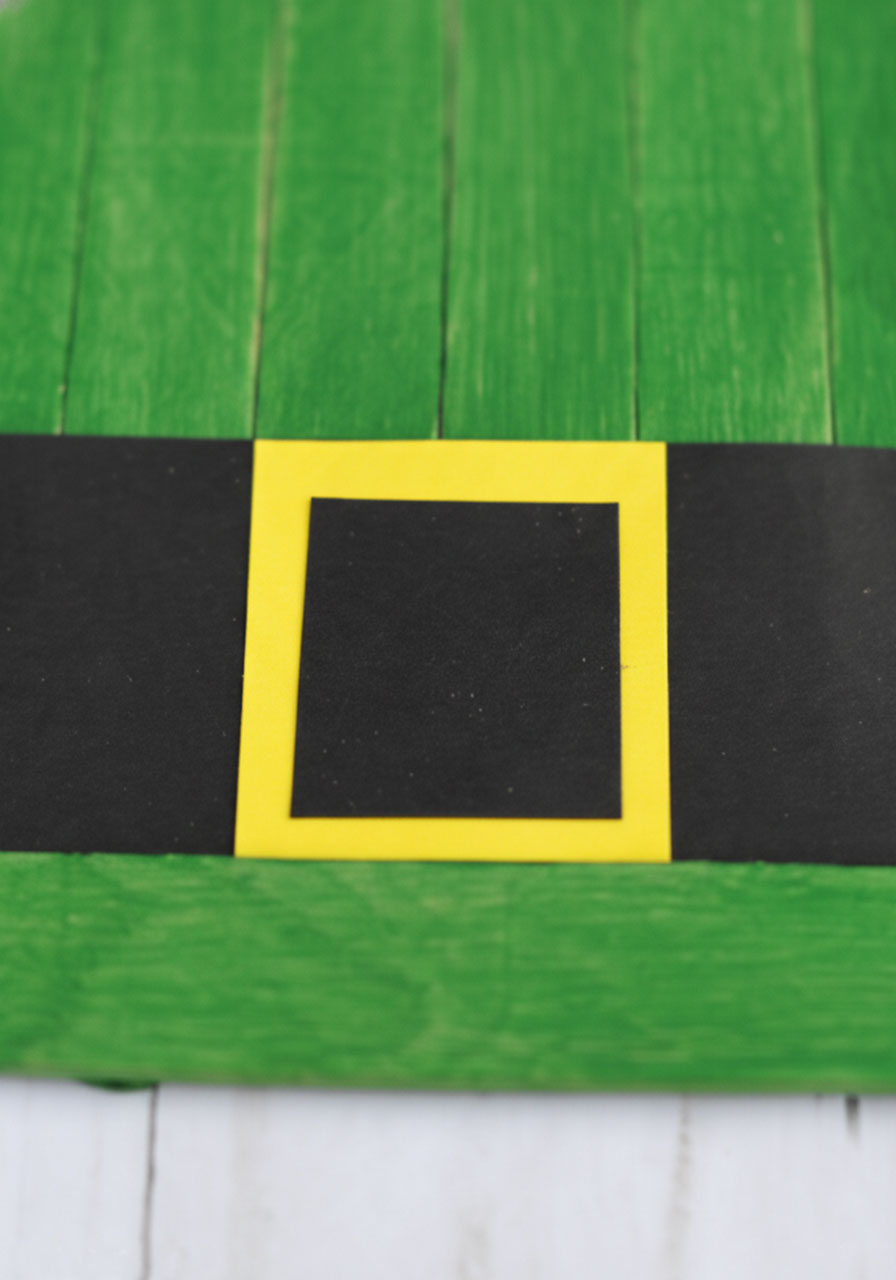
Cut a long strip of black paper about 1 inch wide – this is your hat’s belt. Then cut a yellow square (about 1 inch x 1 inch) and a smaller black square to layer on top. Boom – you’ve got yourself a buckle.
5. Assemble your masterpiece.
Once the paint is completely dry, glue the black paper strip across your hat, just above the brim. Then glue your yellow square onto the belt, followed by the smaller black square on top to create that classic buckle look.
6. Display with pride!
Your leprechaun hat is ready to bring the St. Patrick’s Day spirit to your classroom wall, fridge, or anywhere you need a little Irish charm.
Teacher & Parent Hacks:
For Classrooms: Set up an assembly line! Have one station for gluing bases, one for painting, and one for cutting paper pieces. Kids can rotate through, and you’ll knock out 25 hats in no time.
For Home: Turn this into a full leprechaun afternoon. Make the hats, then have kids write stories about where their leprechaun lives or what’s hidden at the end of their rainbow.
Mess Management: Use paper plates as paint palettes and cover your work surface with newspaper. Old t-shirts make excellent paint smocks when you’ve run out of the “official” ones.
Fun Variations to Try:
Add glitter: A little green glitter on the wet paint takes this from cute to extra festive.
Personalize it: Have kids write their names on the brim with a black marker before displaying.
Go mini: Use mini craft sticks to create tiny leprechaun hats that can become magnets or ornaments.
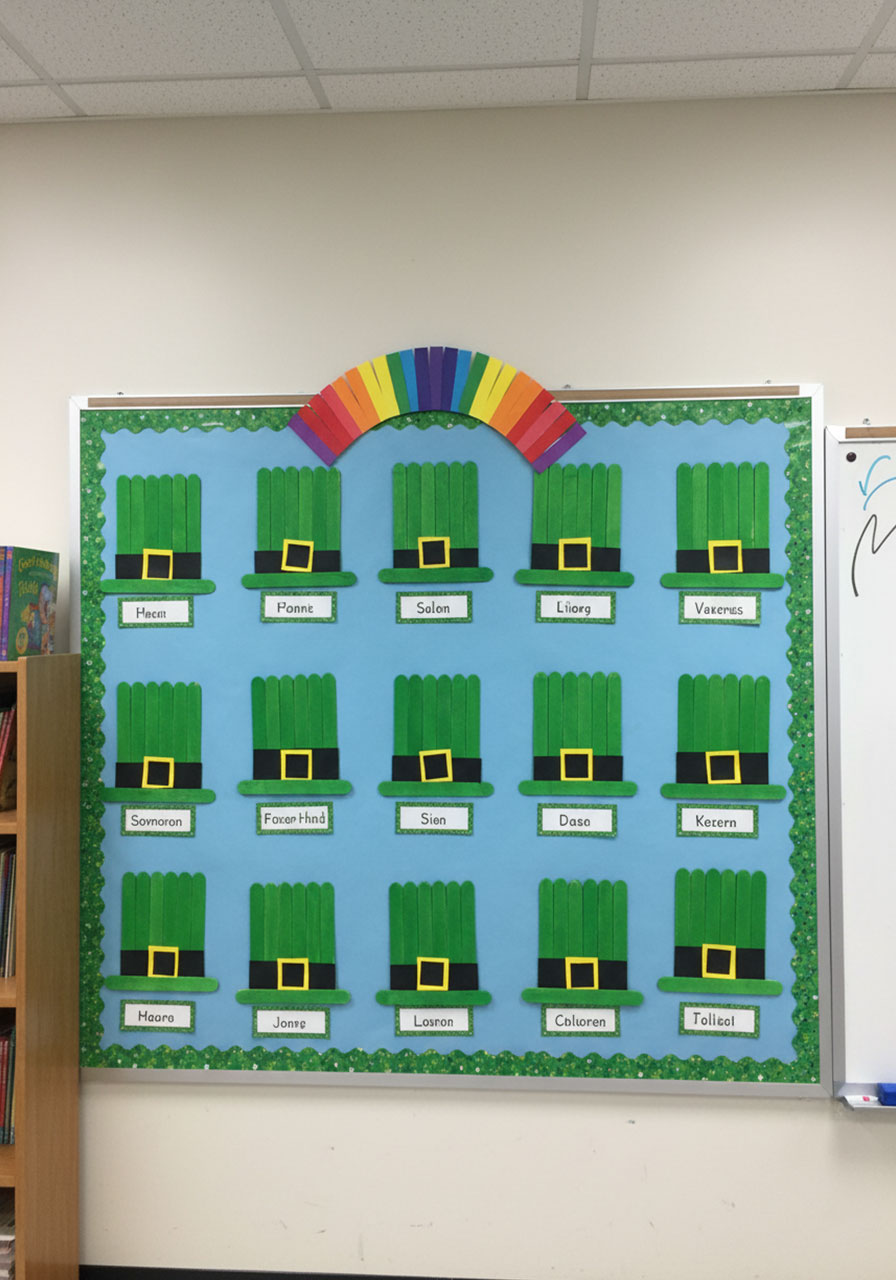
Rainbow connection: Make several hats and arrange them in a display with a paper rainbow connecting them.
Why This Craft Actually Matters
Sure, it’s a fun way to kill 40 minutes on a rainy March afternoon. But here’s what’s really happening: kids are practicing fine motor skills with those paintbrushes and glue bottles, learning to follow multi-step directions, and experiencing the confidence boost that comes from creating something from scratch.
Plus, you’re creating memories. Years from now, your kids won’t remember every worksheet they completed, but they will remember the year they made leprechaun hats and plotted (unsuccessfully, but enthusiastically) to trap those sneaky little guys.
So grab those craft sticks and get ready to paint some magic. Your leprechaun won’t trap himself, but at least you’ll have an adorable hat to show for the effort.

More St. Patrick’s Day Party Ideas to Keep the Fun Rolling:
DIY Lucky Pot of Gold Gift: The Easiest St. Patrick’s Day Craft That’ll Make You the Hero
St. Patrick’s Day Shamrock Man Craft: The Easiest (and Cutest!) Holiday Project for Kids
5 Adorable St. Patrick’s Day Projects You Can Make This Weekend
5 Easy St. Patrick’s Day Crafts That’ll Make You Look Like a Creative Genius (Zero Luck Required!)
Easy Ideas to Host an Epic St. Patrick’s Day Breakfast for Kids
18 Easy and Fun St. Patrick’s Day Activities for Toddlers (No Prep Required!)
15 Easy St. Patrick’s Day Crafts for Kids That Are Actually Fun
Easy Shamrock Suncatcher Craft – A Magical St. Patrick’s Day Activity for Kids
