
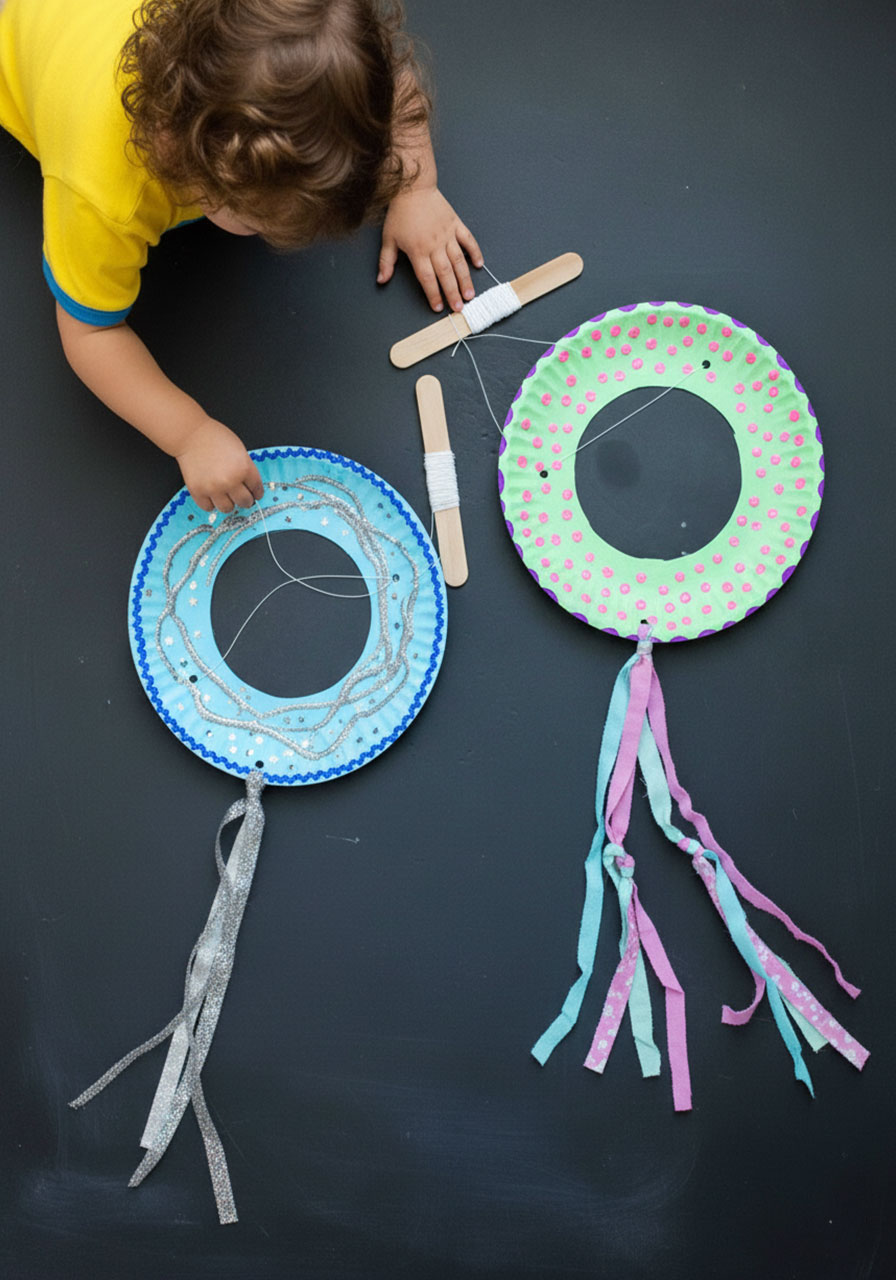
Summer’s here, and if you’re looking for an easy, budget-friendly activity to keep the kids entertained, you’ve just hit the jackpot. This paper plate kite craft is about to become your go-to summer project – and the best part? You probably already have everything you need sitting in your kitchen drawer.
We’re talking minimal prep, maximum fun, and an actual flying kite at the end. Your kids get to unleash their creativity, and you get to be the hero who made summer a little more awesome. Let’s dive in!
Why You’ll Love This Paper Plate Kite Craft
Here’s the thing: this isn’t just another craft that ends up in the recycling bin. These kites actually fly! Plus, it’s perfect for kids of all ages. Younger ones can go wild with the decorating (with a little help on the cutting), while older kids can handle the whole project themselves. It’s a win-win for everyone.
Best for: Kids ages 4-12, rainy day activities, birthday party crafts, summer camp projects
Time to Make: 20-30 minutes
Skill Level: Beginner-friendly (seriously, if you can hold scissors, you’re good)

What You’ll Need for Your Paper Plate Kite

Let’s start with the supplies. Good news – this is the kind of craft that works with whatever you’ve got lying around:
Paper plates (standard size works great)
Markers, crayons, or paint (for decorating)
Scissors
Hole punch
Kite string (or any sturdy string you have)
Yarn (any color – this is for the tail)
Scrap fabric strips (old t-shirts, ribbons, anything colorful)
Craft sticks or popsicle sticks (1-2 per kite)
Something round to trace (a small bowl or cup works perfectly)
Pro tip: Raid your craft bin for those random fabric scraps and ribbon pieces you’ve been hoarding. This is their time to shine!
How to Make Your Paper Plate Kite: Step-by-Step
Step 1: Create the Kite Body
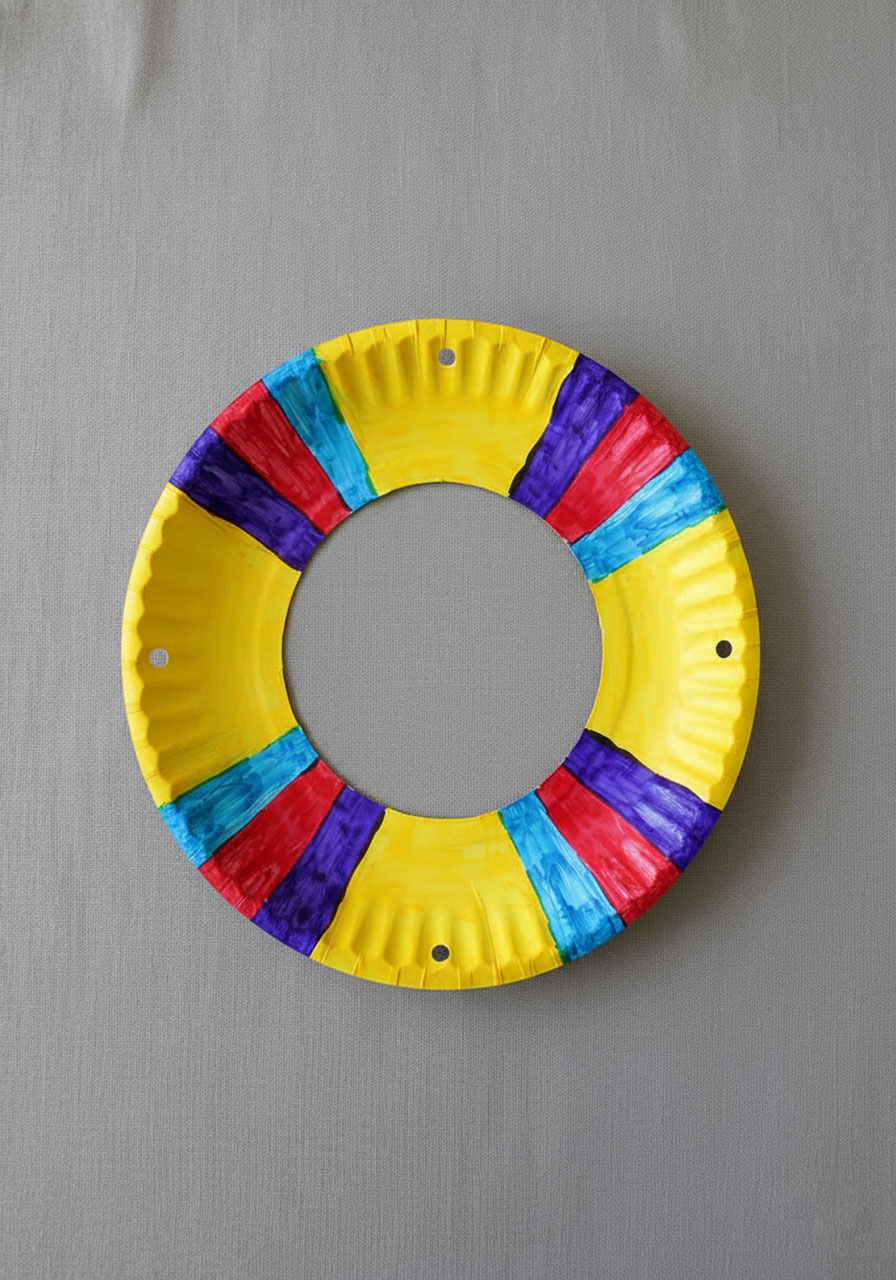
Grab your paper plate and find something round to trace in the center – a small bowl, a jar lid, whatever you’ve got. Trace a circle in the middle, then carefully cut it out with scissors. This hole is what helps your kite catch the wind and actually fly.
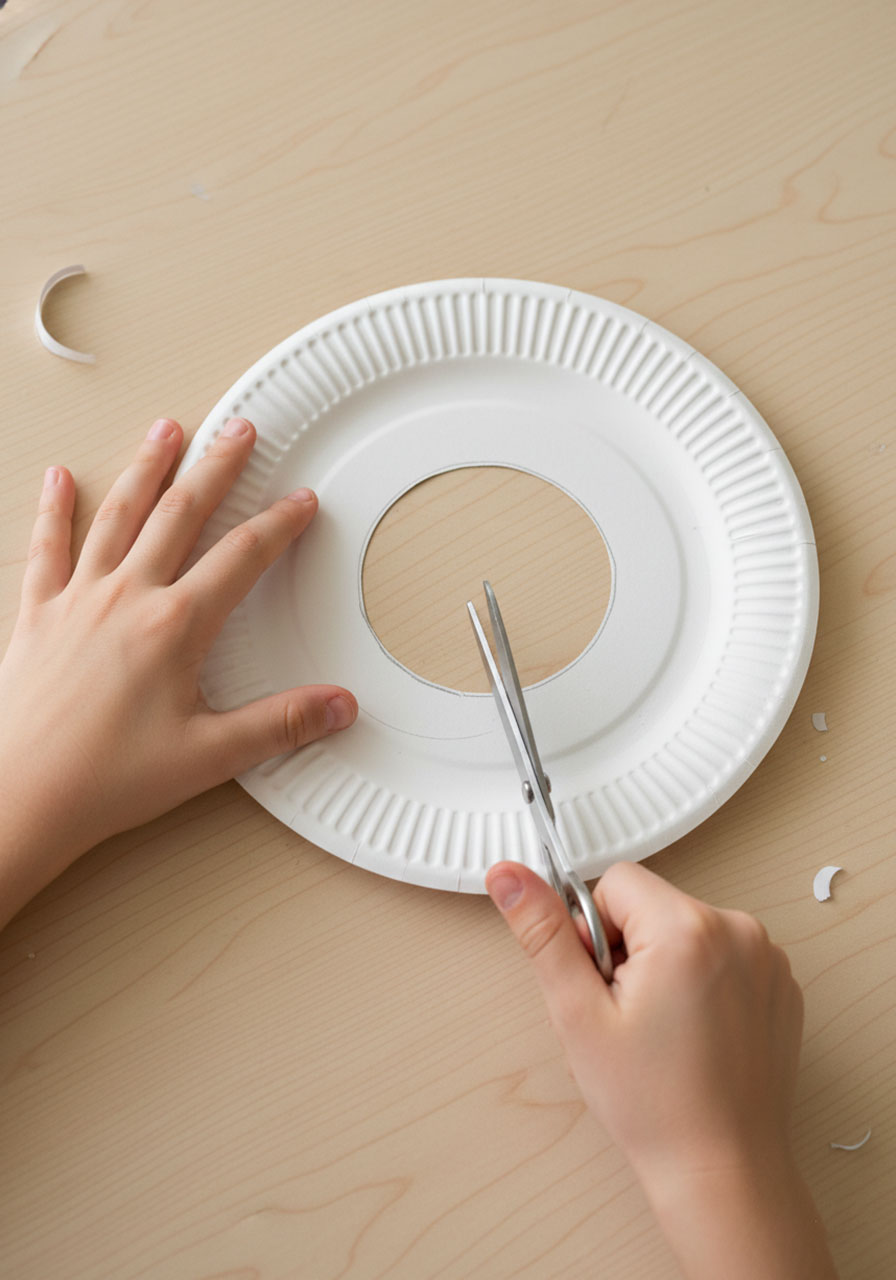
Here’s where you’ll need to jump in for the little ones. Older kids can totally handle this step solo, but younger crafters might need a steady hand to guide those scissors.
Next, grab your hole punch and punch three holes around the edge of your plate. Check out the spacing: you want two holes close together on one side (these will hold your flying string) and one hole on the opposite side (this is where your tail attaches). See the photos for the perfect placement!
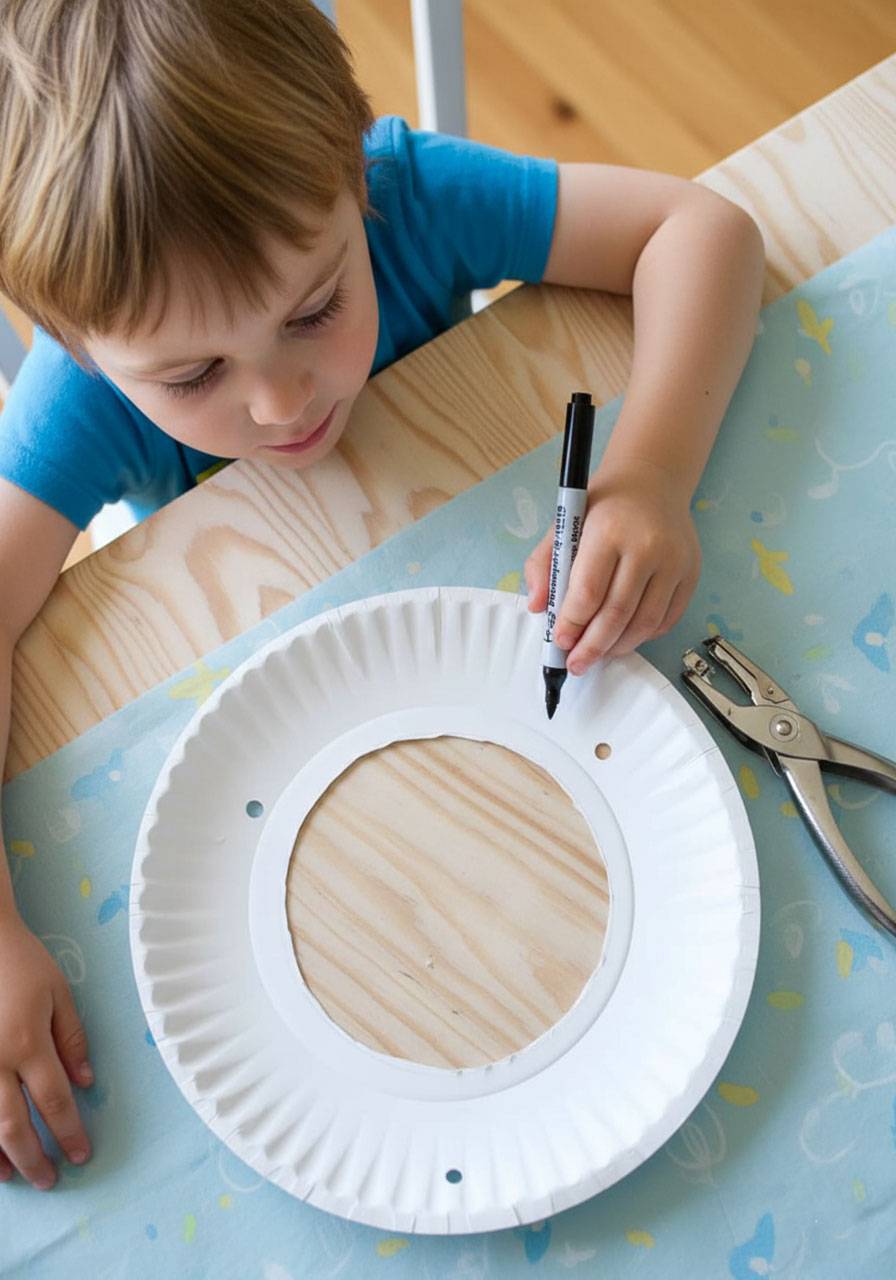
Step 2: Unleash the Decorating Madness
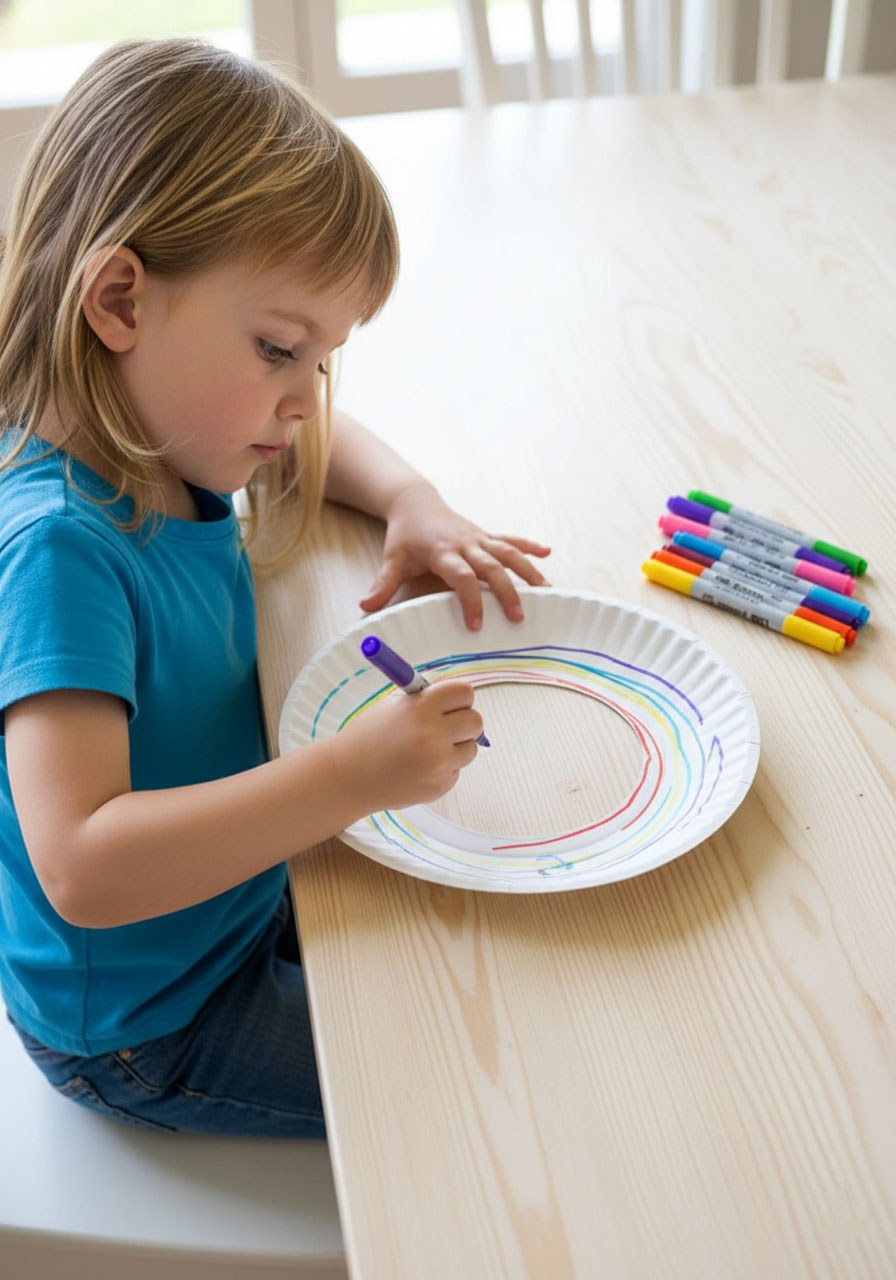
This is where the magic happens. Hand over those markers and let your kids go absolutely wild. Patterns, rainbow designs, their favorite cartoon characters – literally anything goes. They can decorate one side or both sides, depending on how extra they’re feeling today.
There’s no wrong way to do this part, and honestly, the more colorful and creative, the better. Some kids like neat patterns, others create abstract masterpieces. Both look amazing flying in the sky!
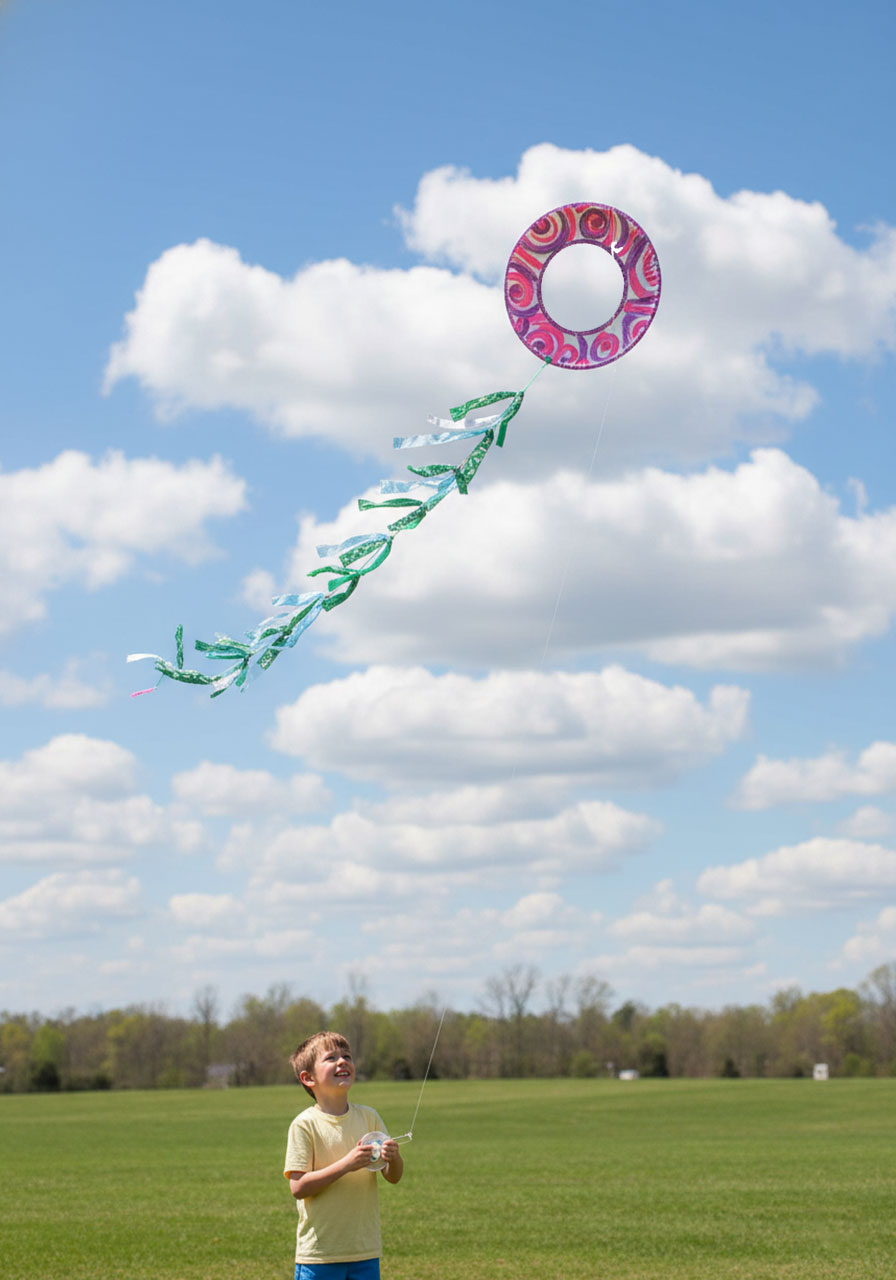
Once the decorating is done and everyone’s happy with their design, it’s time to add the tail. Cut a long piece of yarn and tie it securely through that single hole near the outer edge. Now tie on your fabric scraps along the length of the yarn, spacing them out however you like. That colorful tail dancing in the wind? That’s what makes these kites extra awesome.
Fun Variation: Try making themed kites! Superhero colors, tie-dye patterns, or even team spirit designs. You could even make it a friendly competition to see whose design is the coolest.
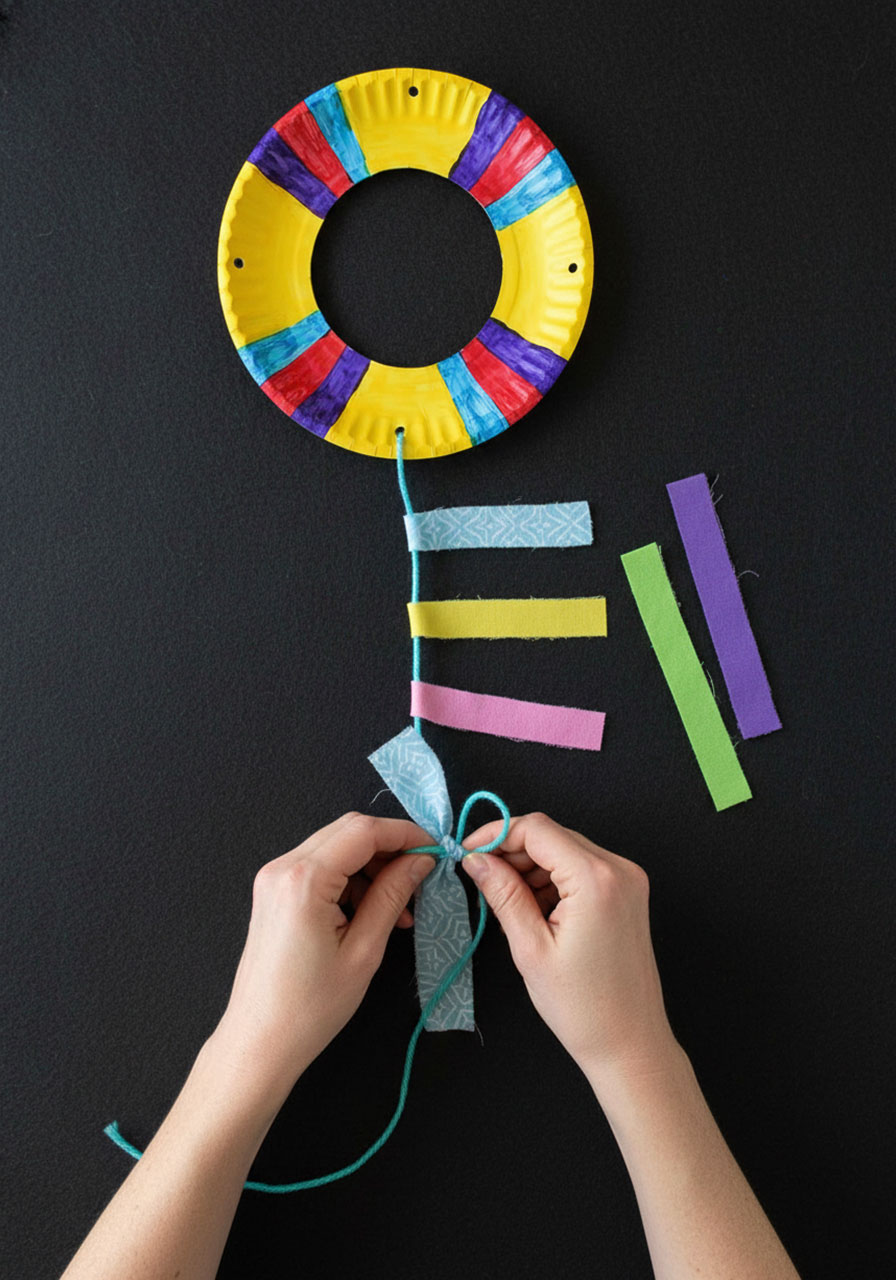
Step 3: String It Up and Get Ready to Fly
Now let’s turn this decorated plate into an actual kite. Thread your kite string through those two remaining holes and tie it securely. You want a nice loop here – this is what catches the wind.
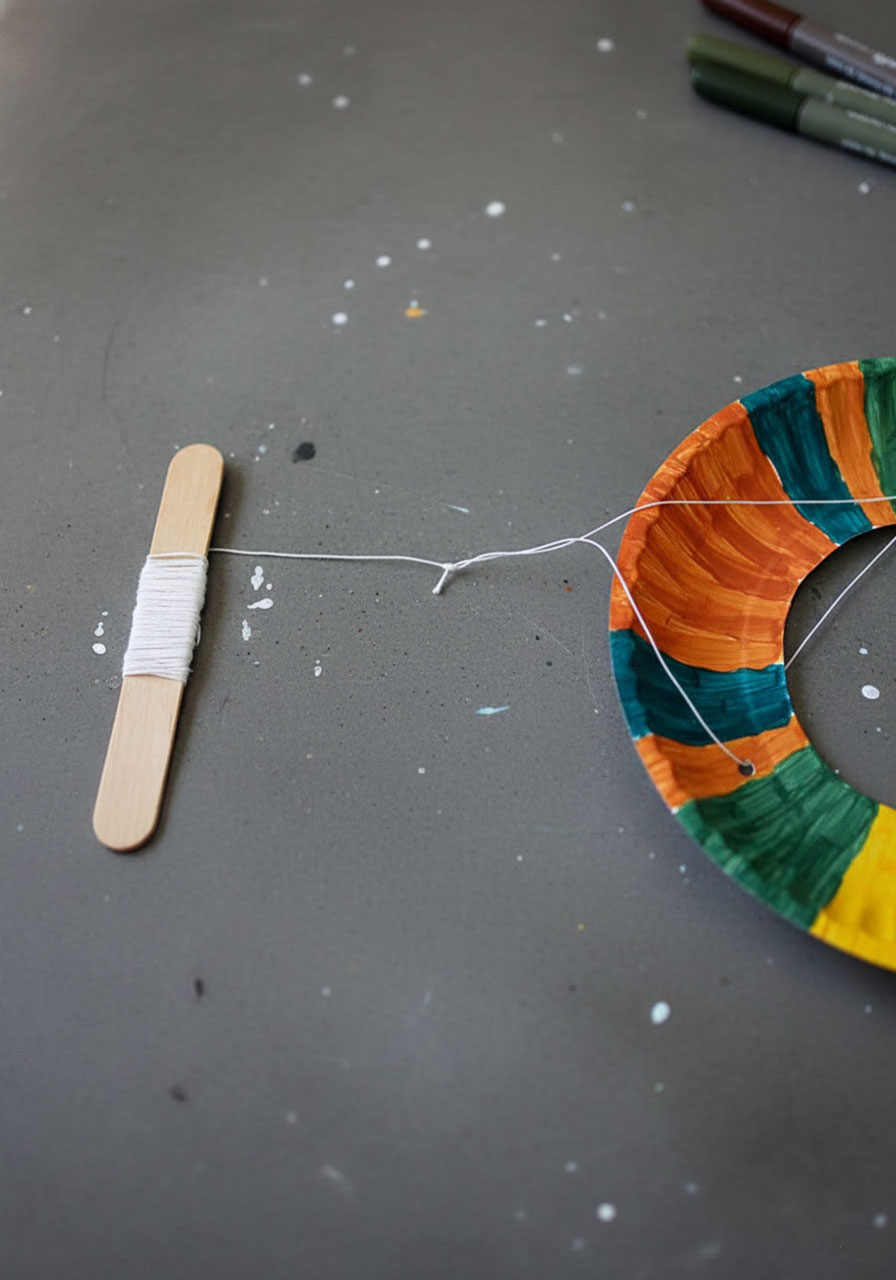
Cut a long piece of string (at least 10-15 feet if you’ve got it) and wrap it around a craft stick. This is your kite handle, and trust me, it makes flying SO much easier than trying to hold loose string. The kids will have something sturdy to grip, and you won’t end up with tangled string everywhere.
Important note: Tie the very end of your kite string to the craft stick handle. This little step prevents heartbreak when a strong gust tries to steal your kite away. You’ve put in the work – that kite is staying with you!
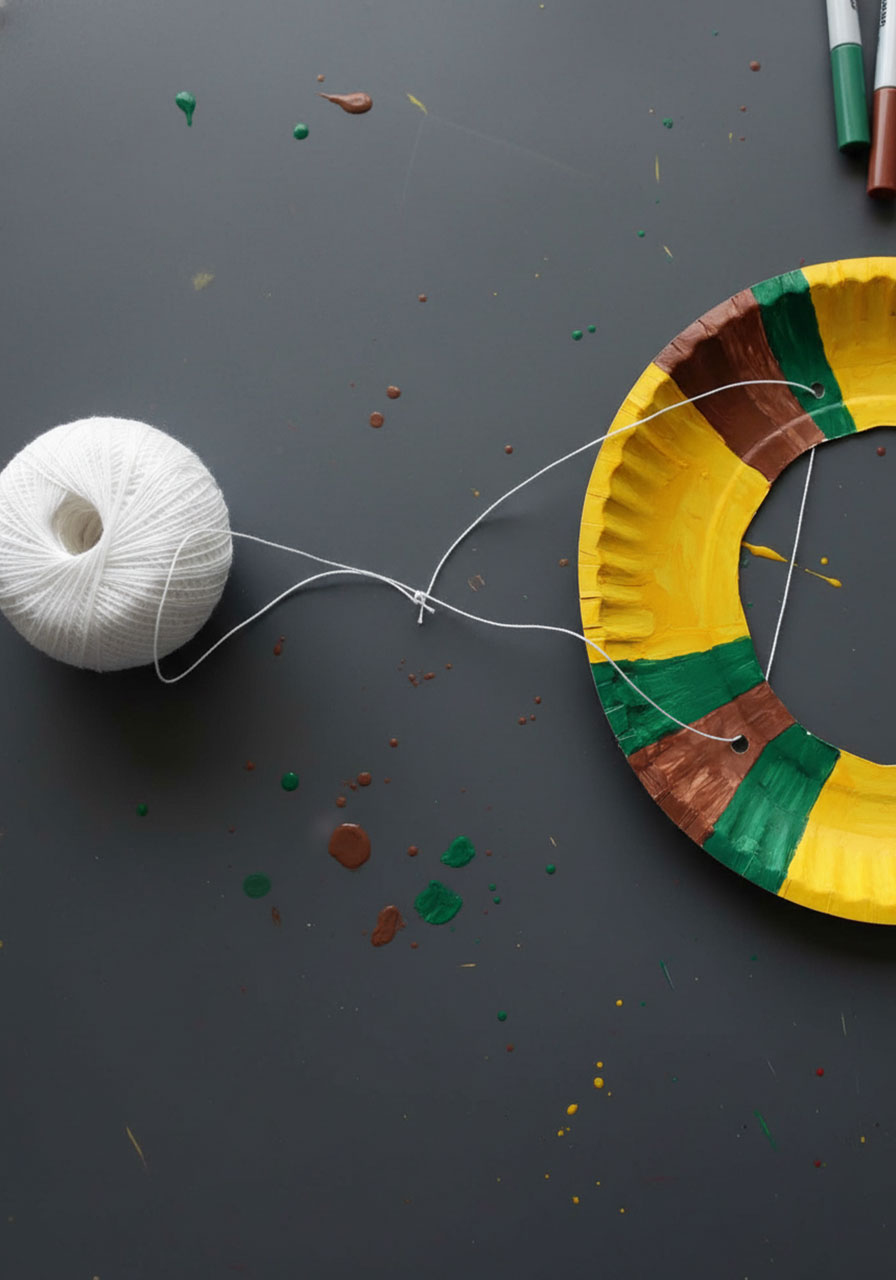
Step 4: Time for Takeoff!
Head outside and get ready for the best part – watching your creation soar! Here’s how to get the most flying fun out of your paper plate kite:
Flying Tips That Actually Work:
Pick a breezy day. Light to moderate wind is perfect. If the leaves are rustling in the trees, you’re good to go!
Stand with your back to the wind. This is the secret to successful kite flying. Let the wind do the work for you.
Hold the craft stick handle and let out string gradually. As the kite catches wind and starts to lift, slowly release more string and watch it climb higher.
No wind? No problem! Have someone hold the kite while you hold the string, then have them toss it up as you run. It might not stay up as long without wind, but it’s still a blast.
Get competitive! Challenge the kids to see whose kite can fly the highest. A little friendly competition makes everything more exciting.
Troubleshooting tip: If your kite keeps nose-diving, try adjusting the tail length. A longer tail adds more stability and helps it fly straighter.

Why This Craft Is a Summer Essential
Look, we all need activities that actually deliver on the fun without requiring a Pinterest-level effort. This paper plate kite checks every box: it’s cheap, it’s easy, it gets the kids creating AND playing outside, and it actually works. Plus, you get major cool points when those kites take flight.
Make a whole fleet of them for a birthday party activity, pull this out on a rainy afternoon that finally clears up, or just add it to your summer bucket list. Either way, you’re set up for some seriously good times.
So grab those paper plates and get crafting – those kites aren’t going to make themselves! And when you’re standing in your backyard watching your kids’ creations dancing in the sky, you’ll be glad you did.
More Kid’s Party Ideas to Keep the Fun Rolling:
How to Make a Straw Airplane That Actually Flies (Better Than Paper!)
How to Make Mini Lid Banjos: The Cutest 10-Minute DIY Musical Instrument
Make a Paper Plate Maze STEM Challenge That’ll Blow Your Kids’ Minds
DIY Car Ramp: The 5-Minute STEM Activity That’ll Keep Your Kids Racing for Hours
45 Rainbow Craft Ideas for Kids That’ll Spark Epic Creativity!
How to Make Paper Claws: Turn Your Fingers Into Weapons in 5 Minutes
How to Play Help Your Neighbor: The Card Game That’ll Have Your Family Actually Wanting Game Night
28 Super Fun Dollar Store Crafts for Kids That Won’t Break the Bank
3 Easy Heart Painting Ideas That’ll Make You Look Like a Creative Genius
