
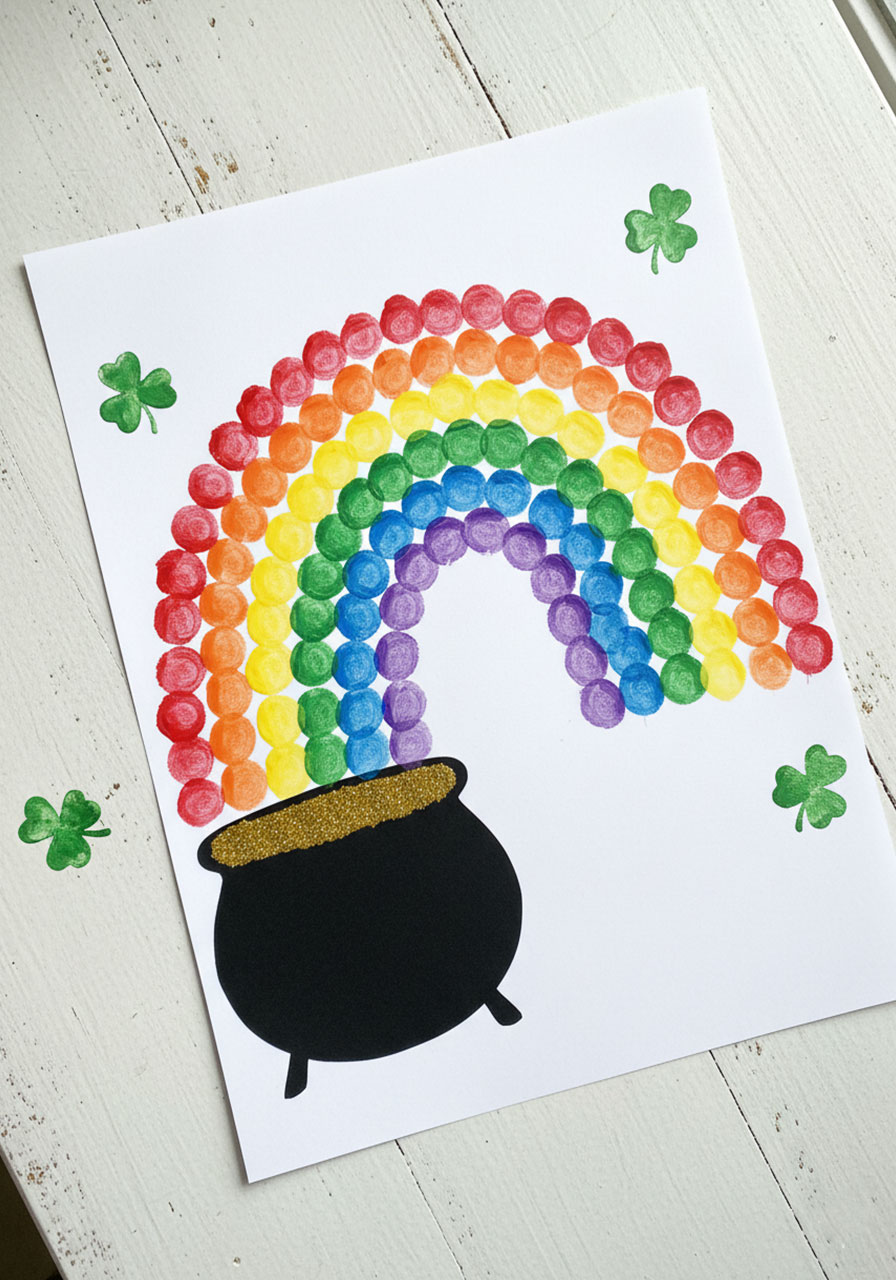
Get ready to turn little fingerprints into pure St. Patrick’s Day magic! This rainbow pot of gold craft is the perfect blend of messy fun and adorable keepsake – and the best part? It’s so simple that even the youngest artists can create something frame-worthy.
Whether you’re a parent looking for a rainy day activity or a teacher planning your March classroom fun, this fingerprint rainbow craft checks all the boxes: minimal supplies, maximum cuteness, and zero complicated steps. Let’s dive in!
Why This Craft Is a Winner
Here’s why this fingerprint rainbow belongs in your St. Patrick’s Day lineup: it’s hands-on (literally!), creates a personalized keepsake you’ll actually want to save, and keeps kids engaged without requiring any special artistic skills. Plus, there’s something magical about watching a simple fingerprint transform into a vibrant rainbow arc. The combination of painting, glittering, and finger-stamping hits all the sensory notes that kids love.
Best for: Toddlers, preschoolers, elementary students, and family craft time
Time to Complete: 20-30 minutes (plus drying time)
Mess Level: Medium (washable paint makes cleanup a breeze!)

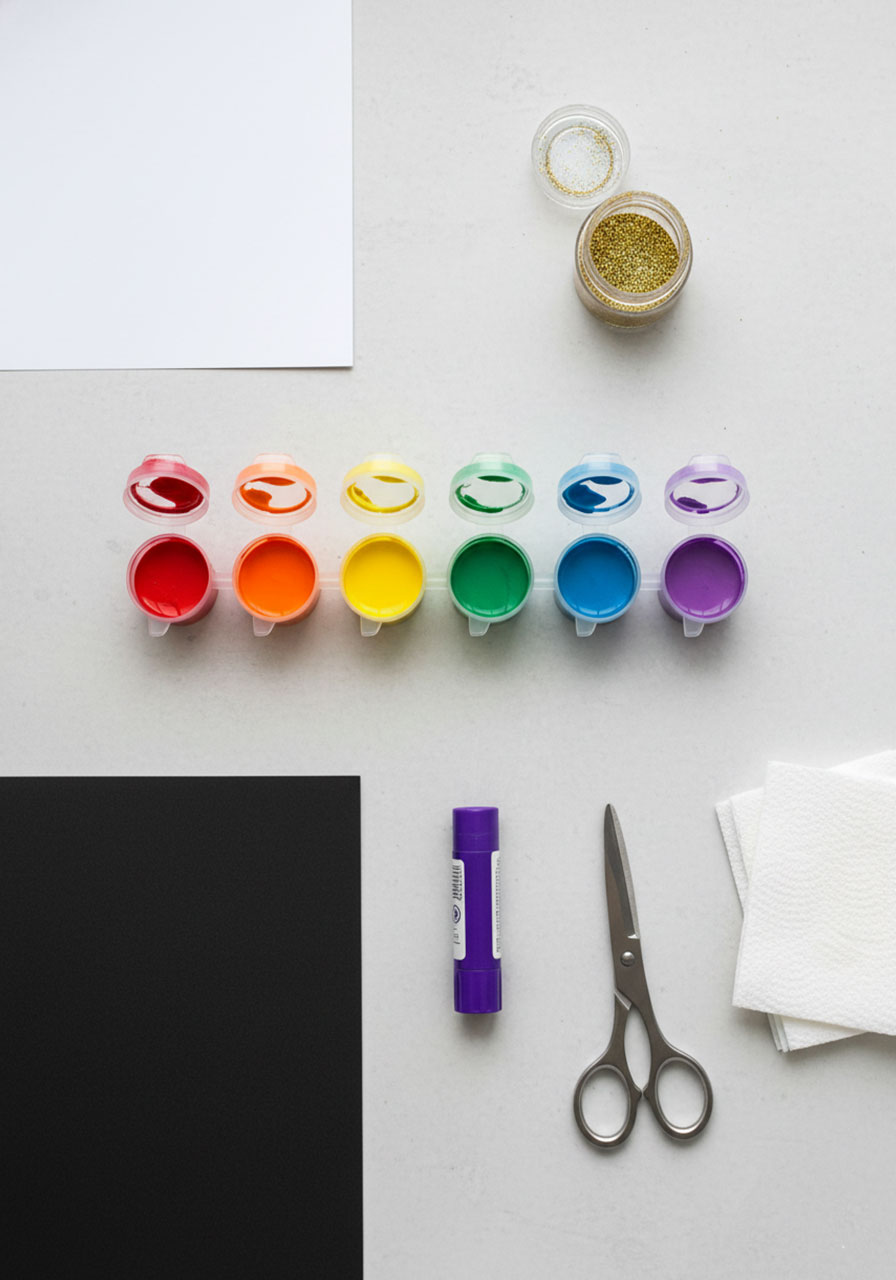
What You’ll Need:
White or light-colored cardstock or construction paper
Black construction paper (for the pot of gold)
Rainbow-colored paints (red, orange, yellow, green, blue, purple)
Six small paint containers or a paint palette
Gold glitter
Glue stick
Scissors
Paper towels or baby wipes (for quick finger cleanups between colors)
Optional: Green paint or foam shamrock stickers for decoration
How to Create Your Fingerprint Rainbow:
1. Cut out your pot of gold.
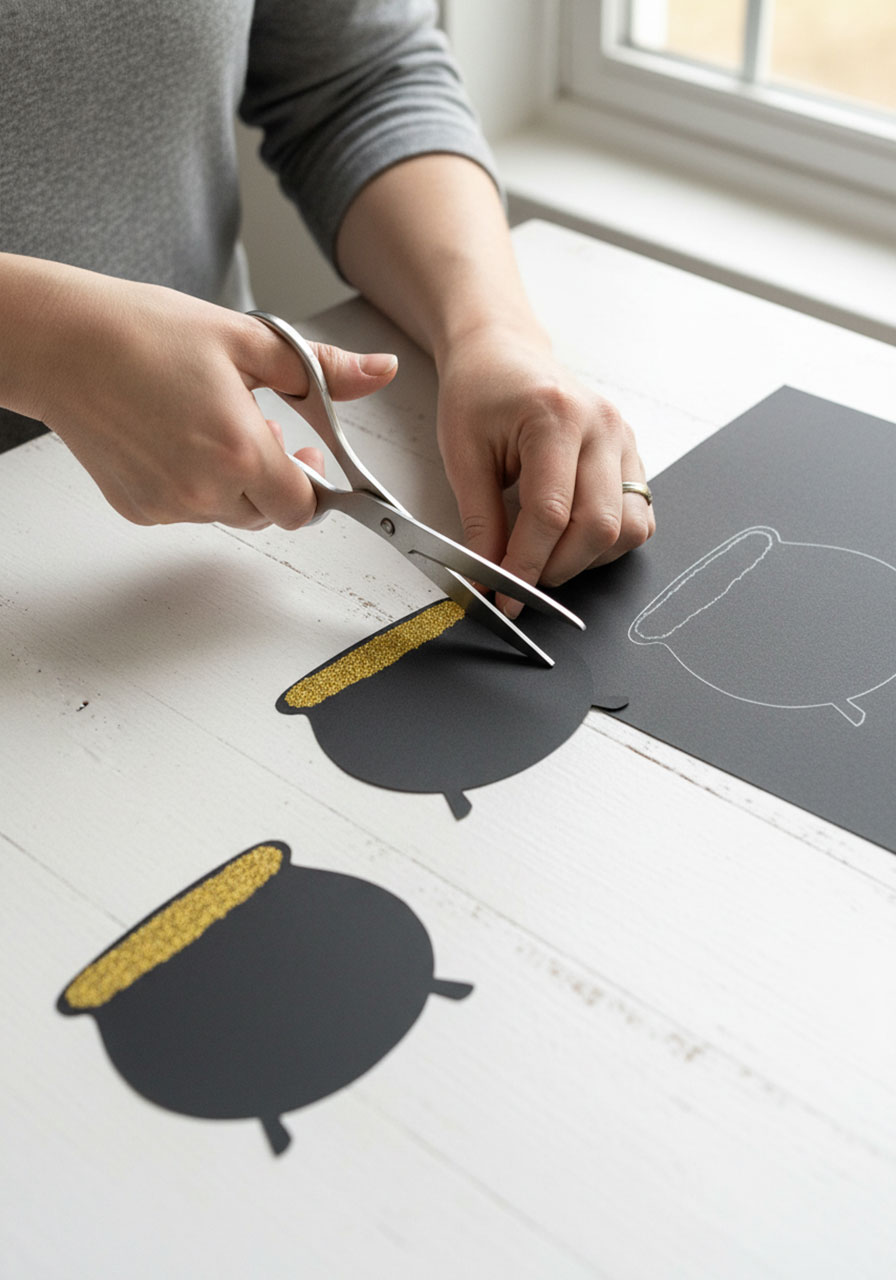
Before the painting fun begins, cut a pot shape from your black construction paper. Think classic cauldron vibes – a rounded bottom with a slightly wider opening at the top. Don’t worry about perfection here; a wonky pot just adds to the handmade charm! Position it in the lower left or right corner of your white paper and glue it down securely.
2. Set up your rainbow paint station.
Pour a small amount of each paint color into separate containers and line them up in rainbow order: red, orange, yellow, green, blue, purple. This visual guide helps kids remember the color sequence and makes the process feel official (they love that!).
3. Start stamping the red arch.
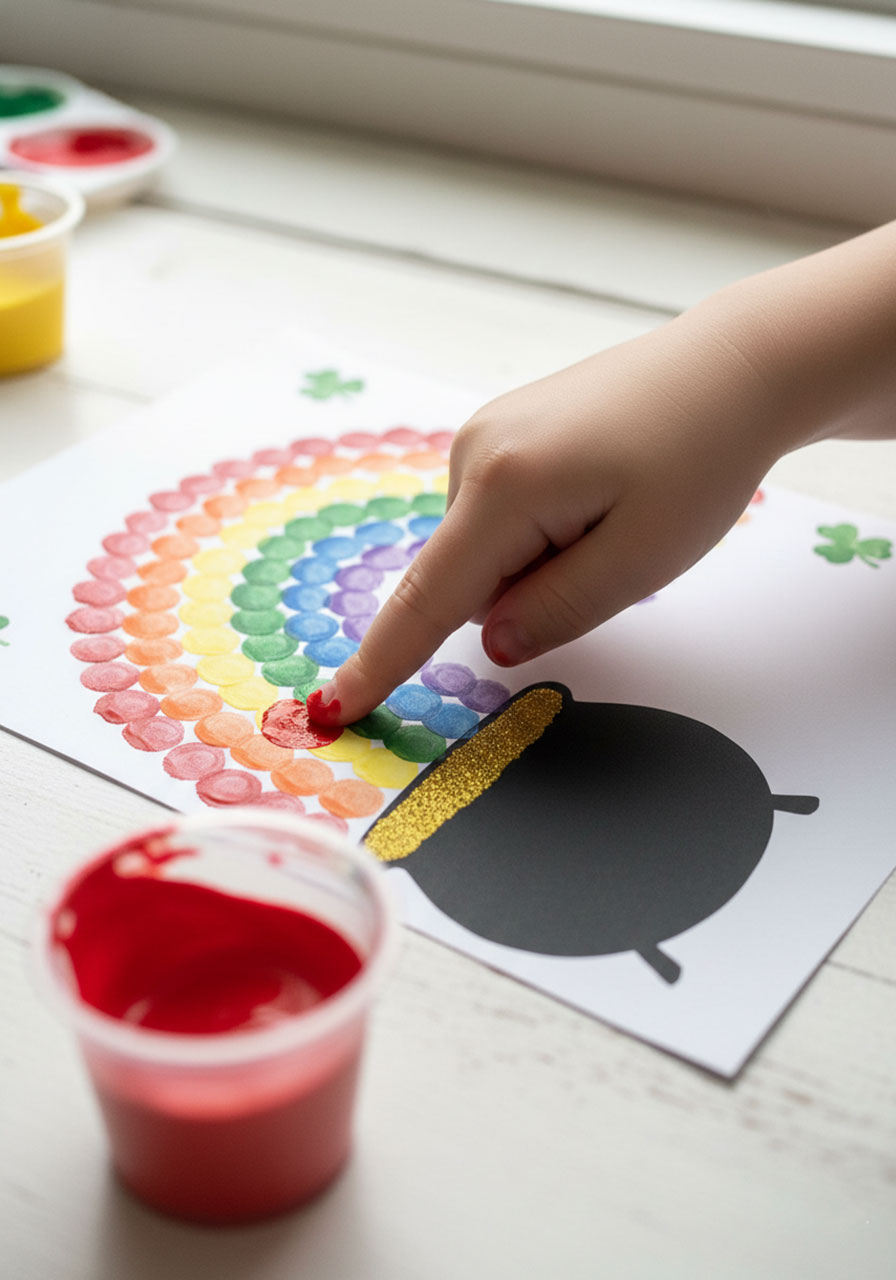
Have your little artist dip their pointer finger into the red paint – just enough to coat the pad. Starting right at the edge of the pot, press down to make a fingerprint, then lift straight up. Continue making red fingerprint stamps in an arch shape, spacing them close enough that they almost touch. This first arch sets the curve for the entire rainbow, so make it nice and curved!
4. Build your rainbow, color by color.
Here’s where the magic happens! Wipe off their finger with a paper towel (this keeps colors vibrant), then dip into the orange paint. Create a second arch right above the red one, following the same curve. Repeat this process for yellow, green, blue, and purple, building your rainbow from the inside out. Pro tip: Younger kids might need help keeping their arches consistent – you can lightly draw guide dots in pencil if needed.

5. Add the pot of gold’s glittery treasure.
While the rainbow dries, grab that glue stick and cover the top rim of the black pot with a thick, even layer of glue. Now for the fun part: sprinkle gold glitter generously over the glue (work over a paper plate to catch the excess!). Gently tap off the extra glitter, and voilà – you’ve got a shimmering treasure!
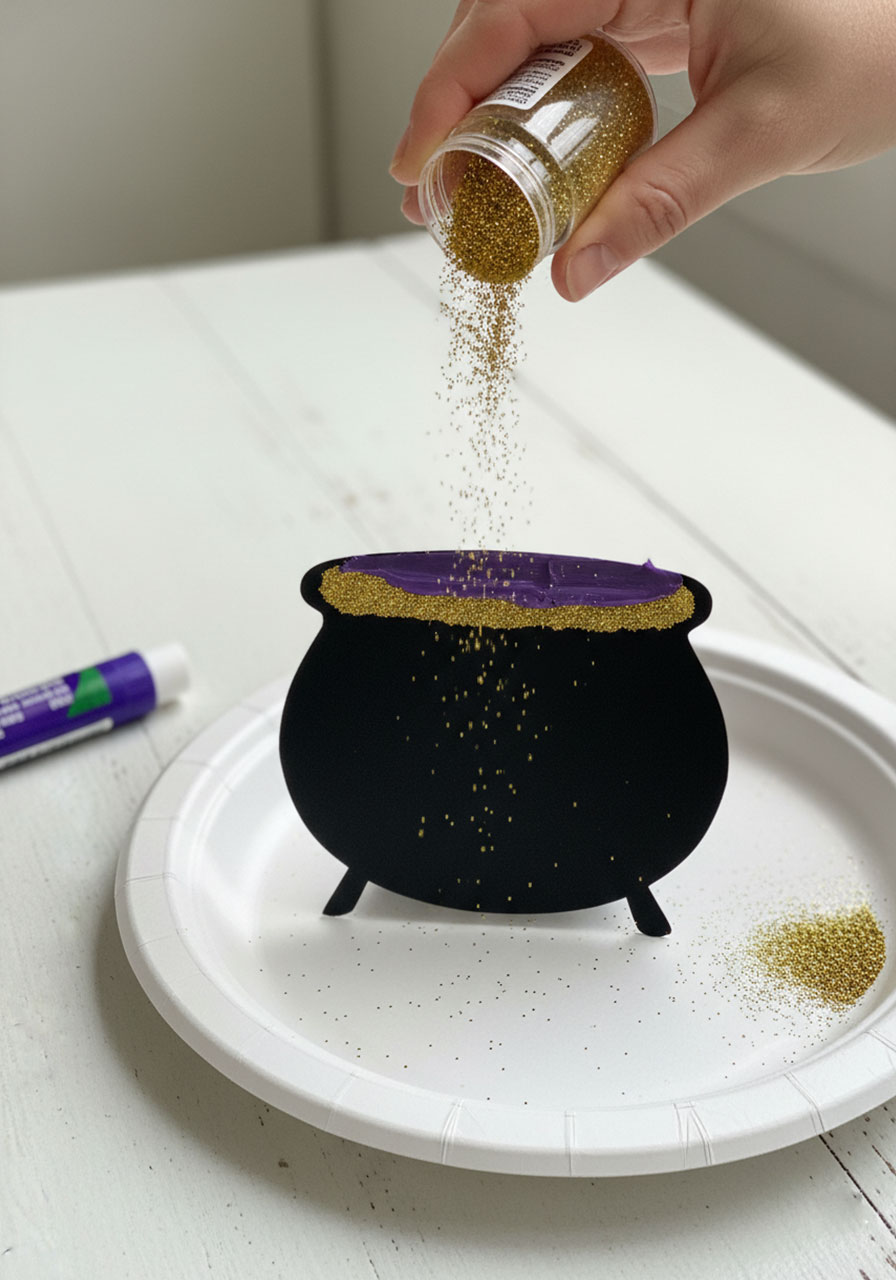
6. Finish with shamrock accents.
Once everything is dry, add the final touch: fingerprint shamrocks! Dip a finger in green paint and press three prints in a clover formation around the rainbow. Add a small stem with a paintbrush or their pinky finger. Scatter a few shamrocks across the page for that festive St. Patrick’s Day feel.
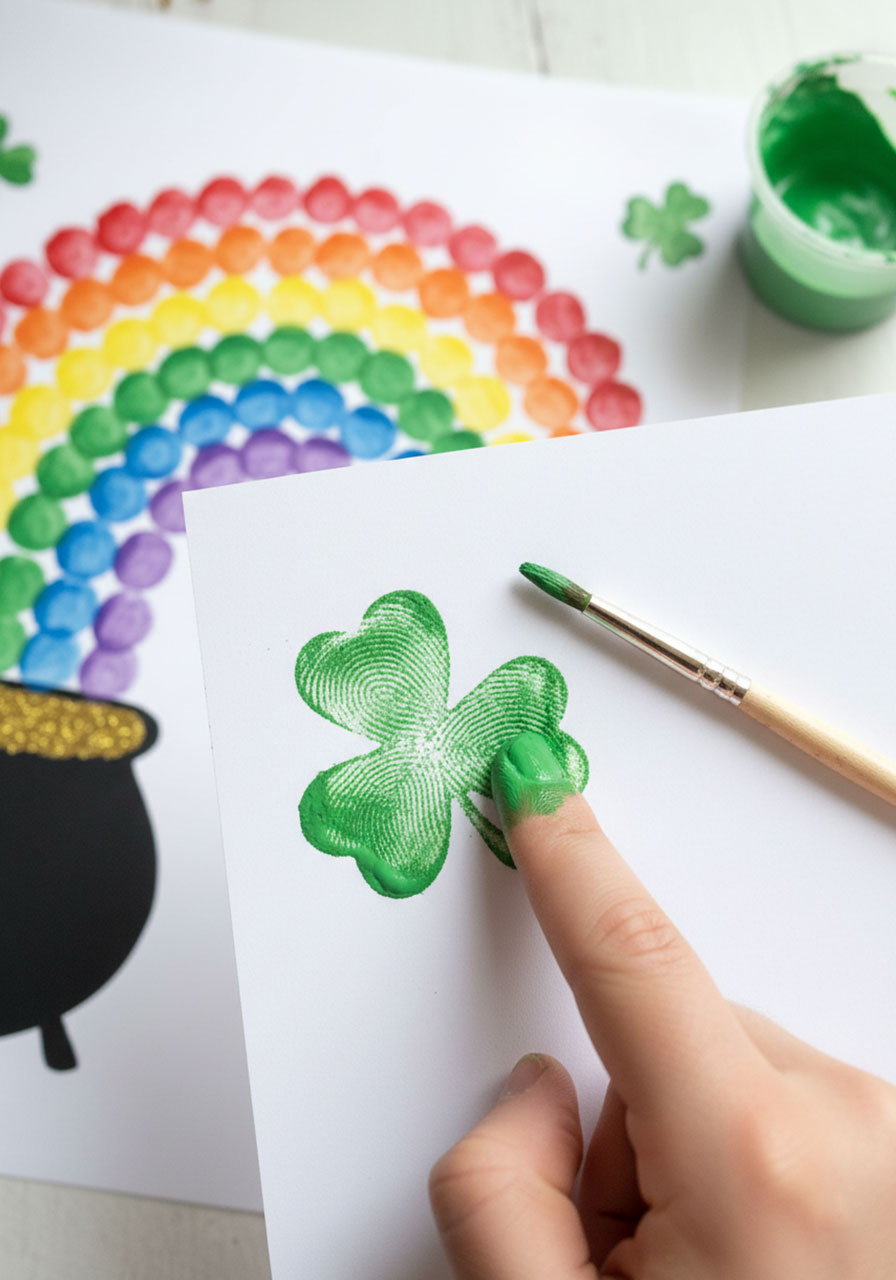
Pro Tips for Rainbow Success:
Keep those colors clean! The biggest challenge? Color mixing on tiny fingers. Keep baby wipes handy and make finger-cleaning part of the fun ritual between each color. You can even make it a game: “Wipe away the red, here comes orange!”
Extend the drying time patience. If you’re doing this with a group, set up a drying station where finished rainbows can rest undisturbed. Glitter and wet paint don’t play well with impatient hands!
Make it a fine motor moment. For preschoolers and kindergarteners, this craft doubles as excellent fine motor practice. The controlled finger pressing, glue application, and glitter sprinkling all build those essential small muscle skills.
Fun Variations to Try:
Double the rainbow: Create two rainbows (one on each side) meeting at a pot in the center for an extra colorful display.
Sponge stamp clouds: Cut small cloud shapes from kitchen sponges and let kids stamp white fluffy clouds at the rainbow’s ends.
Thumbprint leprechauns: Add a tiny leprechaun made from thumbprints somewhere on the page for a playful surprise.
Make it a class project: Have each student create one color arch on a large poster board for a collaborative classroom rainbow!
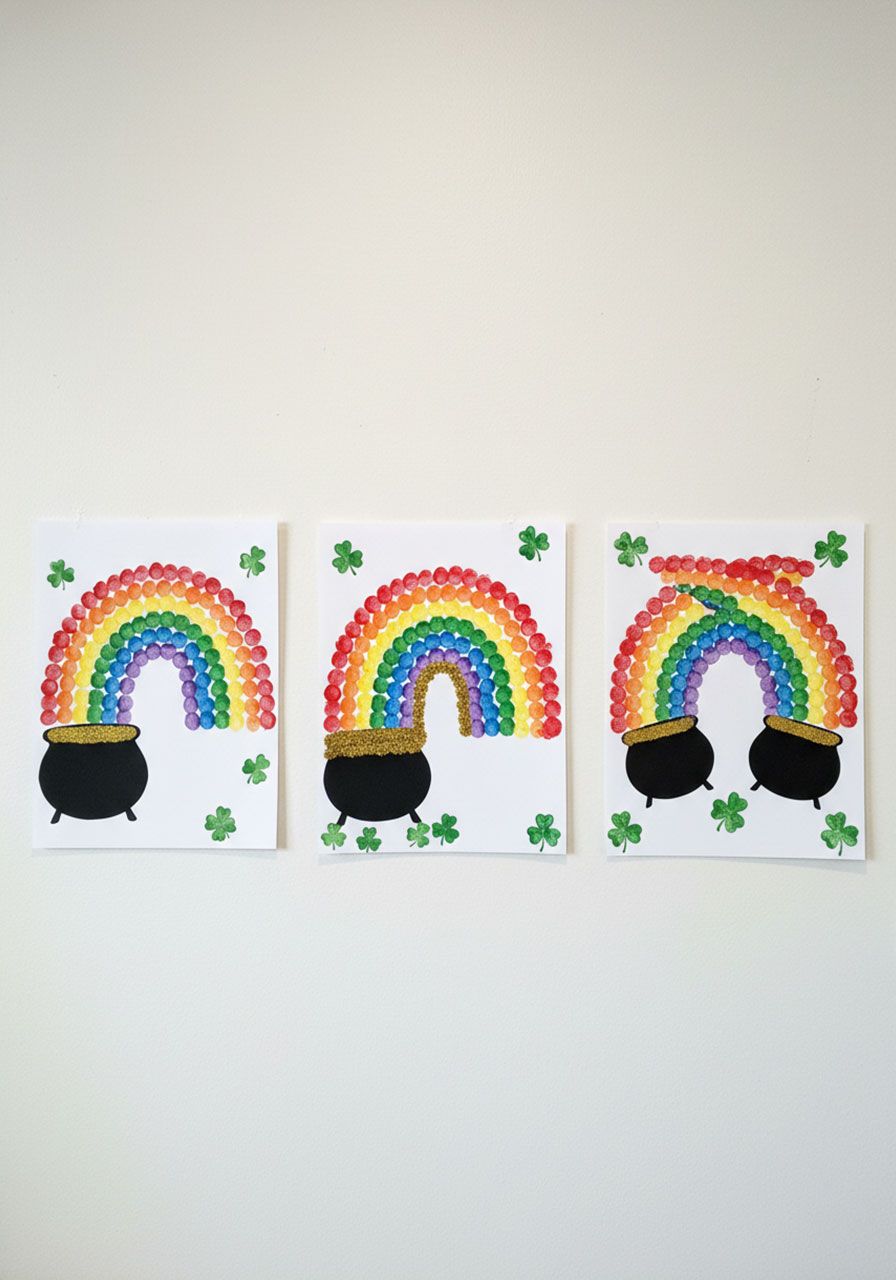
With fingerprints captured in rainbow colors and just enough sparkle to catch the light, this St. Patrick’s Day craft becomes more than just an activity – it’s a memory frozen in time. Display it proudly, because those little fingerprints won’t stay little forever!
More St. Patrick’s Day Party Ideas to Keep the Fun Rolling:
Stunning St. Patrick’s Day Chalk Pastel Art That’ll Make You the Coolest Parent or Teacher Ever
The Ultimate St. Patrick’s Day Fluffy Slime Recipe (That Actually Works!)
14 Fun and Creative DIY St. Patrick’s Day Crafts for Kids
Craft Stick Leprechaun Hat: The Cutest St. Patrick’s Day Craft for Kids
DIY Lucky Pot of Gold Gift: The Easiest St. Patrick’s Day Craft That’ll Make You the Hero
St. Patrick’s Day Shamrock Man Craft: The Easiest (and Cutest!) Holiday Project for Kids
5 Adorable St. Patrick’s Day Projects You Can Make This Weekend
5 Easy St. Patrick’s Day Crafts That’ll Make You Look Like a Creative Genius (Zero Luck Required!)
