
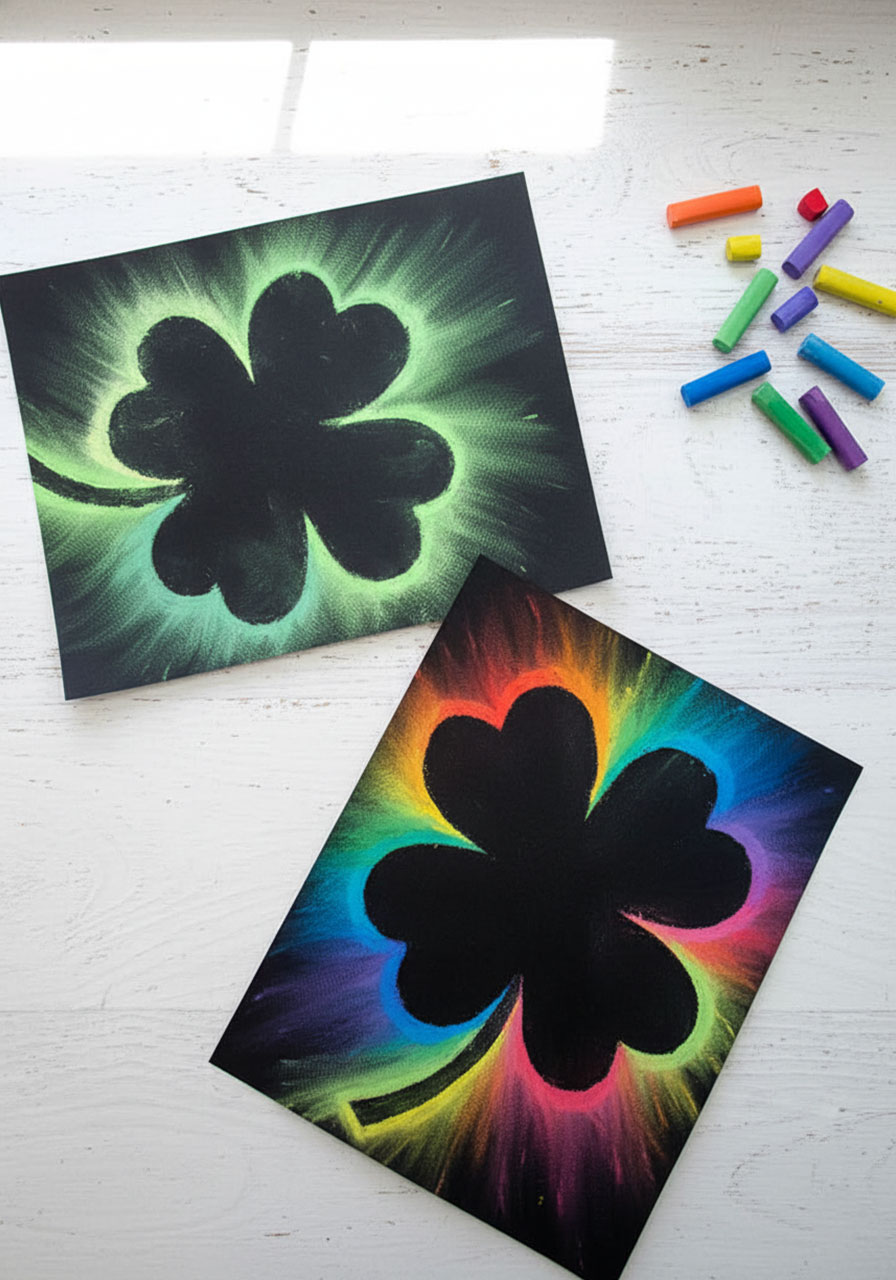
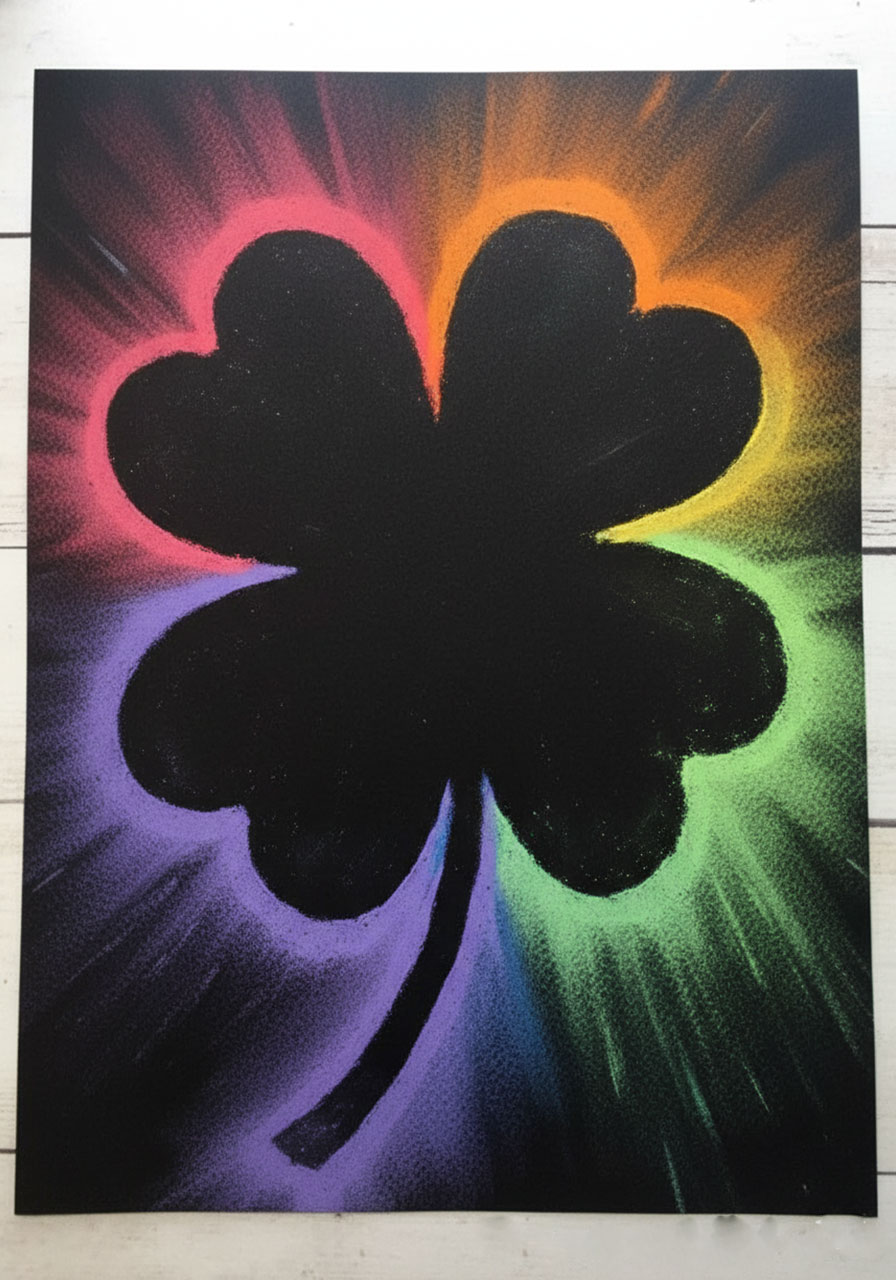
Get ready to blow some minds with this jaw-dropping St. Patrick’s Day art project! This four-leaf clover masterpiece uses a ridiculously simple chalk pastel technique that creates results so stunning, you’ll want to frame every single one. The best part? Even the youngest artists can nail this project with minimal help, which means less stress for you and more creative confidence for them.
This is the kind of art activity that makes kids say “Wait, I made that?!” The secret is all about that magical smudging technique combined with black paper that makes those vibrant pastels absolutely glow. Trust us – once you see these finished clovers radiating rainbow colors or shimmering greens, you’ll understand why this project is an absolute winner for St. Patrick’s Day celebrations.
Why This Project Is Pure Gold
Here’s what makes this chalk pastel shamrock art so incredibly satisfying to do with kids:
It looks WAY harder than it actually is. Kids get to experience that amazing feeling of creating something that looks professionally done, even if it’s their first time working with chalk pastels. That confidence boost? Priceless.
The mess is totally manageable. Yes, chalk pastels can get dusty, but we’ve got pro tips below to keep the chaos contained. A little dust is a small price to pay for the “wow” factor.
It’s a brilliant lesson in positive and negative space. Without even realizing it, kids are learning an important art concept while they create. Sneaky educational win!
Instant gratification guaranteed. When that template gets lifted and the design is revealed, you’ll hear gasps of delight every single time. It’s like a magic trick, but better because they made it themselves.

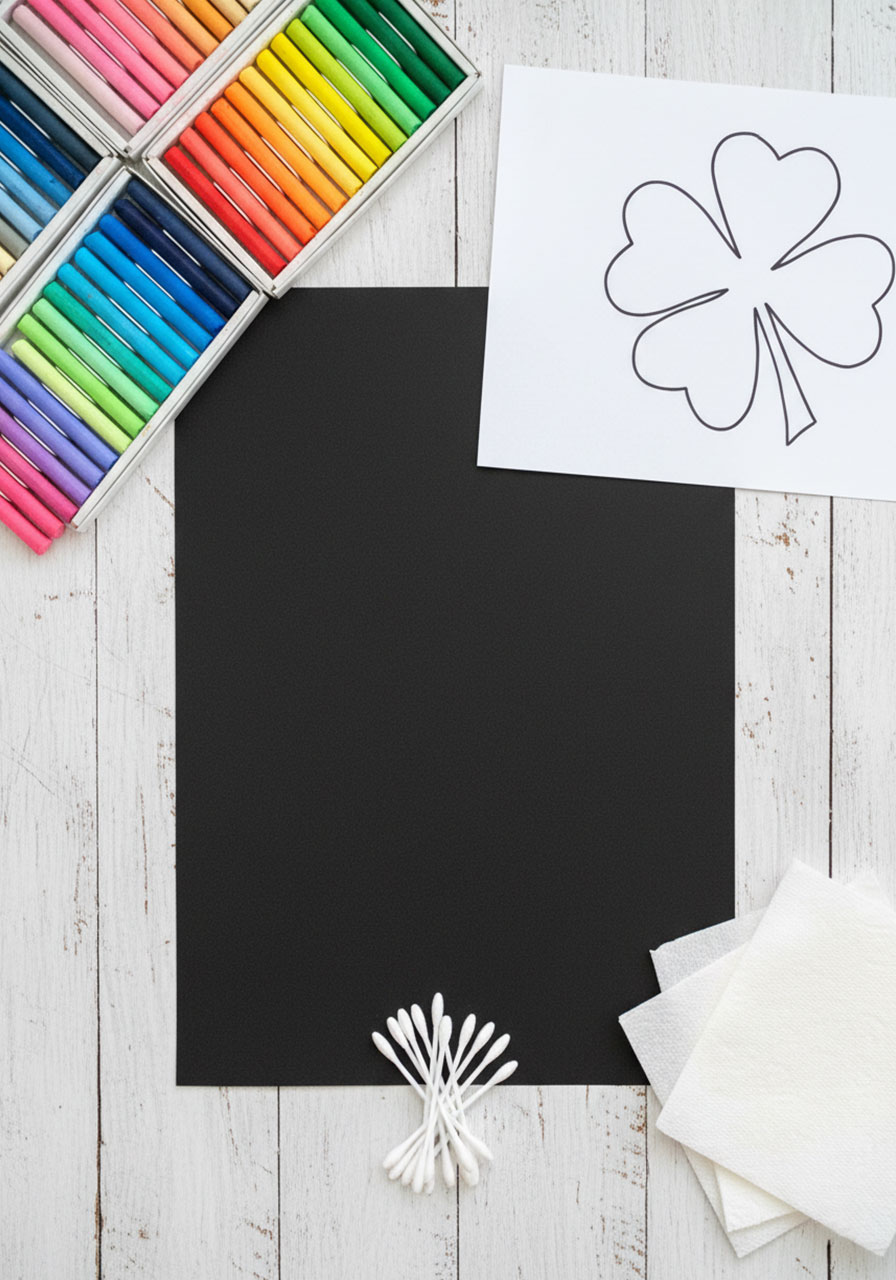
What You’ll Need to Get Started
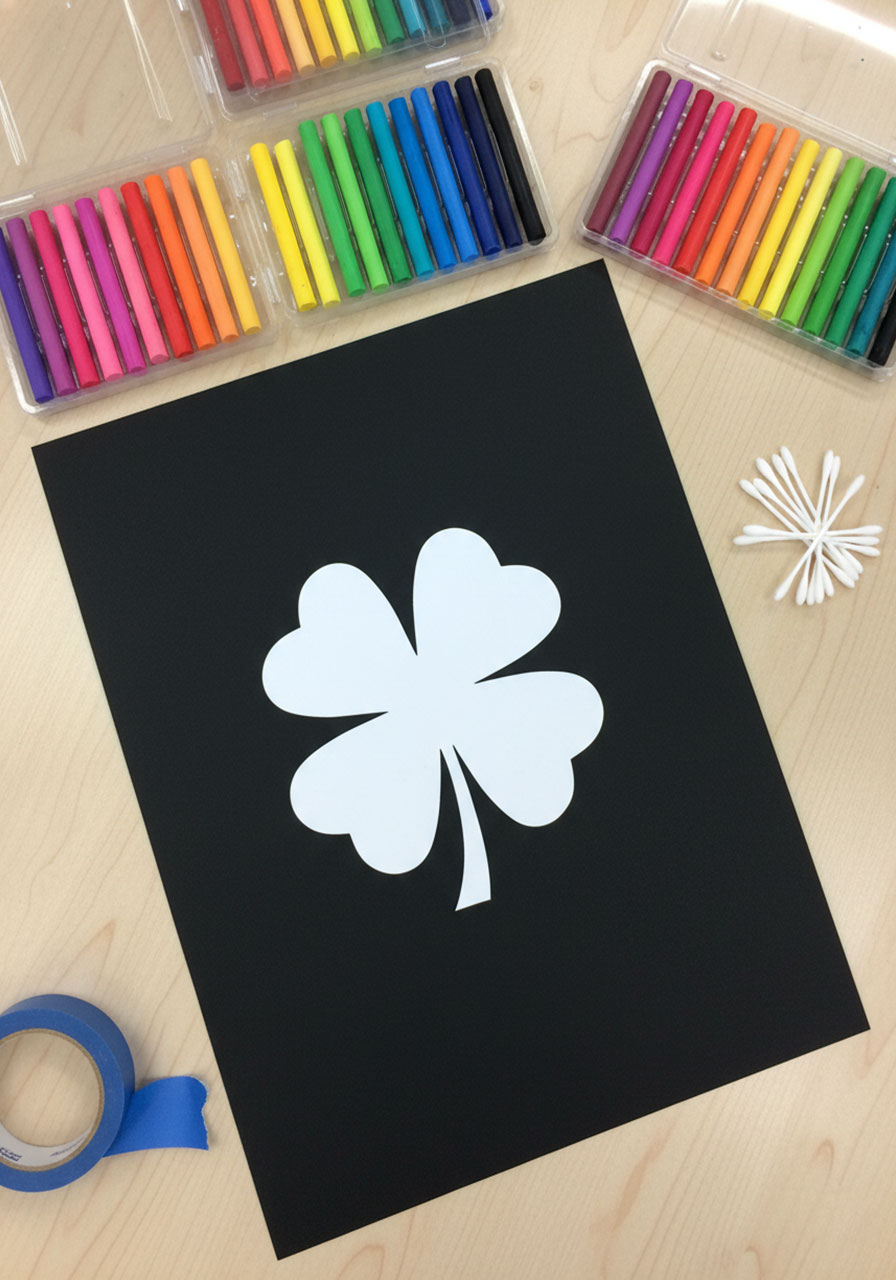
Here’s your simple supply list – nothing fancy or hard to find:
Black drawing paper or construction paper (one sheet per child)
White cardstock (for making your template)
Chalk pastels (a rainbow set works best, but you can go with green-themed colors too)
Q-tips (optional, but handy for detail work)
Paper towels (lots of them for wiping hands between colors)
Scissors (for cutting out your clover template)
Newspaper or a shallow tray (to contain the pastel dust)
Spray fixative (optional, for preserving finished artwork)
Pro Tip: If you’re doing this project with a group, set up a “pastel station” with all the supplies laid out. This keeps things organized and makes cleanup so much easier!
Your Foolproof Step-by-Step Guide
Ready to create some shamrock magic? Here’s exactly how to do it:
Step 1: Create Your Four-Leaf Clover Template
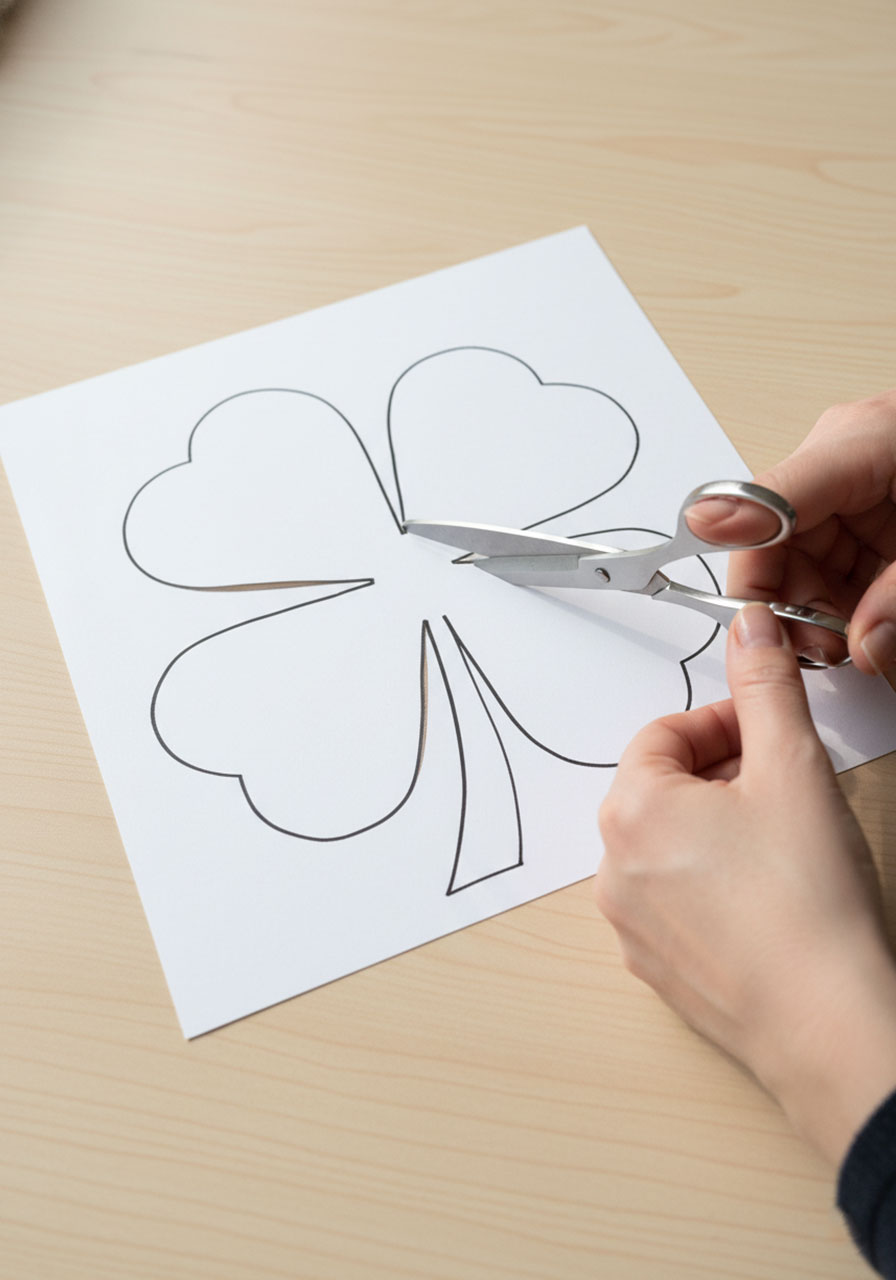
First things first – you need a clover shape to work with. Grab your white cardstock and draw a simple four-leaf clover. Don’t stress about making it perfect; hand-drawn charm is totally part of the appeal!
Make your clover big enough to be the focal point of your paper – think about 5-6 inches across. Each leaf should be a rounded heart shape, and don’t forget that cute little stem at the bottom.
Carefully cut out your clover template. Younger kids will definitely need help with this step, and that’s perfectly fine. If you’re a teacher prepping for a whole class, cut out several templates ahead of time on cardstock so they’re sturdy and reusable.
Teacher Hack: Laminate your cardstock templates and you can use them year after year. Future you will be grateful!
Step 2: Set Up Your Workspace (This Matters!)
Here’s how to keep the inevitable pastel dust under control:
Put down newspaper on desks or tables
Place each child’s black paper on a tray or inside a shallow cardboard box lid (this catches most of the dust)
Have paper towels within easy reach
If weather permits, consider doing this project outside for ultimate easy cleanup
Step 3: Plan Your Color Scheme
This is where kids get to flex their creative muscles! Have them choose their pastel colors before they start. Here are the most popular approaches:
The Rainbow Clover: Use every color of the rainbow radiating out from the clover – this creates that absolutely stunning multi-colored glow effect you see in the photos.
The Traditional Greens: Stick with different shades of green and yellow for a more classic St. Patrick’s Day vibe. Still gorgeous, just a different mood!
The Wild Card: Let kids choose any color combination they love. Purple and pink? Go for it! Blue and orange? Why not!
Planning Tip: Lay out your chosen pastels in the order you want to use them around your clover. This makes the process smoother and helps younger kids stay organized.
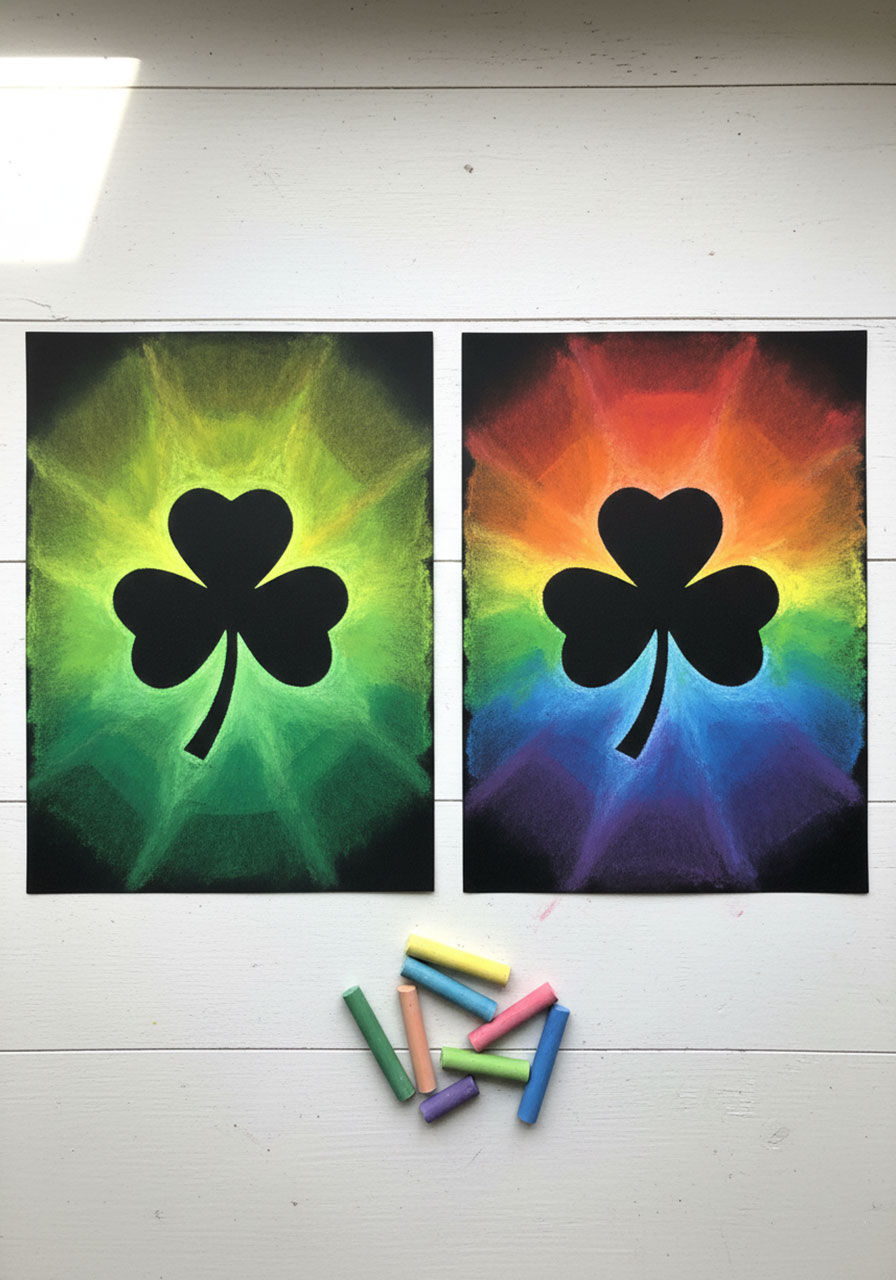
Step 4: Position Your Template and Start Creating
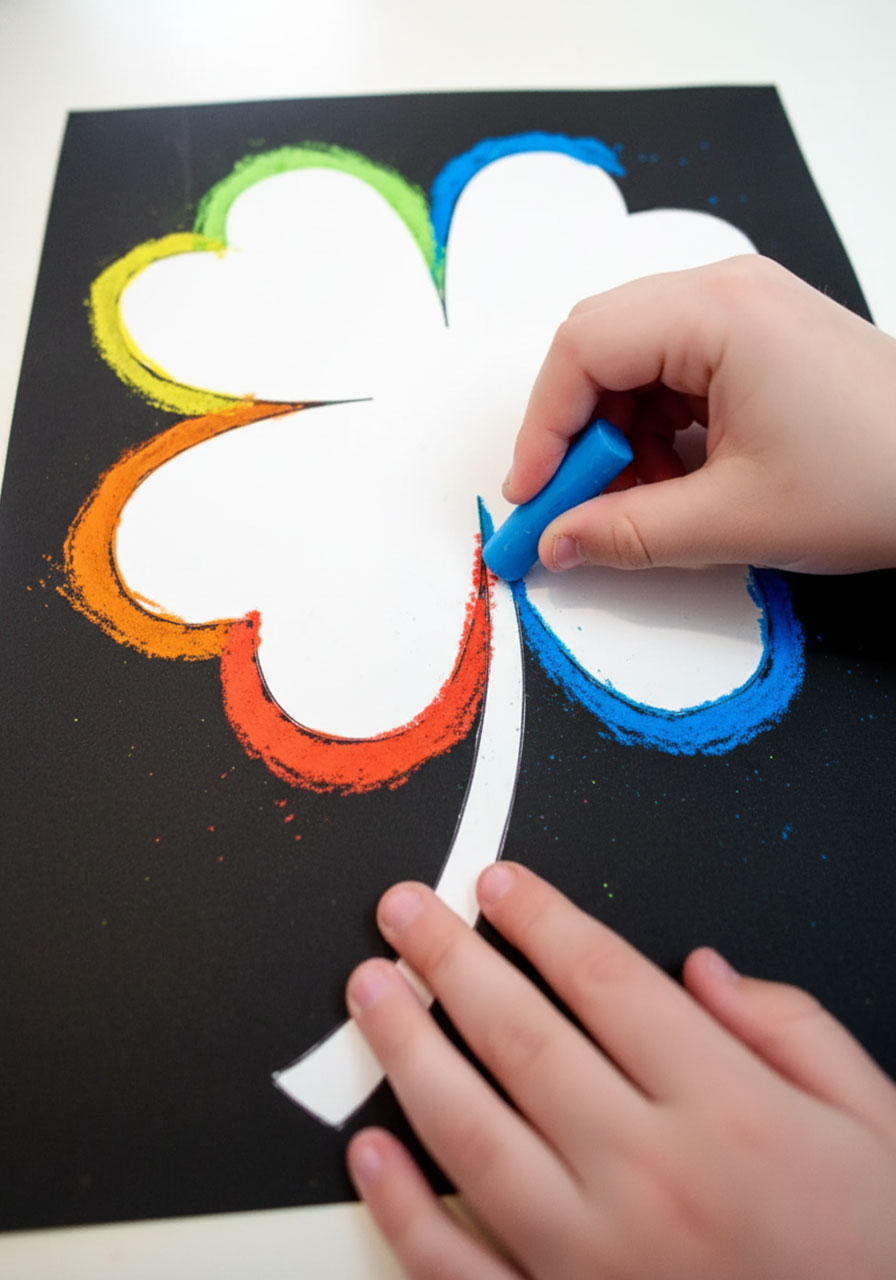
Place your clover template in the center of your black paper. You can use a tiny piece of painter’s tape on the back to hold it in place if it keeps shifting (just make sure it’s easy to remove!).
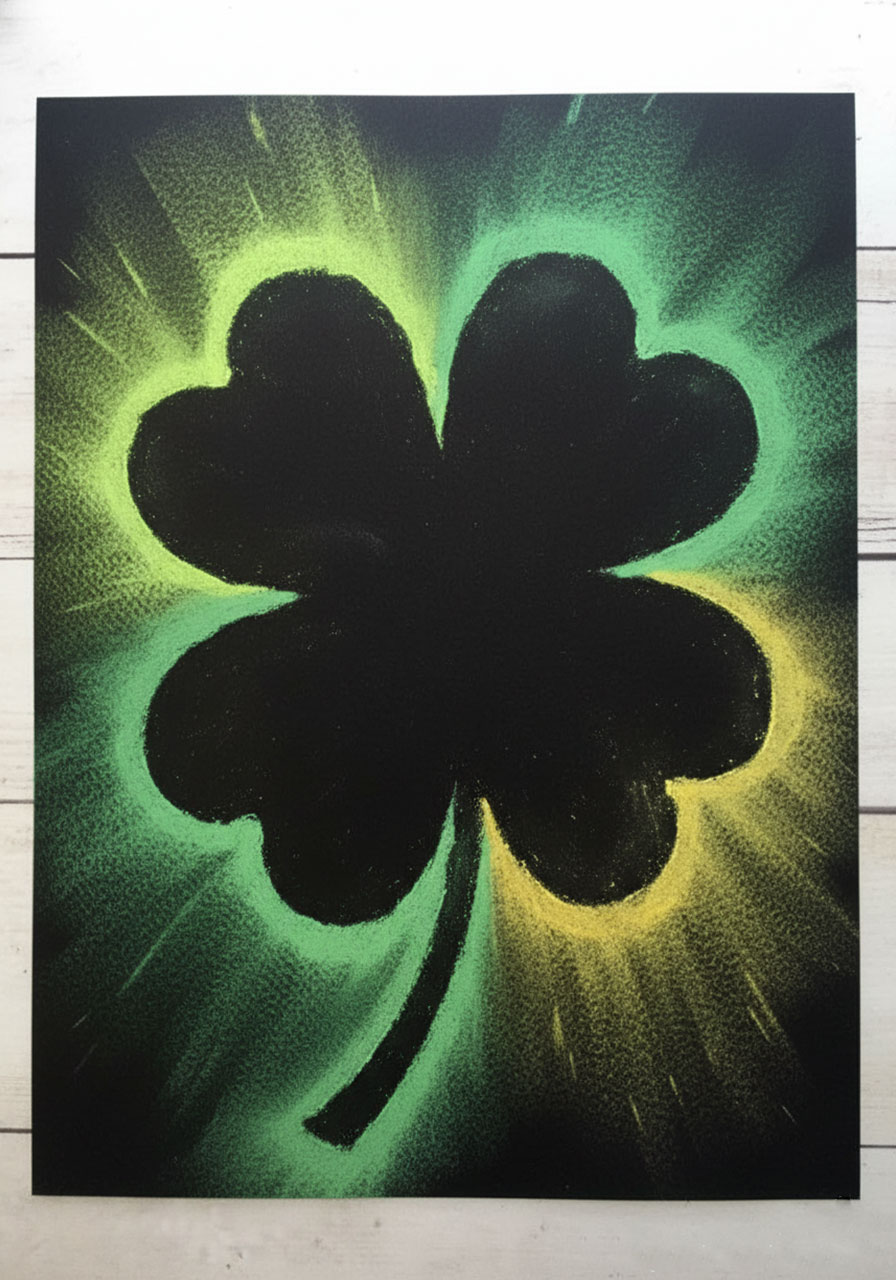
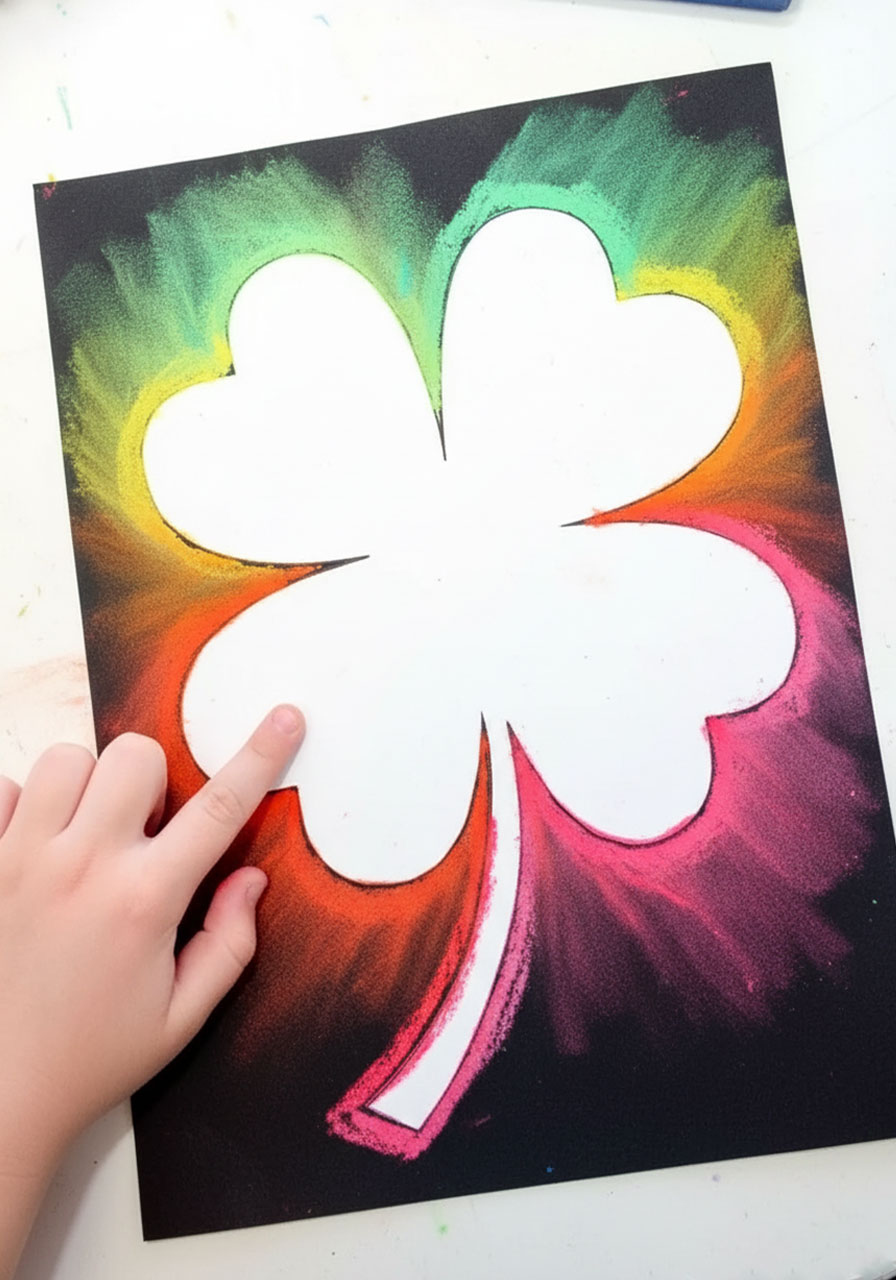
Now here comes the fun part: Draw thick, bold lines of pastel around the edge of your template. We’re talking chunky, vibrant lines – not wimpy little strokes. The thicker your initial pastel lines, the more dramatic and glowing your final result will be.
Work your way around the entire clover, changing colors as you go. If you’re doing a rainbow effect, follow the ROYGBIV order (red, orange, yellow, green, blue, indigo, violet). If you’re doing greens, alternate between light and dark shades.
Important: Make sure your pastel lines are touching the template edge all the way around. Any gaps will show up in your final design.

Step 5: The Magic Smudge
This is where the transformation happens, and kids absolutely love this part!
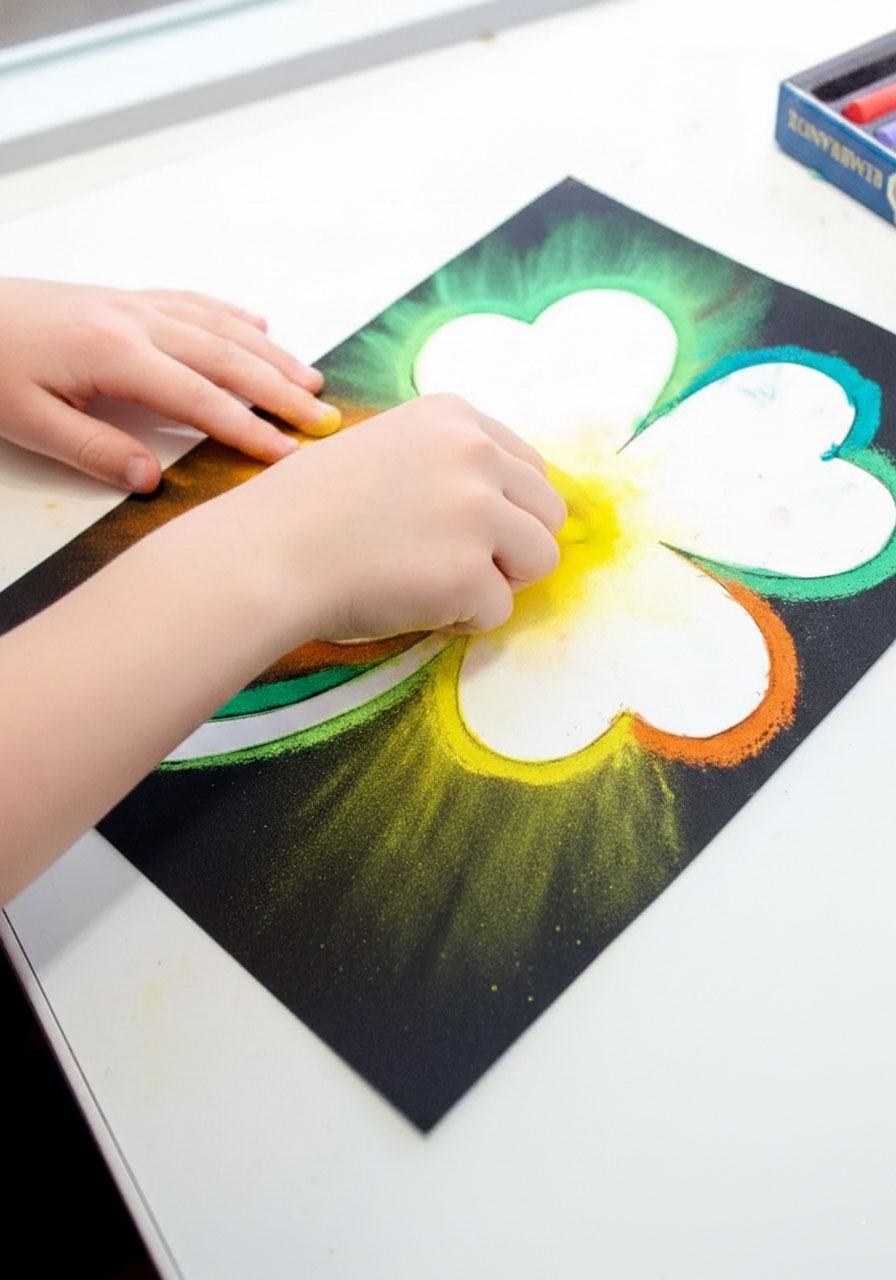
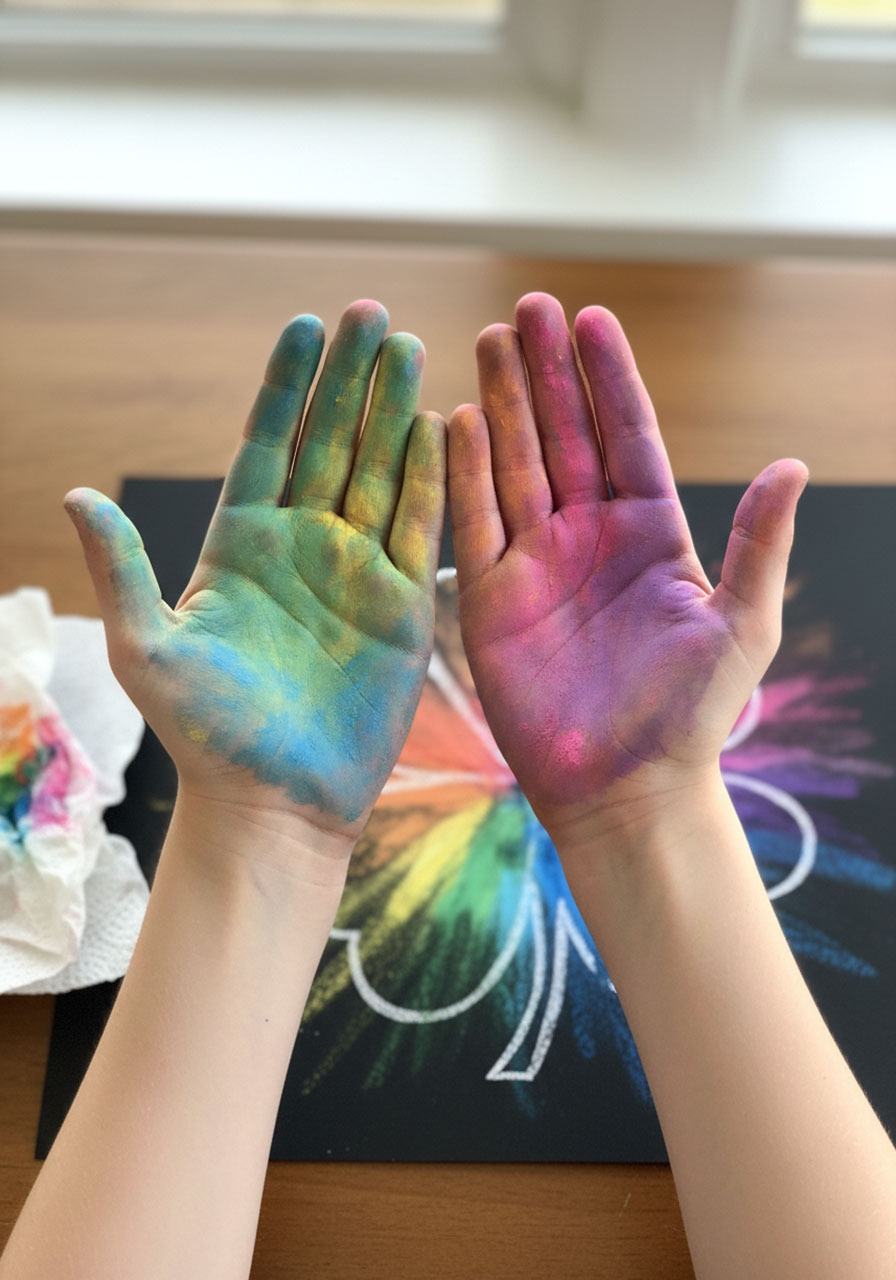
Using your fingers (the best tool!), a Q-tip, or a blending stick, smudge the pastels outward away from the template. Start at the edge of your pastel line and sweep outward toward the edges of your paper.
Here’s the technique that gets the best results:
1. Go slow and steady. Quick, jerky movements won’t give you that smooth, glowing effect.
2. Smudge all the way to the edges of your paper. Don’t stop in the middle – the glow should extend completely to the borders.
3. Blend where colors meet. Let those colors melt into each other for that seamless rainbow transition.
4. Wipe your fingers on paper towels between colors. This keeps your colors pure and prevents muddy mixing.
Why fingers work best: You have more control, you can feel the texture, and honestly, kids love getting messy! Plus, the warmth of your hands helps blend the pastels beautifully.
Step 6: The Grand Reveal
This is the moment everyone’s been waiting for!
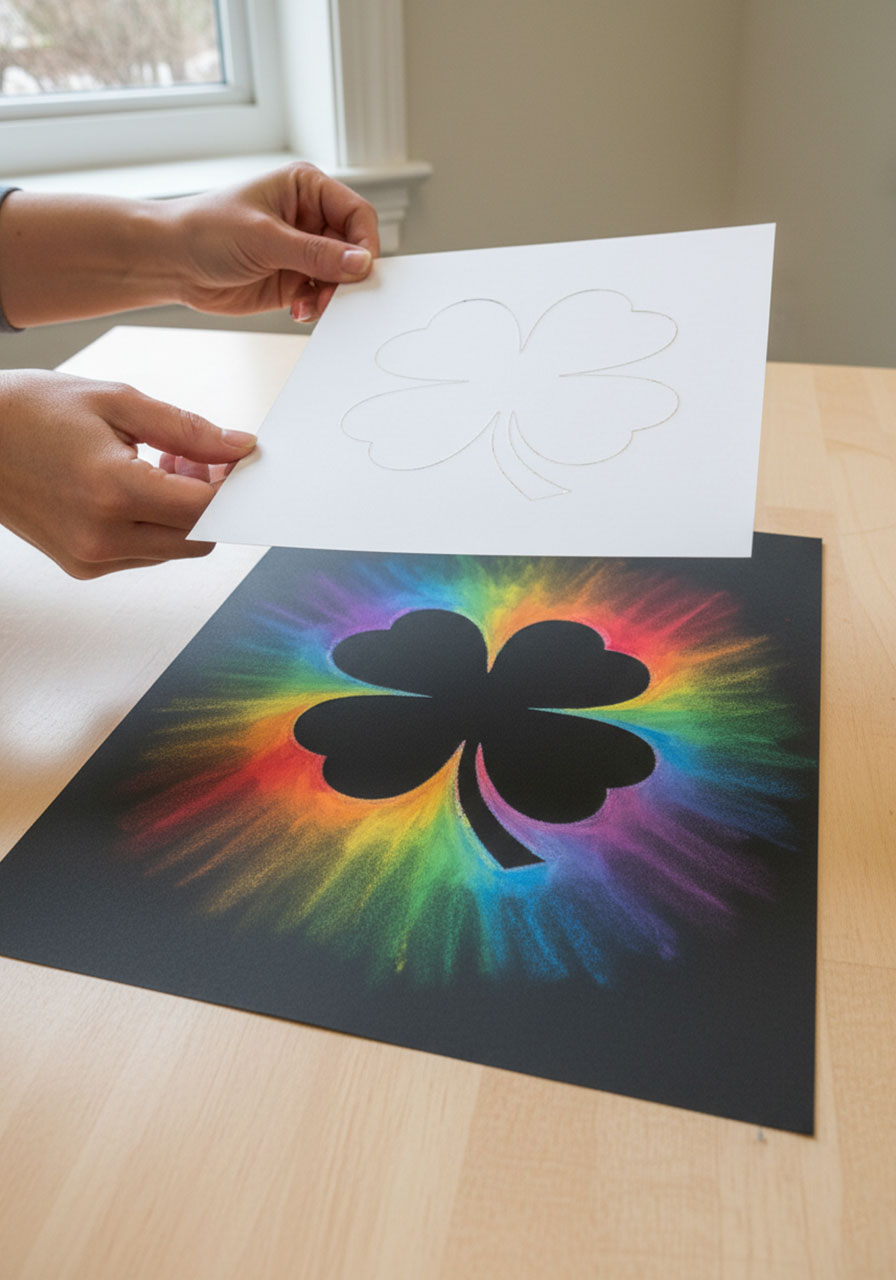
Carefully lift off your template to reveal your design. Do this slowly and straight up to avoid smudging.
Cue the gasps of amazement! That crisp, black clover silhouette surrounded by vibrant, glowing colors is always a showstopper.
Step 7: Clean Up and Finishing Touches
Take your artwork outside and gently blow off any excess pastel dust. You can also give it a soft shake (hold it securely!).
If there are any smudges inside your clover shape, use a Q-tip or a clean eraser to carefully clean them up. This makes that black negative space even more striking.
Optional but recommended: If you want to preserve the artwork and prevent smudging, take it outside and spray it with a workable fixative. This step is for adults only and must be done in a well-ventilated area. Follow the product instructions carefully.
Pro Tips That Make All the Difference
For Teachers Managing a Classroom:
- Pre-cut all templates before class starts
- Set up stations with supplies to minimize crowding
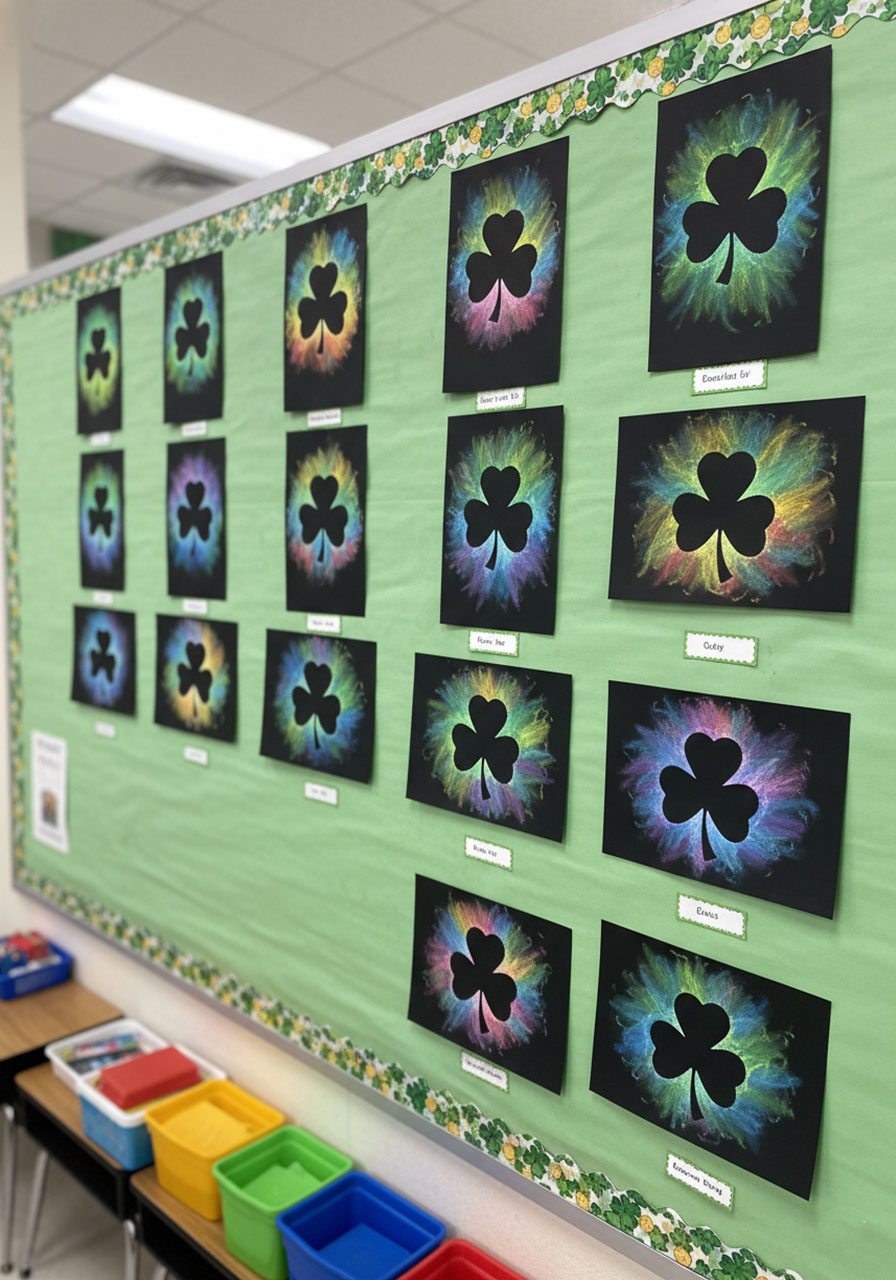
- Have kids take their finished art outside to blow off dust before bringing it back in
- Place finished artwork between sheets of newspaper for students to take home – this prevents smudging during transport
For Parents Doing This at Home:
- Put on some fun Irish music to set the mood!
- Do this project on a day when you’re not in a rush – the process is relaxing and shouldn’t be rushed
- Make it a family affair and create multiple clovers in different color schemes
- Display finished artwork in windows where backlighting makes them glow even more
To Make It Extra Special:
- Try using metallic pastels if you have them – gold and silver add gorgeous shimmer
- Create multiple smaller clovers on one sheet instead of one large one
- Experiment with other shapes (hearts for Valentine’s Day, stars, etc.) – this technique works for any simple shape!
Why Kids (and Adults!) Love This Project
There’s something incredibly satisfying about the simplicity combined with the spectacular results. You’re not fighting with complicated techniques or expensive supplies. You’re just putting color on paper and smudging it – yet the outcome looks like something you’d buy in an art gallery.
The instant you pull that template away and see your design, you feel like a genuine artist. That moment of reveal never gets old, whether you’re 5 or 50.
Plus, the tactile experience of working with chalk pastels – the velvety texture, the way colors blend under your fingers – is genuinely calming and enjoyable. It’s art therapy disguised as a St. Patrick’s Day craft!
Variations to Try
Once you’ve mastered the basic technique, here are some fun twists:
The Glitter Finish: While your pastels are still fresh (before spraying with fixative), very lightly sprinkle fine glitter over the smudged areas. The pastel dust will hold it in place for extra sparkle.
The Pattern Play: Instead of a solid clover, cut out a clover with patterns inside (like polka dots or stripes) for a more intricate negative space design.
The Size Challenge: Make tiny clovers (3 inches) or giant ones (12+ inches) to see how the technique works at different scales.
The Themed Series: Create a set of four clovers, each using a different color scheme, and display them together as a gallery wall.
The Bottom Line
This St. Patrick’s Day chalk pastel art project is an absolute winner whether you’re a parent looking for a memorable activity or a teacher planning your March art lesson. It’s got everything you want: minimal supplies, maximum impact, age-appropriate for a wide range, and finished results that genuinely impress.
The black paper makes those vibrant pastels pop like nothing else, creating that gorgeous glowing effect that makes each clover look like it’s radiating luck and magic. And because the technique is so forgiving and straightforward, every single child will walk away with a finished piece they’re proud to display.
So grab those chalk pastels, cut out some clovers, and get ready to create some St. Patrick’s Day magic. Your young artists are about to discover just how incredible their work can look – and you’re about to become their favorite grown-up for introducing them to this awesome project!
More St. Patrick’s Day Party Ideas to Keep the Fun Rolling:
The Ultimate St. Patrick’s Day Fluffy Slime Recipe (That Actually Works!)
14 Fun and Creative DIY St. Patrick’s Day Crafts for Kids
Craft Stick Leprechaun Hat: The Cutest St. Patrick’s Day Craft for Kids
DIY Lucky Pot of Gold Gift: The Easiest St. Patrick’s Day Craft That’ll Make You the Hero
St. Patrick’s Day Shamrock Man Craft: The Easiest (and Cutest!) Holiday Project for Kids
5 Adorable St. Patrick’s Day Projects You Can Make This Weekend
5 Easy St. Patrick’s Day Crafts That’ll Make You Look Like a Creative Genius (Zero Luck Required!)
Easy Ideas to Host an Epic St. Patrick’s Day Breakfast for Kids
