
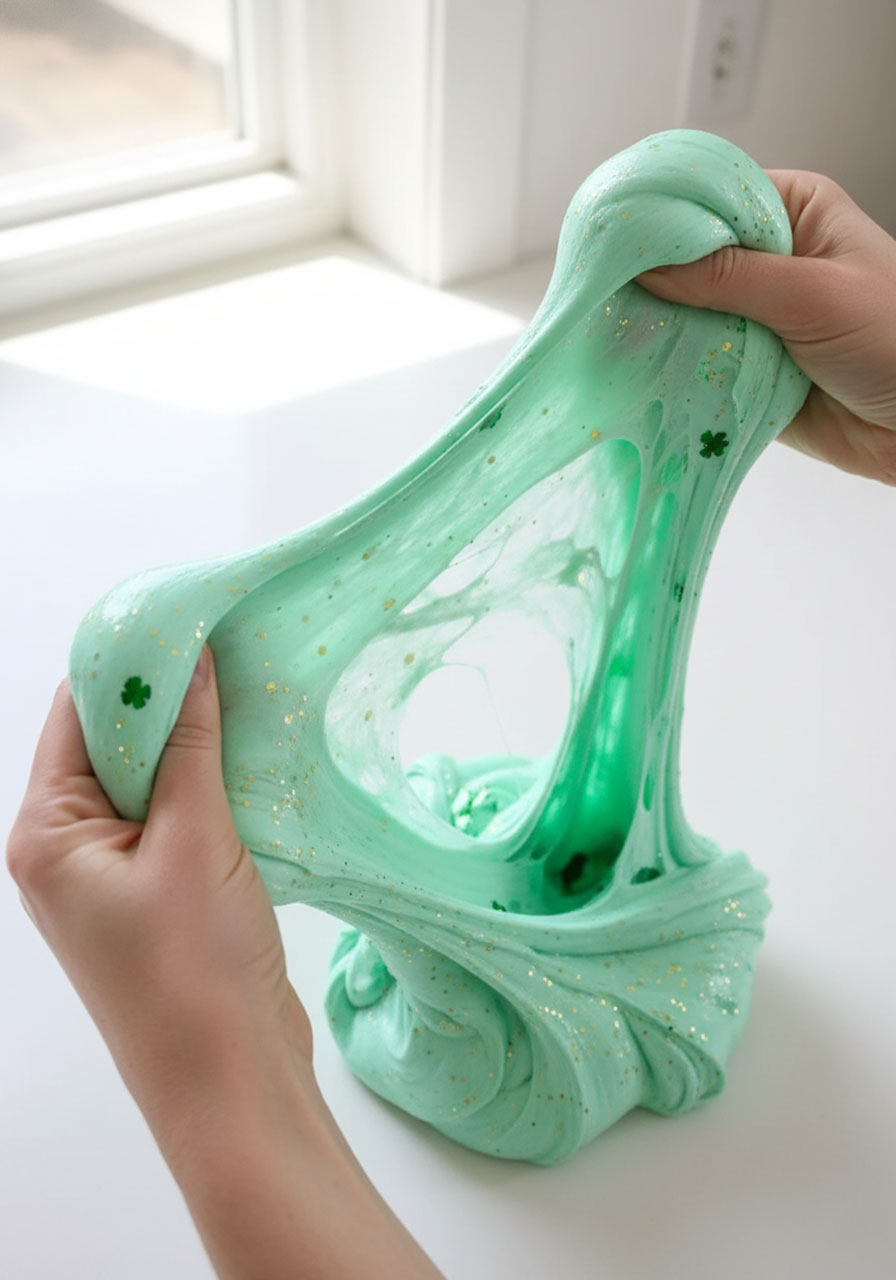
Get ready to become the coolest parent or teacher on the block with this foolproof St. Patrick’s Day slime recipe! This isn’t just any slime – we’re talking about gorgeously stretchy, satisfyingly oozy, gloriously green slime that’ll have kids begging to make it again and again. And the best part? It’s ridiculously easy to make with supplies you probably already have.
Whether you’re planning a classroom St. Patrick’s Day party, looking for a rainy-day activity, or just want to score some major fun points with the kiddos, this homemade slime recipe delivers every single time. No borax powder needed, and no complicated chemistry degree required – just simple ingredients and about 10 minutes of your time.
Why This Slime Recipe is a Total Game-Changer
Here’s the truth: not all slime recipes are created equal. We’ve all been there – following a recipe that promises “perfect slime” only to end up with a sticky, soupy mess or a rock-hard blob. This recipe? It’s been tested, tweaked, and perfected to give you that gorgeously stretchy, non-sticky slime every time.
Plus, with a St. Patrick’s Day twist (think sparkly green goodness and maybe a few gold coins hidden inside), you’re not just making slime – you’re creating an experience kids will remember. It’s also a sneaky-good science lesson that teaches kids about chemical reactions without them even realizing they’re learning!

What You’ll Need for Perfect St. Patrick’s Day Slime
Best for: Kids ages 5+, classroom activities, party crafts, rainy day fun
Time to Make: 10 minutes (plus endless hours of play!)
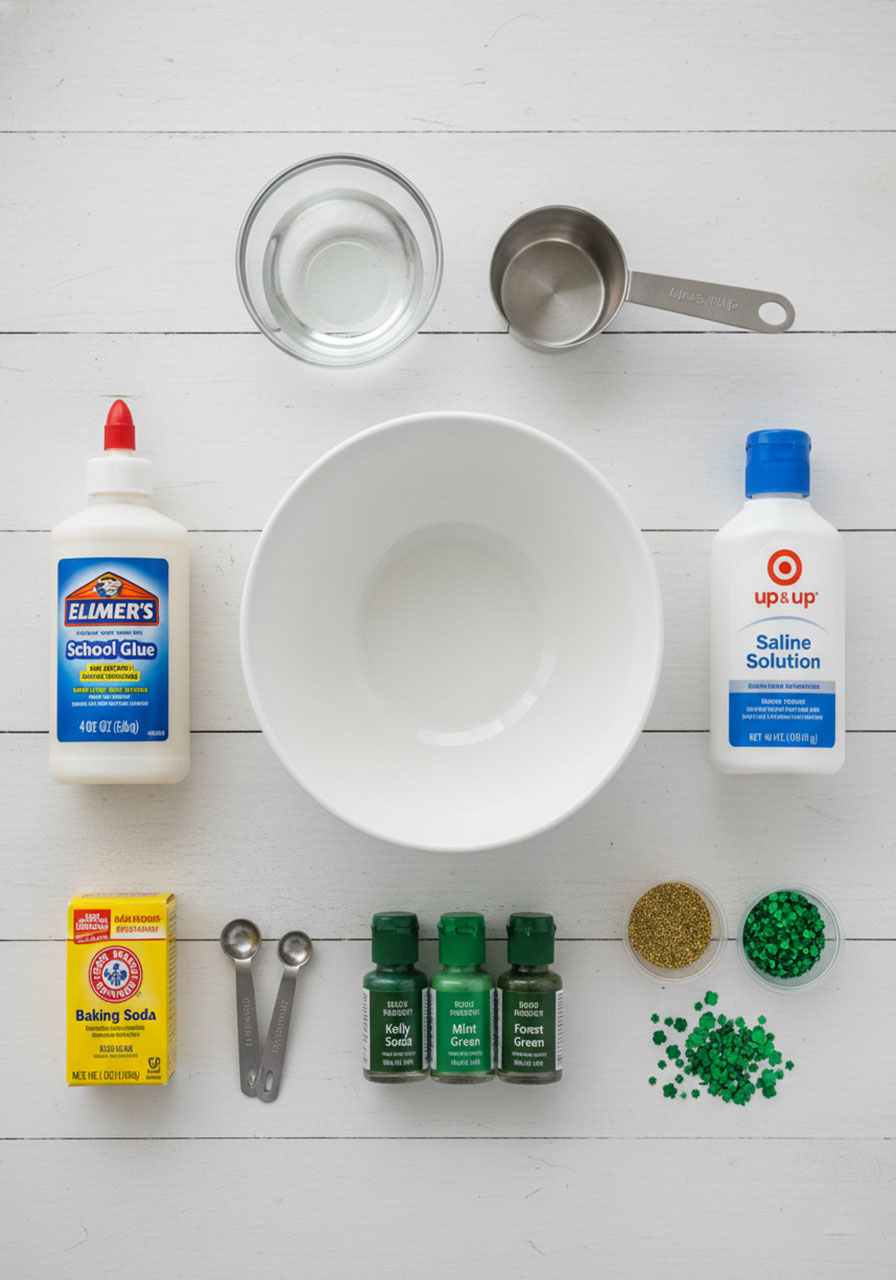
What You’ll Need:
1/2 cup of clear or white PVA school glue (Elmer’s works great!)
1/2 cup of water
1-2 tablespoons of saline solution (this is KEY – read the tip below!)
1/4 to 1/2 teaspoon of baking soda (use more for white glue, less for clear glue)
Green food coloring (go bold for that lucky leprechaun look!)
Green or gold glitter (because everything’s better with sparkle)
Optional mix-ins: Green shamrock confetti, tiny gold coin charms, or green sequins
Mixing bowl and spoon
The Saline Solution Secret: This is important! Your saline solution MUST contain sodium borate and boric acid as ingredients, or your slime won’t activate properly. Check the ingredients list on the bottle before you buy. We’ve found that Target’s Up and Up Saline Solution for Sensitive Eyes works like a charm every time.
How to Make St. Patrick’s Day Slime (The Foolproof Way!)
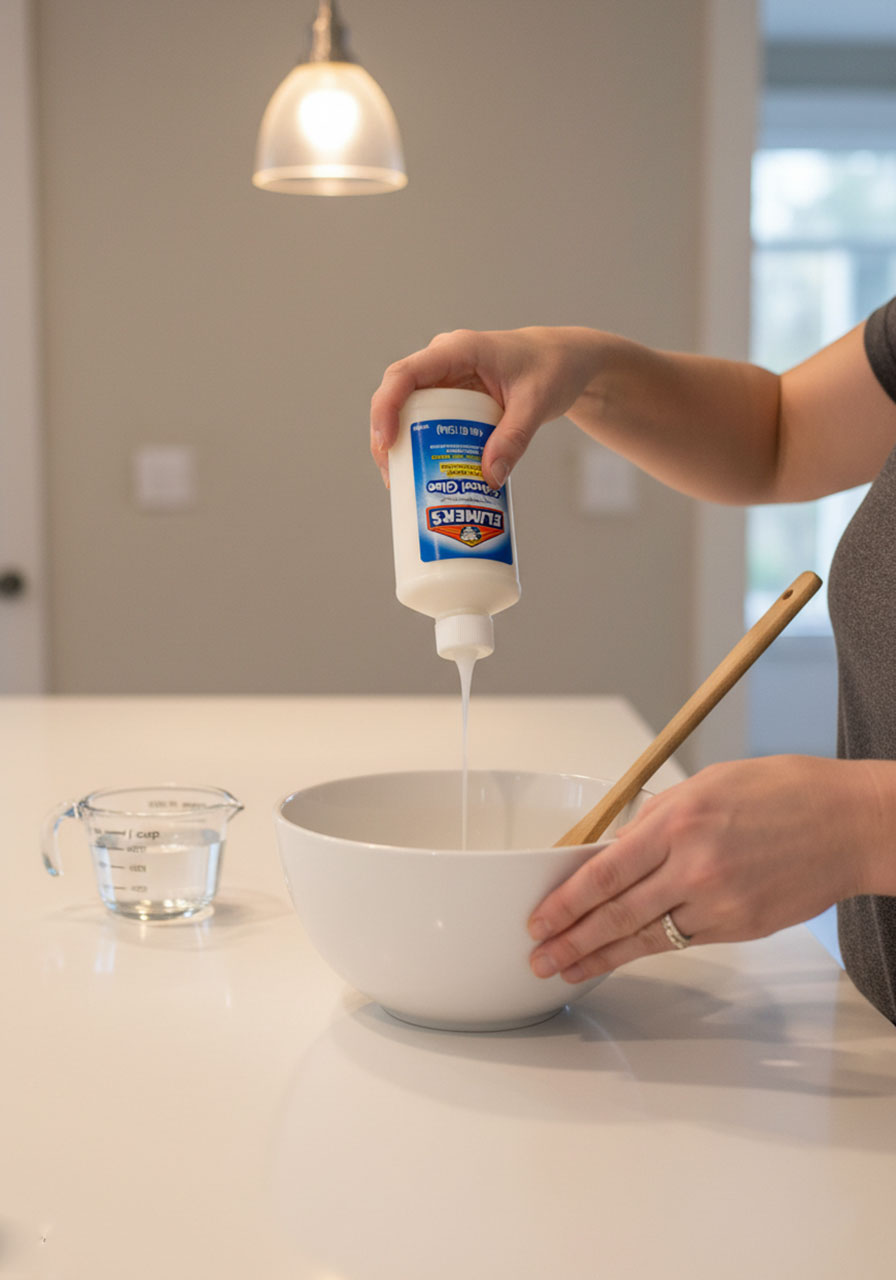
Step 1: Mix Your Base
In your bowl, pour in the glue and water. Stir them together until they’re completely combined and you have a nice, smooth mixture. This is your slime foundation, so make sure there are no lumps!
Step 2: Add the Magic Ingredient
Sprinkle in your baking soda and stir it well. Here’s a pro tip from our slime-making adventures: white glue tends to make a softer, fluffier slime, while clear glue creates a thicker, more translucent slime. For that classic St. Patrick’s Day look, white glue is your friend!

Step 3: Go Green and Glam
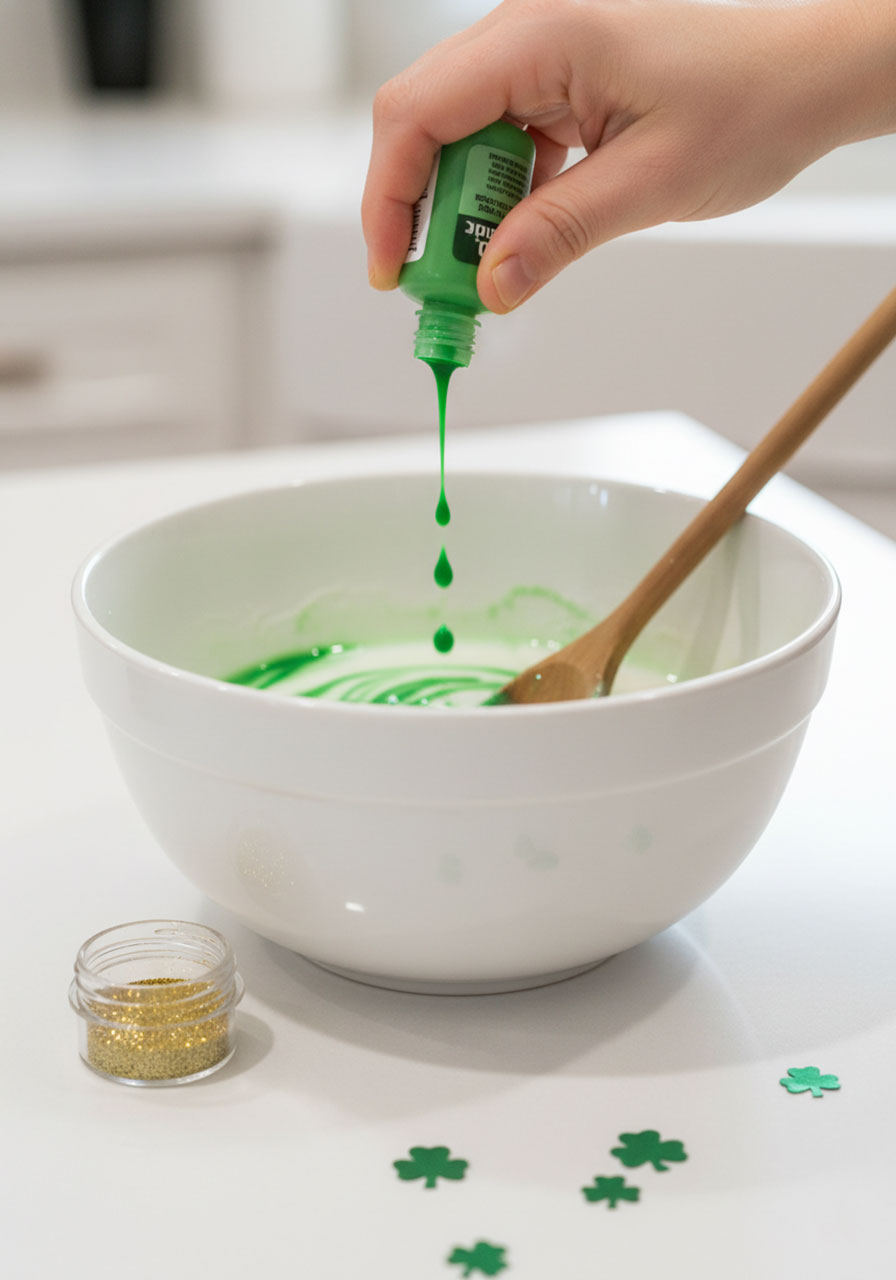
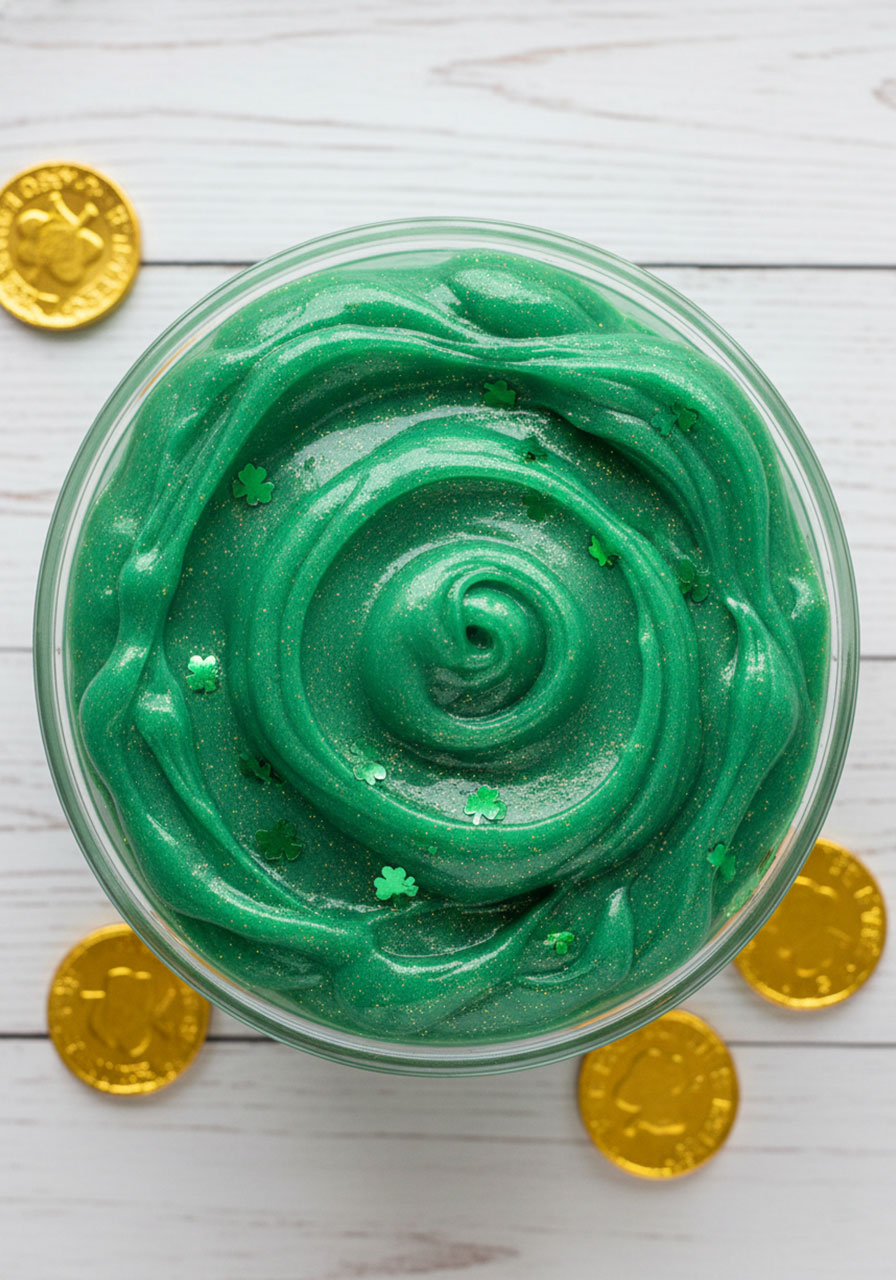
Now comes the fun part! Add 3-5 drops of green food coloring (add more if you want that deep, vibrant leprechaun green). Then toss in your glitter, shamrock confetti, or any other festive mix-ins. Stir everything together and watch your slime come to life with color and sparkle!
Step 4: Activate Your Slime
Here’s where the magic happens! Start by adding just 1 tablespoon of saline solution to your mixture. Stir well and watch as the slime begins to form and pull away from the sides of the bowl. This is the chemical reaction in action – pretty cool, right?
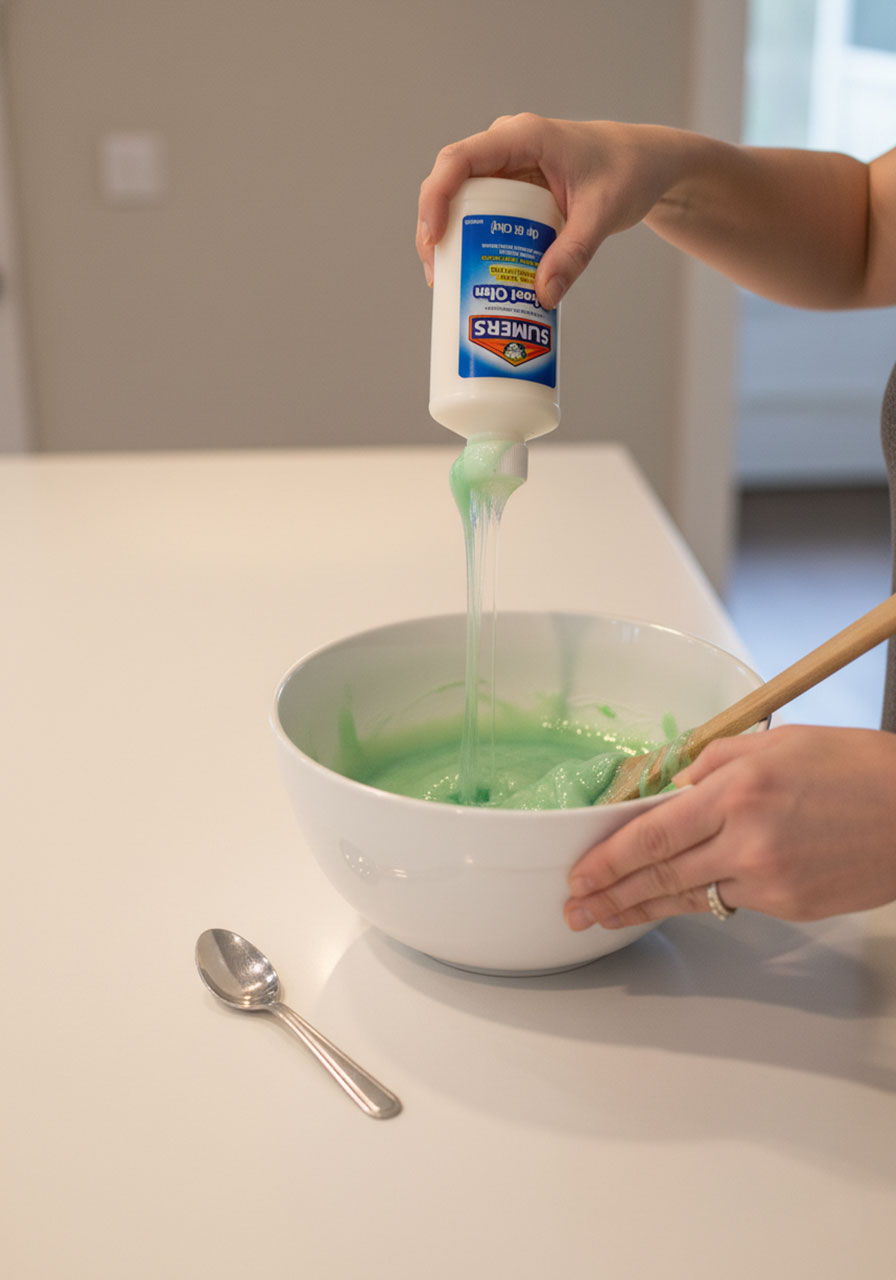
Step 5: Get Hands-On
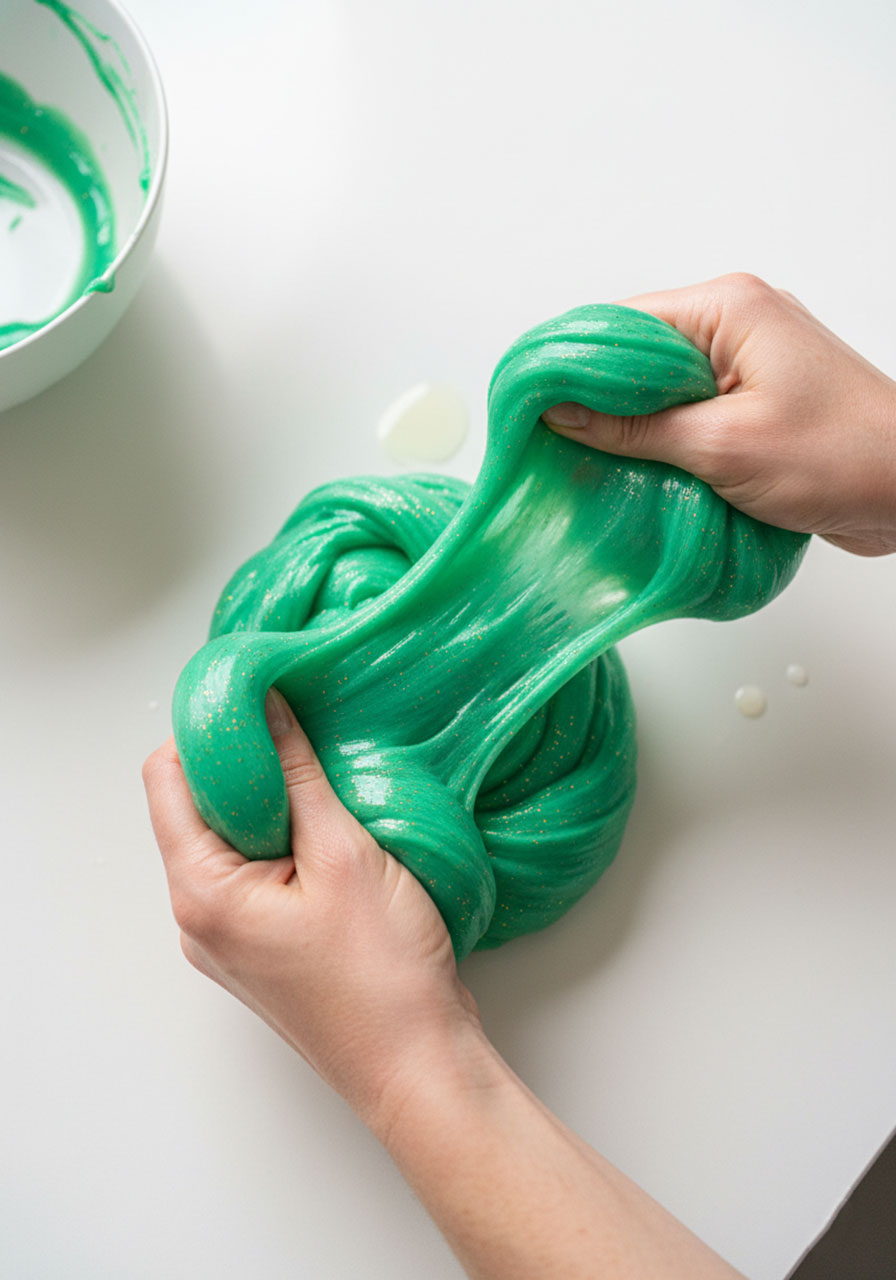
Squirt a tiny bit of saline solution onto your hands (this prevents sticking), then pick up your slime. Now knead it like you’re making bread! Stretch it, fold it, squish it. The more you work with it, the better the consistency becomes. If it feels too sticky, add just a tiny bit more saline solution – but go slowly! Too much and your slime will get stiff.
Important Timing Tip: Your slime will be at its stretchiest (and potentially stickiest) in the first few minutes because the chemical reaction is still happening. Don’t panic if it seems a little sticky at first – just keep kneading! And resist the urge to add too much extra saline solution, or you’ll end up with rubbery slime instead of that perfect stretchy texture.
Pro Tips for Slime Success
Make It Fluffy: Want that ultra-fluffy cloud slime texture? Add 2-3 cups of shaving cream to your mixture before adding the saline solution. Your slime will be lighter, fluffier, and even more satisfying to play with!
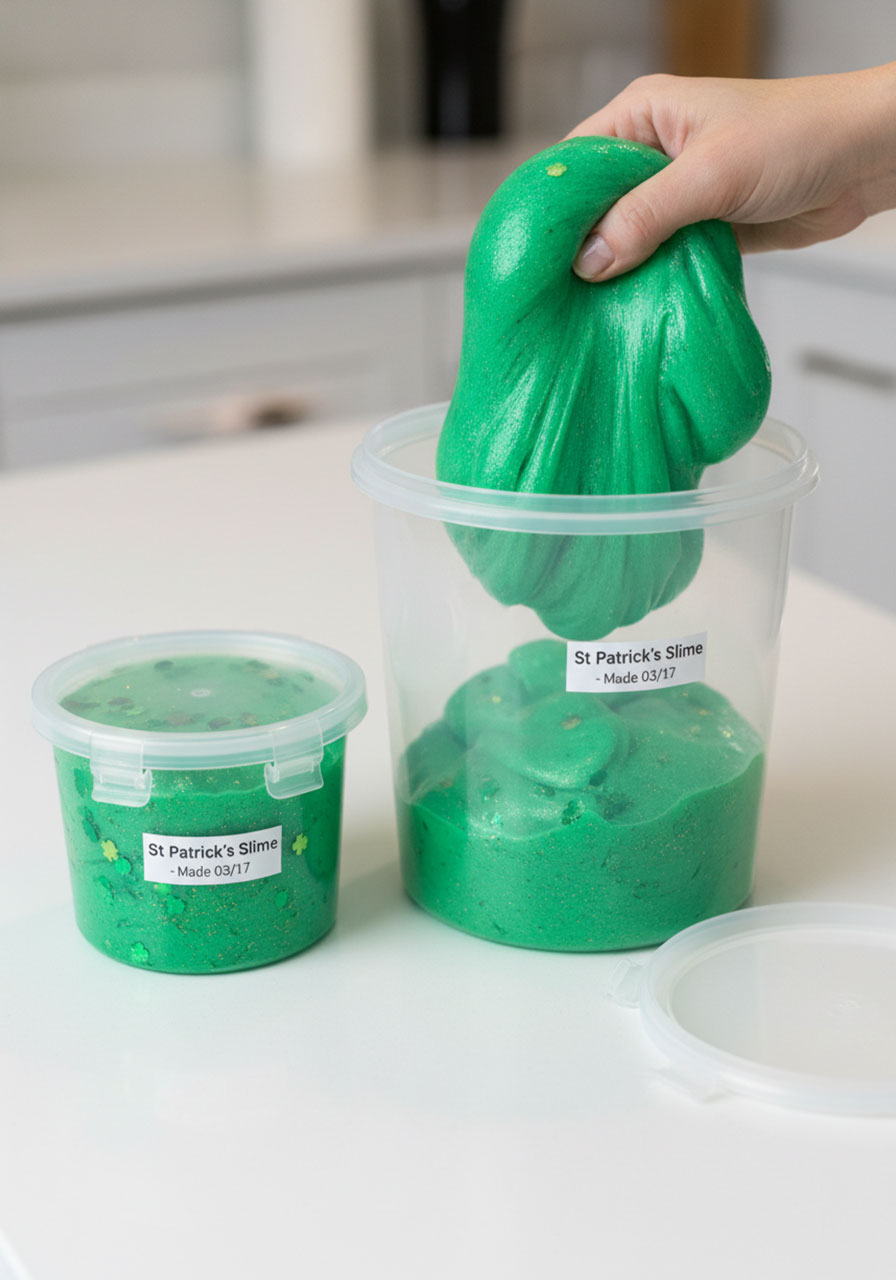
Storage Smarts: Store your slime in an airtight container or resealable bag when you’re not playing with it. It’ll stay fresh and stretchy for 1-2 weeks. If it starts to feel a little stiff, knead in a drop or two of water to bring it back to life.
The Sticky Fix: If your slime is too sticky, add saline solution ONE DROP at a time and knead well between additions. Patience is key here!
The Stiff Fix: If your slime is too stiff or rubbery, add a tiny bit of water or lotion and knead it in. Start with just a few drops and work your way up.
Glitter Guidance: Fine glitter works better than chunky glitter for slime. It distributes more evenly and won’t affect the texture.

Fun St. Patrick’s Day Slime Variations to Try
Lucky Leprechaun Slime: Use clear glue and add gold glitter plus tiny plastic gold coins. Kids can hunt for the “leprechaun gold” as they play!
Rainbow Slime: Make three batches using green, white, and orange food coloring. Twist them together for a festive Irish flag effect!
Shamrock Sensory Slime: Add green shamrock-shaped confetti or foam pieces for extra texture and visual interest.
Scented Slime: Add a drop or two of peppermint extract for a fresh, minty scent that kids love. (Just make sure everyone knows it’s not edible!)

Why Kids (and Teachers!) Love This Activity
Beyond being ridiculously fun, slime-making is actually packed with learning opportunities. Kids explore states of matter, observe chemical reactions, practice following directions, and develop fine motor skills – all while thinking they’re just playing. It’s the perfect STEM activity disguised as pure fun.

For teachers, this makes an excellent St. Patrick’s Day classroom activity that keeps kids engaged and excited. For parents, it’s a screen-free activity that buys you at least an hour of peaceful, creative play time. Win-win!

The Bottom Line
With this foolproof recipe in your back pocket, you’re ready to create slime-making magic this St. Patrick’s Day. Whether you’re entertaining a classroom full of energetic kids or just your own little leprechauns at home, this stretchy, sparkly, gloriously green slime is guaranteed to be a hit.
So grab your glue, channel your inner scientist, and get ready for some seriously satisfying slime success. Because nothing says “best St. Patrick’s Day ever” quite like making your own lucky leprechaun slime!
More St. Patrick’s Day Party Ideas to Keep the Fun Rolling:
14 Fun and Creative DIY St. Patrick’s Day Crafts for Kids
Craft Stick Leprechaun Hat: The Cutest St. Patrick’s Day Craft for Kids
DIY Lucky Pot of Gold Gift: The Easiest St. Patrick’s Day Craft That’ll Make You the Hero
St. Patrick’s Day Shamrock Man Craft: The Easiest (and Cutest!) Holiday Project for Kids
5 Adorable St. Patrick’s Day Projects You Can Make This Weekend
5 Easy St. Patrick’s Day Crafts That’ll Make You Look Like a Creative Genius (Zero Luck Required!)
Easy Ideas to Host an Epic St. Patrick’s Day Breakfast for Kids
18 Easy and Fun St. Patrick’s Day Activities for Toddlers (No Prep Required!)
